|
项目介绍:需求:要求tabbar中的文字可动态更改,文字对应的图片动态更改动态增加,文字颜色对应更改,TabBarItem的图片动态更改和增加,整个项目灵活化,利用插槽,路由,父子组件的值传递,利用$router实现点击item就会显示对应的页面。综合性极强,项目开发中遇到类似项目,只需复制其中主要代码即可搭建项目的大体框架。
项目目录:

TabBar效果预览:
TabBar实现思路
一、如果在下方有一个单独的TabBar组件,如何封装 - 自定义tabbar组件,在APP中使用。
- 让TabBar处于底部,并且设置相关的样式。
二、TabBar中现实的内容由外界决定。 - 定义插槽。
- flex布局评分TabBar。
三、自定义TabBarItem,可以传入图片和文字 - 自定义tabbarItem,并且定义两个插槽:图片,文字。
- 给两个插槽外层包装div,用于设置样式。
- 填充插槽,实现底部TabBar的效果。
方法可行,动手实现,首先介绍一下目录
项目文件目录建立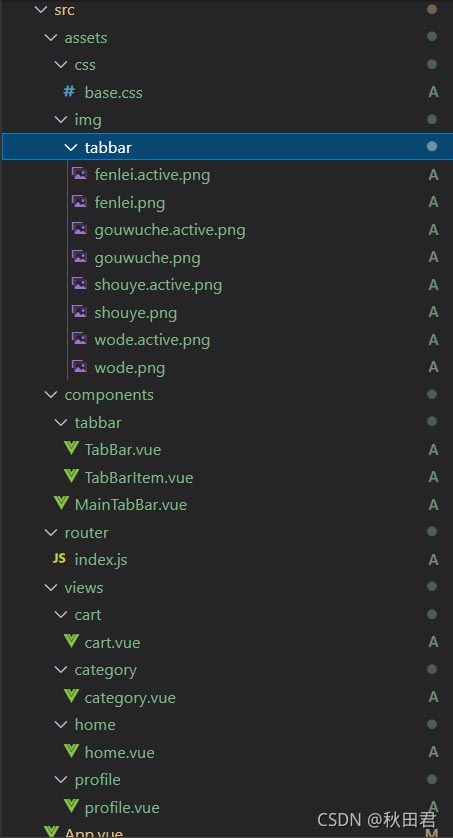
文件目录介绍我建立一个views文件夹,里面建立五个文件,五个文件里面包含了五个vue文件,分别对应着导航栏下的每个按钮。 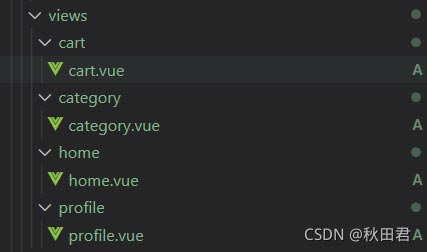
在assets下建立css和img文件夹,放置tabbar按钮所需的图片和基础类 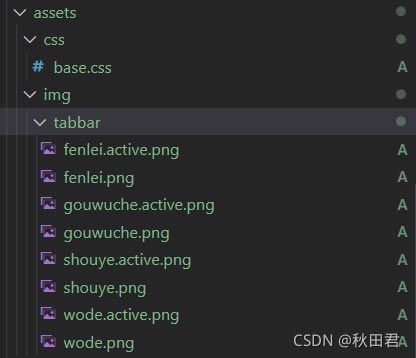
在component文件夹中建立一个MainTabBar.vue文件和tabbar文件夹,tabbar文件夹里放置MainTabBar的子组件和各种插槽关联文件。 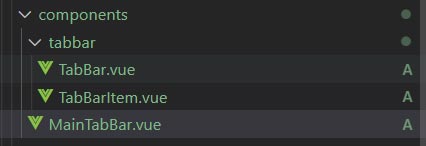
router文件夹下的index文件配置路由文件 
main.js是项目的入口文件,项目中所有的页面都会加载main.js,所以main.js,主要有三个作用: - 实例化VUE
- 放置项目中经常会用到的插件和CSS样式,例如网络请求axios和vue-resource,图片懒加载模块:vue-;azyload
- 存储全局变量例如基本信息等
各个文件夹中的代码实现 第一步、文件很多,引用会常常带来404错误,这里开始先建立文件别名,vue建立文件别名详解 找到resolve对象,在alias中写入各个文件的别名: 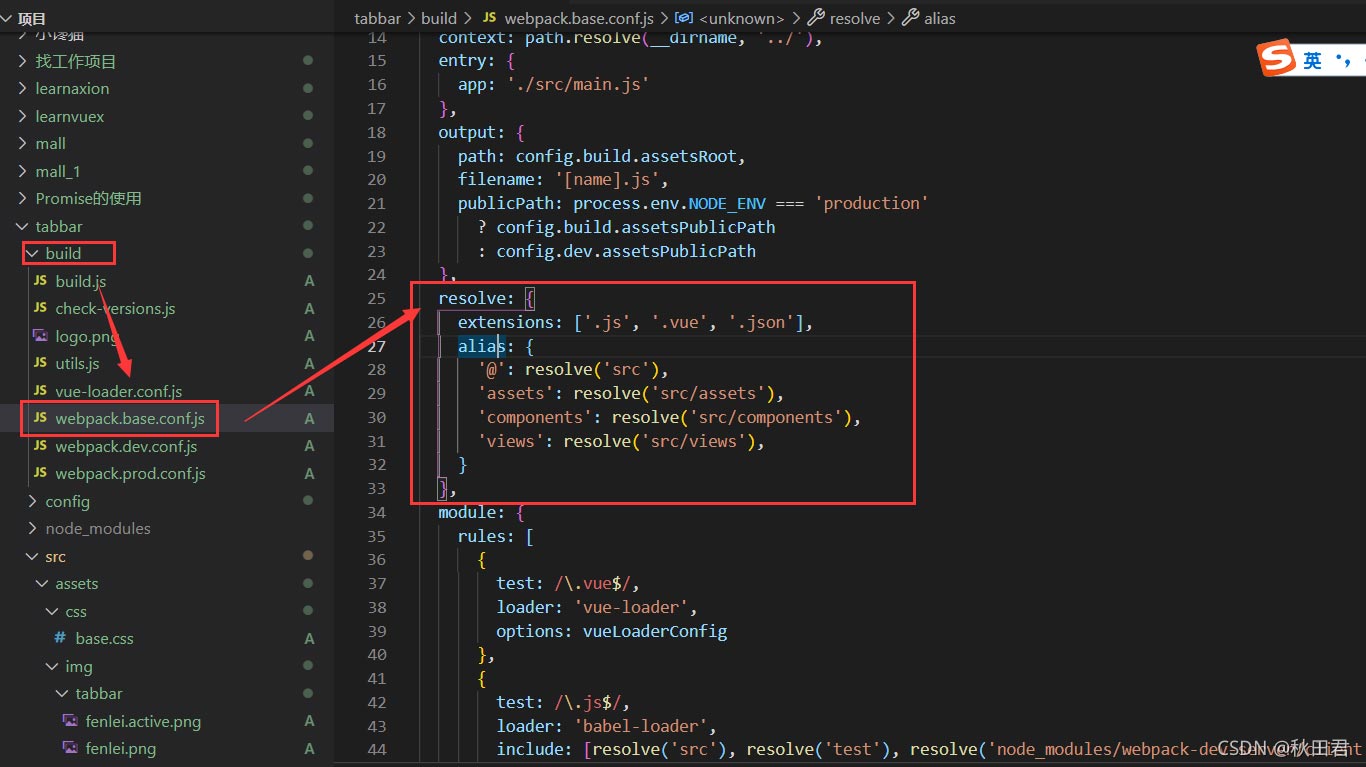
文件起别名代码代码: resolve: { extensions: ['.js', '.vue', '.json'], alias: { '@': resolve('src'), 'assets': resolve('src/assets'), 'components': resolve('src/components'), 'views': resolve('src/views'), } },
App.vue代码App.vue中引用MainTabBar组件和各个tabbaritem对应的文件: <template> <div id="app"> <router-view></router-view> <main-tab-bar></main-tab-bar> </div></template><script type="module">import MainTabBar from 'components/MainTabBar'export default { name: 'App', components:{ MainTabBar }}</script> <style> @import "assets/css/base";</style>
MainTabBar.vue代码MainTabBar组件代码:要求组件满足可修改TabBarItem的个数,颜色,文字,等都是动态的。需要创建各类插槽。 <template> <div> <tab-bar> <tab-bar-item path="/home" activeColor="purple"> <img slot="item-icon" src="~assets/img/tabbar/shouye.png" alt="" > <img slot="item-icon-active" src="~assets/img/tabbar/shouye.active.png" alt=""> <div slot="item-text">首页</div> </tab-bar-item> <tab-bar-item path="/category" activeColor="purple"> <img slot="item-icon" src="~assets/img/tabbar/fenlei.png" alt=""> <img slot="item-icon-active" src="~assets/img/tabbar/fenlei.active.png" alt=""> <div slot="item-text">分类</div> </tab-bar-item> <tab-bar-item path="/cart" activeColor="purple"> <img slot="item-icon" src="~assets/img/tabbar/gouwuche.png" alt=""> <img slot="item-icon-active" src="~assets/img/tabbar/gouwuche.active.png" alt=""> <div slot="item-text">购物车</div> </tab-bar-item> <tab-bar-item path="/profile" activeColor="purple"> <img slot="item-icon" src="~assets/img/tabbar/wode.png" alt=""> <img slot="item-icon-active" src="~assets/img/tabbar/wode.active.png" alt=""> <div slot="item-text">我的</div> </tab-bar-item> </tab-bar> </div></template><script>import TabBar from 'components/tabbar/TabBar'import TabBarItem from 'components/tabbar/TabBarItem'export default { name:"MainTabBar", components:{ TabBar, TabBarItem }}</script><style></style>
TabBar.vue代码TabBar.vue文件,改文件为MainTabBar.vue中的子组件: <template> <div id="tab-bar"> <slot></slot> </div></template><script>export default { name:'TabBar'}</script><style></style>
TabBarItem.vue代码TabBarItem.vue为MainTabBar.vue的子组件 <template> <div class="tab-bar-item" @click="itemClick"> <div v-if="!isActive"> <slot name="item-icon"></slot> </div> <div v-else> <slot name="item-icon-active"></slot> </div> <div :style="activeStyle"><slot name="item-text"></slot></div> </div></template><script>export default { name:"TabBarItem", props:{ path:String, activeColor:{ type:String, default:'red' } }, data(){ return { // isActive:true } }, computed:{ isActive(){ //判断 //return this.$route.path.indexOf(this.path) !== -1 //return this.$route.path === this.path return this.$route.path.indexOf(this.path)?false:true }, activeStyle(){ return this.isActive?{color:this.activeColor}:{} } }, methods:{ itemClick(){ this.$router.replace(this.path) } }}</script><style> #tab-bar{ display: flex; } #tab-bar{ background-color: #f6f6f6; border-top: 2px #ccc; position: fixed; left: 0; right: 0; bottom: 0; box-shadow:0px -1px 1px rgba(100,100,100,.2) ; } .tab-bar-item{ flex: 1; text-align: center; height: 49px; font-size: 14px; } .tab-bar-item img{ width: 24px; height: 24px; margin-top: 3px; vertical-align: middle; margin-bottom: 3px; } .active{ color: red; }</style>
index.js路由配置代码router文件夹下的index文件为路由的配置: import Vue from 'vue'import VueRouter from 'vue-router';const Home = () => import('views/home/home')const Category = () => import('views/category/category')const Cart = () => import('views/cart/cart')const Profile = () => import('../views/profile/profile')//1.安装插件Vue.use(VueRouter)//2.创建路由对象const routes = [ { path:'', redirect:'/home' }, { path:'/home', component:Home }, { path:'/category', component:Category }, { path:'/cart', component:Cart }, { path:'/profile', component:Profile }]const router = new VueRouter({ routes, mode:'history'})//3.导出routerexport default routerviews中的home代码,cart代码,profile代码,category代码:
home.vue代码<template> <h2>首页</h2></template><script>export default { name:"Home"}</script><style></style>
category.vue代码<template> <h2>分类</h2></template><script>export default { name:"Home"}</script><style></style>
profile.vue代码<template> <h2>个人</h2></template><script>export default { name:"Home"}</script><style></style>
cart.vue代码<template> <h2>购物车</h2></template><script>export default { name:"Home"}</script><style></style>
Base.css代码CSS文件下的base.css内容: body{ padding: 0px; margin: 0px;}
img图片资源


实现完成~
总结:项目综合性很大,其中有插槽,路由,子组件父组件的值得传递,别名设置的各种知识。
项目动态内容:tabbar的文字,图片,颜色都可以动态改变,下次类似项目直接可以引用这些文件。
主要难点:一、当点击到对应的TabBarItem上的时候改变图片颜色,文字颜色,这里是用当前的活跃路由和传过来的地址是否对应,如果对应就会变为true返货来为false: computed:{ isActive(){ //判断 return this.$route.path.indexOf(this.path)?false:true }, activeStyle(){ return this.isActive?{color:this.activeColor}:{} } }, methods:{ itemClick(){ this.$router.replace(this.path) } }上面的代码还有其他方法: return this.$route.path.indexOf(this.path) !== -1 return this.$route.path === this.path 二、父组件传值问题,父组件传过来对应的文件路径,对应的字体颜色,子组件接受并使用: export default { name:"TabBarItem", props:{ path:String, activeColor:{ type:String, default:'red' } }, data(){ return {} },项目完成~ 到此这篇关于Vue实现TabBar底部导航栏的文章就介绍到这了。希望对大家的学习有所帮助,也希望大家多多支持51zixue.net。
下载地址:
JavaScript操作元素教你改变页面内容样式
Vue组件之间的数据共享详解 |


