|
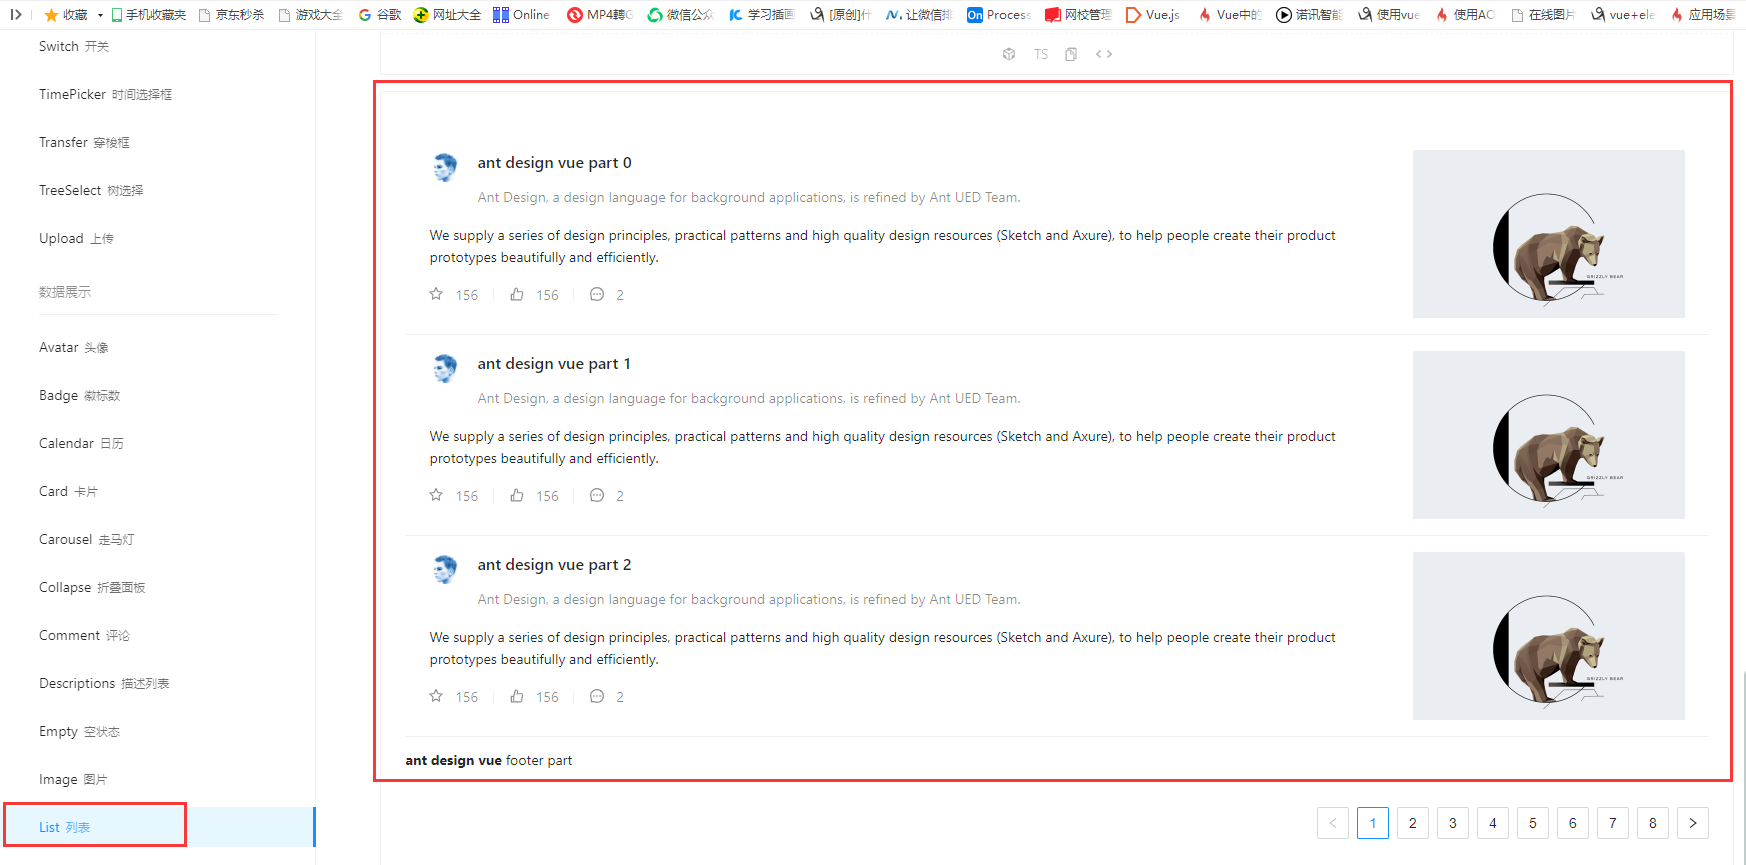
一、列表界面展示示例现在要做的就是把打到页面的数据,带样式,也就是说好看点显示。 之前我们在《Vue3(二)集成Ant Design Vue》这篇文章中,有提及组件的使用,对于一个前端不是很好(后端也不咋的),本着拿来主义,我们能现成的是最好、最省事的方式了。 直白点说就是,找Ant Design Vue现成的组件,将列表数据按组件样式显示到界面上。 1、挑选自己喜欢的列表样式 从https://2x.antdv.com/components/list-cn中,找到list列表,找到自己喜欢的风格, 如下图所示:
2、进行数据显示
2.1、组件在列表显示接下来,我们只需要在home里进行修改即可,找到刚才对应组件的位置,把对应代码拷贝到home中,然后在进行修改即可, 示例代码如下: <template> <a-layout> <a-layout-sider width="200" style="background: #fff"> <a-menu mode="inline" v-model:selectedKeys="selectedKeys2" v-model:openKeys="openKeys" :style="{ height: '100%', borderRight: 0 }" > <a-sub-menu key="sub1"> <template #title> <span> <user-outlined /> subnav 1 </span> </template> <a-menu-item key="1">option1</a-menu-item> <a-menu-item key="2">option2</a-menu-item> <a-menu-item key="3">option3</a-menu-item> <a-menu-item key="4">option4</a-menu-item> </a-sub-menu> <a-sub-menu key="sub2"> <template #title> <span> <laptop-outlined /> subnav 2 </span> </template> <a-menu-item key="5">option5</a-menu-item> <a-menu-item key="6">option6</a-menu-item> <a-menu-item key="7">option7</a-menu-item> <a-menu-item key="8">option8</a-menu-item> </a-sub-menu> <a-sub-menu key="sub3"> <template #title> <span> <notification-outlined /> subnav 3 </span> </template> <a-menu-item key="9">option9</a-menu-item> <a-menu-item key="10">option10</a-menu-item> <a-menu-item key="11">option11</a-menu-item> <a-menu-item key="12">option12</a-menu-item> </a-sub-menu> </a-menu> </a-layout-sider> <a-list item-layout="vertical" size="large" :pagination="pagination" :data-source="listData"> <template #footer> <div> <b>ant design vue</b> footer part </div> </template> <template #renderItem="{ item }"> <a-list-item key="item.title"> <template #actions> <span v-for="{ type, text } in actions" :key="type"> <component v-bind:is="type" style="margin-right: 8px" /> {{ text }} </span> </template> <template #extra> <img width="272" alt="logo" src="https://gw.alipayobjects.com/zos/rmsportal/mqaQswcyDLcXyDKnZfES.png" /> </template> <a-list-item-meta :description="item.description"> <template #title> <a :href="item.href" rel="external nofollow" rel="external nofollow" rel="external nofollow" rel="external nofollow" >{{ item.title }}</a> </template> <template #avatar><a-avatar :src="item.avatar" /></template> </a-list-item-meta> {{ item.content }} </a-list-item> </template> </a-list> </a-layout></template><script lang="ts">import { defineComponent,onMounted,ref,reactive,toRef} from 'vue';import axios from 'axios';import { StarOutlined, LikeOutlined, MessageOutlined } from '@ant-design/icons-vue';const listData: Record<string, string>[] = [];for (let i = 0; i < 23; i++) { listData.push({ href: 'https://www.antdv.com/', title: `ant design vue part ${i}`, avatar: 'https://zos.alipayobjects.com/rmsportal/ODTLcjxAfvqbxHnVXCYX.png', description: 'Ant Design, a design language for background applications, is refined by Ant UED Team.', content: 'We supply a series of design principles, practical patterns and high quality design resources (Sketch and Axure), to help people create their product prototypes beautifully and efficiently.', });}export default defineComponent({ components: { StarOutlined, LikeOutlined, MessageOutlined, }, name: 'Home', setup(){ const pagination = { onChange: (page: number) => { console.log(page); }, pageSize: 3, }; const actions: Record<string, string>[] = [ { type: 'StarOutlined', text: '156' }, { type: 'LikeOutlined', text: '156' }, { type: 'MessageOutlined', text: '2' }, ]; console.log('set up'); //使用ref进行数据绑定 const ebooks=ref(); // 使用reactive进行数据绑定 const ebooks1=reactive({books:[]}) onMounted(()=>{ axios.get("http://localhost:8888/ebook/list?name=spring").then(response =>{ console.log("onMounted"); const data=response.data; ebooks.value=data.content; ebooks1.books=data.content; }) }) return{ listData, pagination, actions, ebooks1: ebooks, ebooks2:toRef(ebooks1,"books") } }});</script>重新编译运行,查看效果如下: 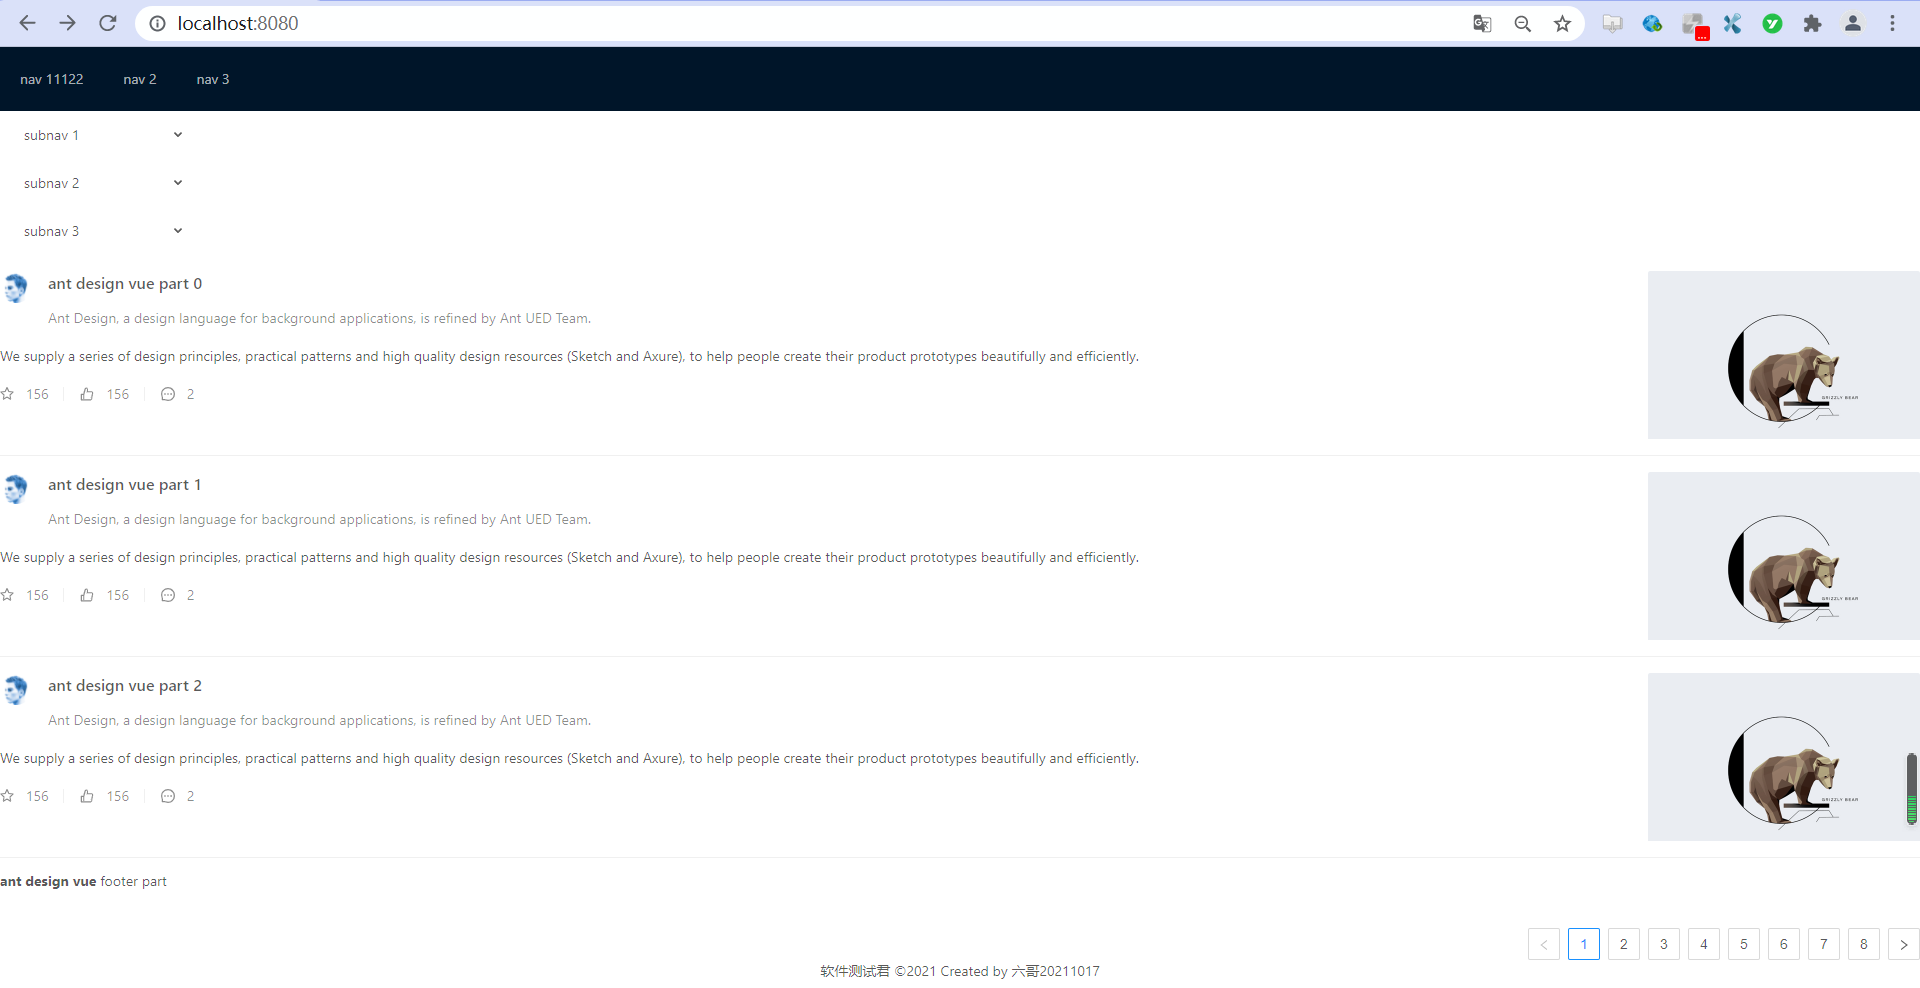
2.2、接口返回数据在列表显示明显现在,可以看到想要用的列表样式已经在页面中成功展示了,但这并不是我想要的,我想要的是后端接口返回数据在此处展示,也就是数据源,接下来,我们再次调整Home的代码, 示例代码如下: <template> <a-layout> `<a-layout-sider width="200" style="background: #fff"> <a-menu mode="inline" v-model:selectedKeys="selectedKeys2" v-model:openKeys="openKeys" :style="{ height: '100%', borderRight: 0 }" > <a-sub-menu key="sub1"> <template #title> <span> <user-outlined /> subnav 1 </span> </template> <a-menu-item key="1">option1</a-menu-item> <a-menu-item key="2">option2</a-menu-item> <a-menu-item key="3">option3</a-menu-item> <a-menu-item key="4">option4</a-menu-item> </a-sub-menu> <a-sub-menu key="sub2"> <template #title> <span> <laptop-outlined /> subnav 2 </span> </template> <a-menu-item key="5">option5</a-menu-item> <a-menu-item key="6">option6</a-menu-item> <a-menu-item key="7">option7</a-menu-item> <a-menu-item key="8">option8</a-menu-item> </a-sub-menu> <a-sub-menu key="sub3"> <template #title> <span> <notification-outlined /> subnav 3 </span> </template> <a-menu-item key="9">option9</a-menu-item> <a-menu-item key="10">option10</a-menu-item> <a-menu-item key="11">option11</a-menu-item> <a-menu-item key="12">option12</a-menu-item> </a-sub-menu> </a-menu> </a-layout-sider>` <a-list item-layout="vertical" size="large" :pagination="pagination" :data-source="ebooks1"> <template #renderItem="{ item }"> <a-list-item key="item.name"> <template #actions> <span v-for="{ type, text } in actions" :key="type"> <component v-bind:is="type" style="margin-right: 8px" /> {{ text }} </span> </template> <a-list-item-meta :description="item.description"> <template #title> <a :href="item.href" rel="external nofollow" rel="external nofollow" rel="external nofollow" rel="external nofollow" >{{ item.name }}</a> </template> <template #avatar><a-avatar :src="item.cover" /></template> </a-list-item-meta> </a-list-item> </template> </a-list> </a-layout></template><script lang="ts">import { defineComponent,onMounted,ref,reactive,toRef} from 'vue';import axios from 'axios';import { StarOutlined, LikeOutlined, MessageOutlined } from '@ant-design/icons-vue';const listData: Record<string, string>[] = [];for (let i = 0; i < 23; i++) { listData.push({ href: 'https://www.antdv.com/', title: `ant design vue part ${i}`, avatar: 'https://zos.alipayobjects.com/rmsportal/ODTLcjxAfvqbxHnVXCYX.png', description: 'Ant Design, a design language for background applications, is refined by Ant UED Team.', content: 'We supply a series of design principles, practical patterns and high quality design resources (Sketch and Axure), to help people create their product prototypes beautifully and efficiently.', });}export default defineComponent({ components: { StarOutlined, LikeOutlined, MessageOutlined, }, name: 'Home', setup(){ const pagination = { onChange: (page: number) => { console.log(page); }, pageSize: 3, }; const actions: Record<string, string>[] = [ { type: 'StarOutlined', text: '156' }, { type: 'LikeOutlined', text: '156' }, { type: 'MessageOutlined', text: '2' }, ]; console.log('set up'); //使用ref进行数据绑定 const ebooks=ref(); // 使用reactive进行数据绑定 const ebooks1=reactive({books:[]}) onMounted(()=>{ axios.get("http://localhost:8888/ebook/list?name=spring").then(response =>{ console.log("onMounted"); const data=response.data; ebooks.value=data.content; ebooks1.books=data.content; }) }) return{ listData, pagination, actions, ebooks1: ebooks, ebooks2:toRef(ebooks1,"books") } }});</script><style>.ant-layout-sider{ float: left;}</style>重新编译运行,查看效果如下: 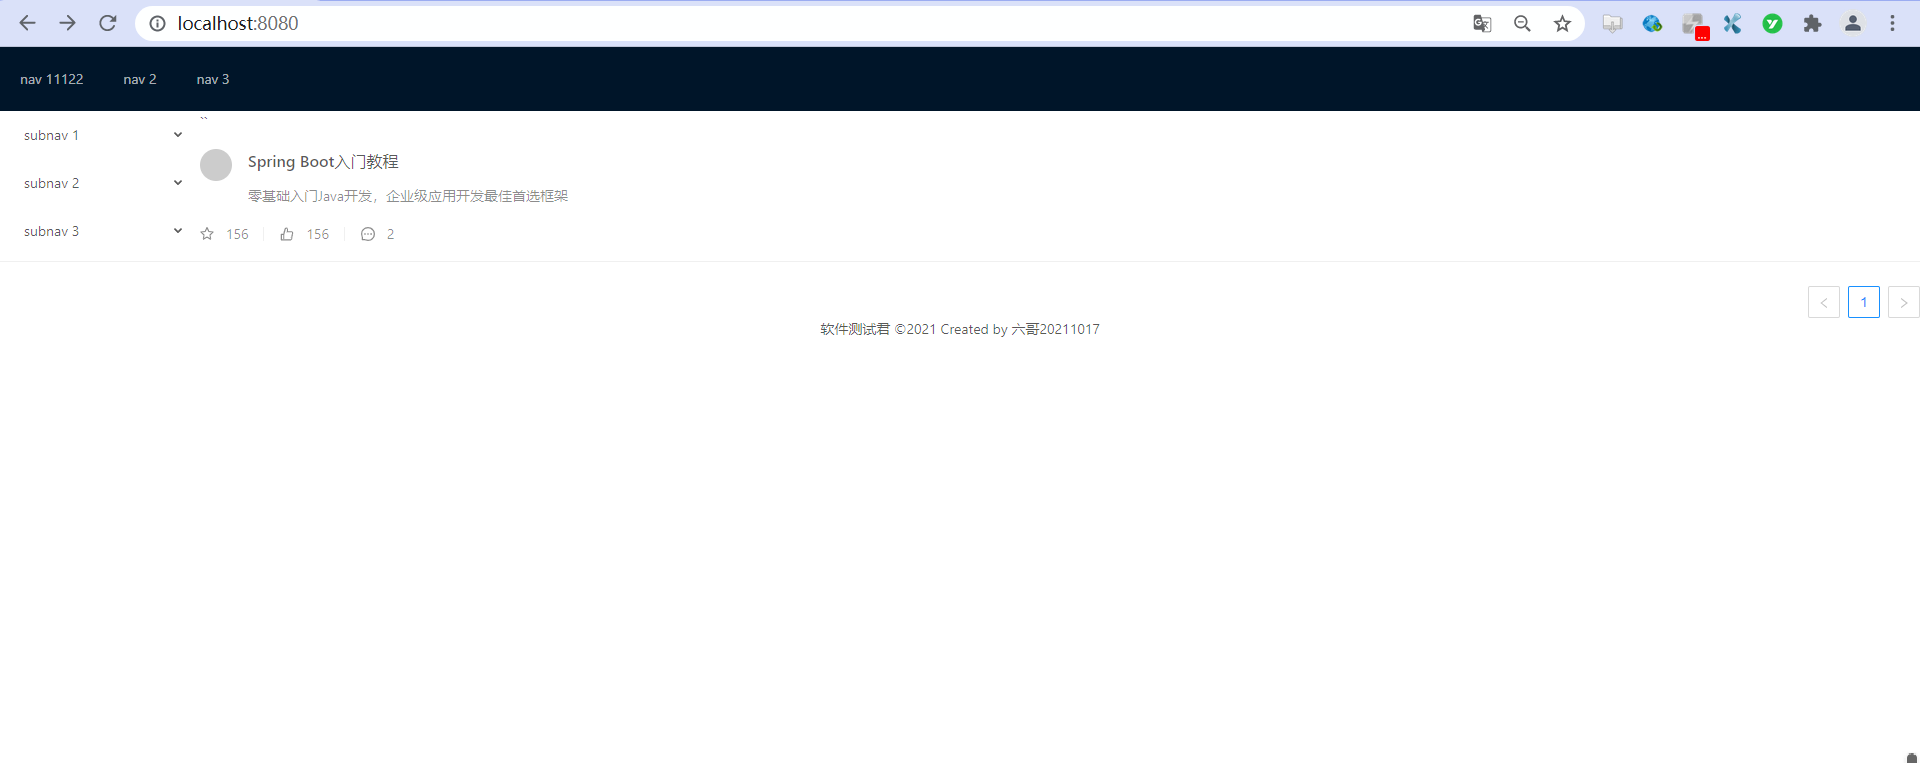
2.3、接口数据改造很明显,列表数据太少,我对接口进行改造,让其返回多条数据。 我们从service中,不难看出我们做的是,不管传入什么,都是写死的走的模糊查询,这里我们改成动态SQL即可, 示例代码如下: package com.rongrong.wiki.service;import com.rongrong.wiki.domain.EBook;import com.rongrong.wiki.domain.EBookExample;import com.rongrong.wiki.mapper.EBookMapper;import com.rongrong.wiki.req.EBookReq;import com.rongrong.wiki.resp.EBookResp;import org.springframework.stereotype.Service;import org.springframework.util.ObjectUtils;import javax.annotation.Resource;import java.util.List;import static com.rongrong.wiki.util.CopyUtil.copyList;/** * @author rongrong * @version 1.0 * @description * @date 2021/10/13 23:09 */@Servicepublic class EBookService { @Resource private EBookMapper eBookMapper; public List<EBookResp> list(EBookReq eBookReq) { EBookExample eBookExample = new EBookExample(); //此处代码的意思相当于,搞了一个Sql的where条件 EBookExample.Criteria criteria = eBookExample.createCriteria(); //划波浪线为不推荐使用,这里我们去看源代码做个替换即可 if(!ObjectUtils.isEmpty(eBookReq.getName())){ criteria.andNameLike("%"+eBookReq.getName()+"%"); } List<EBook> eBookList = eBookMapper.selectByExample(eBookExample); //List<EBookResp> eBookRespList = new ArrayList<>(); //for (EBook eBook: eBookList) { // //EBookResp eBookResp = new EBookResp(); // ////spring boot 自带的BeanUtils完成对象的拷贝 // //BeanUtils.copyProperties(eBook, eBookResp); // //eBookResp.setId(12345L); // //单体复制 // EBookResp copy = copy(eBook, EBookResp.class); // eBookRespList.add(copy); //} //列表复制 List<EBookResp> respList = copyList(eBookList, EBookResp.class); return respList; }}查看接口返回数据,如下: 
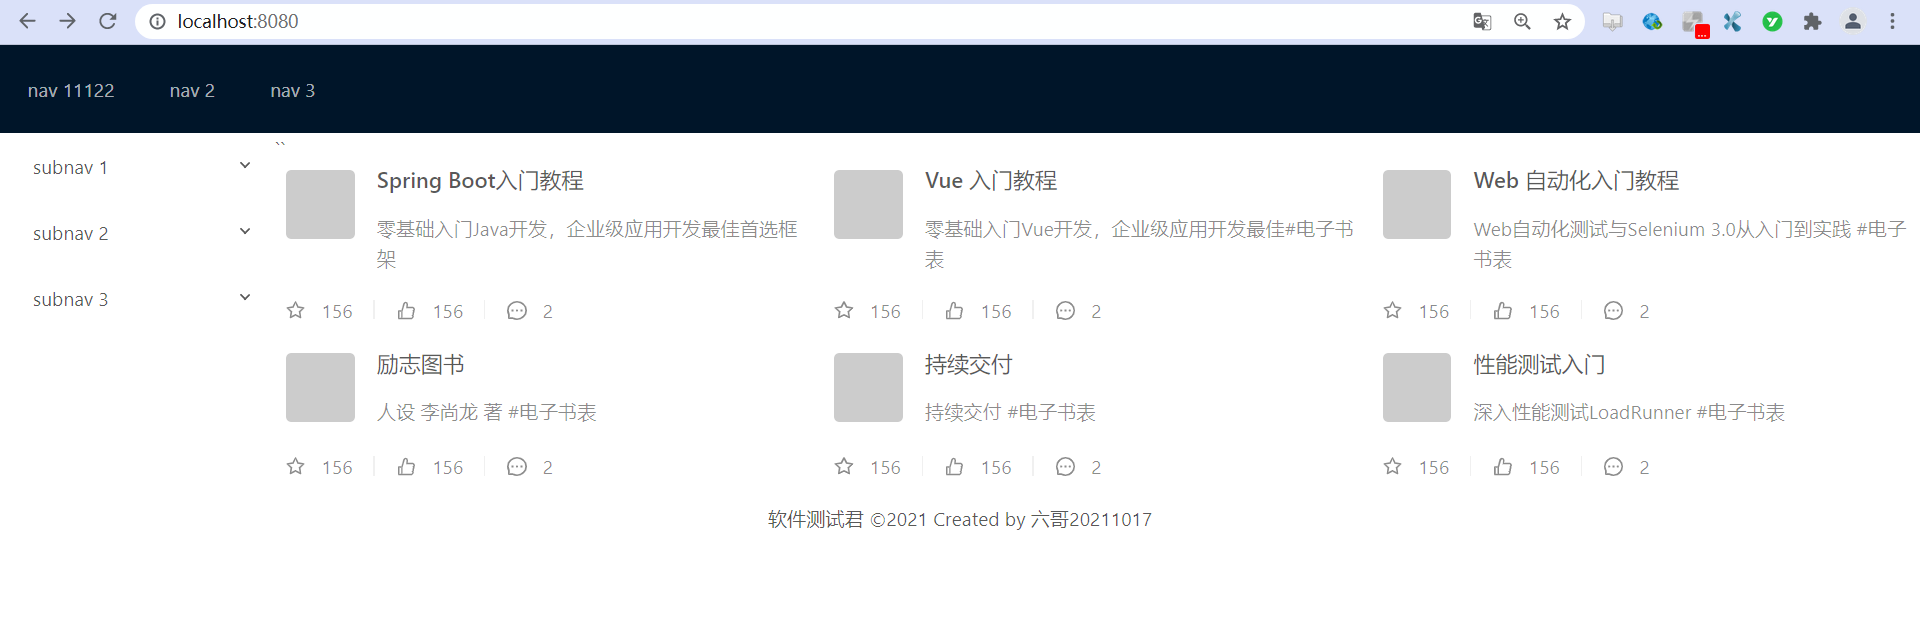
2.4、list列表一行显示为多条数据接口改造完成,接着需要对列表显示内容进行修改,同样在list列表找到栅格列表,我们还在home中修改,示例代码如下: <template> <a-layout> `<a-layout-sider width="200" style="background: #fff"> <a-menu mode="inline" v-model:selectedKeys="selectedKeys2" v-model:openKeys="openKeys" :style="{ height: '100%', borderRight: 0 }" > <a-sub-menu key="sub1"> <template #title> <span> <user-outlined /> subnav 1 </span> </template> <a-menu-item key="1">option1</a-menu-item> <a-menu-item key="2">option2</a-menu-item> <a-menu-item key="3">option3</a-menu-item> <a-menu-item key="4">option4</a-menu-item> </a-sub-menu> <a-sub-menu key="sub2"> <template #title> <span> <laptop-outlined /> subnav 2 </span> </template> <a-menu-item key="5">option5</a-menu-item> <a-menu-item key="6">option6</a-menu-item> <a-menu-item key="7">option7</a-menu-item> <a-menu-item key="8">option8</a-menu-item> </a-sub-menu> <a-sub-menu key="sub3"> <template #title> <span> <notification-outlined /> subnav 3 </span> </template> <a-menu-item key="9">option9</a-menu-item> <a-menu-item key="10">option10</a-menu-item> <a-menu-item key="11">option11</a-menu-item> <a-menu-item key="12">option12</a-menu-item> </a-sub-menu> </a-menu> </a-layout-sider>` <a-list item-layout="vertical" size="large" :grid="{ gutter: 16, column: 3 }" :data-source="ebooks1"> <template #renderItem="{ item }"> <a-list-item key="item.name"> <template #actions> <span v-for="{ type, text } in actions" :key="type"> <component v-bind:is="type" style="margin-right: 8px" /> {{ text }} </span> </template> <a-list-item-meta :description="item.description"> <template #title> <a :href="item.href" rel="external nofollow" rel="external nofollow" rel="external nofollow" rel="external nofollow" >{{ item.name }}</a> </template> <template #avatar><a-avatar :src="item.cover" /></template> </a-list-item-meta> </a-list-item> </template> </a-list> </a-layout></template><script lang="ts">import { defineComponent,onMounted,ref,reactive,toRef} from 'vue';import axios from 'axios';import { StarOutlined, LikeOutlined, MessageOutlined } from '@ant-design/icons-vue';const listData: Record<string, string>[] = [];export default defineComponent({ components: { StarOutlined, LikeOutlined, MessageOutlined, }, name: 'Home', setup(){ const pagination = { onChange: (page: number) => { console.log(page); }, pageSize: 3, }; const actions: Record<string, string>[] = [ { type: 'StarOutlined', text: '156' }, { type: 'LikeOutlined', text: '156' }, { type: 'MessageOutlined', text: '2' }, ]; console.log('set up'); //使用ref进行数据绑定 const ebooks=ref(); // 使用reactive进行数据绑定 const ebooks1=reactive({books:[]}) onMounted(()=>{ axios.get("http://localhost:8888/ebook/list?name=").then(response =>{ console.log("onMounted"); const data=response.data; ebooks.value=data.content; ebooks1.books=data.content; }) }) return{ pagination, actions, ebooks1: ebooks, ebooks2:toRef(ebooks1,"books") } }});</script><style>.ant-layout-sider{ float: left;}</style>知识点: :grid="{ gutter: 16, column: 4 }" ,是进行栅格显示,栅格间隔16,每行显示4个- 这里要删除:
pagination="pagination" ,即分页显示
再来重新编译,查看效果如下: 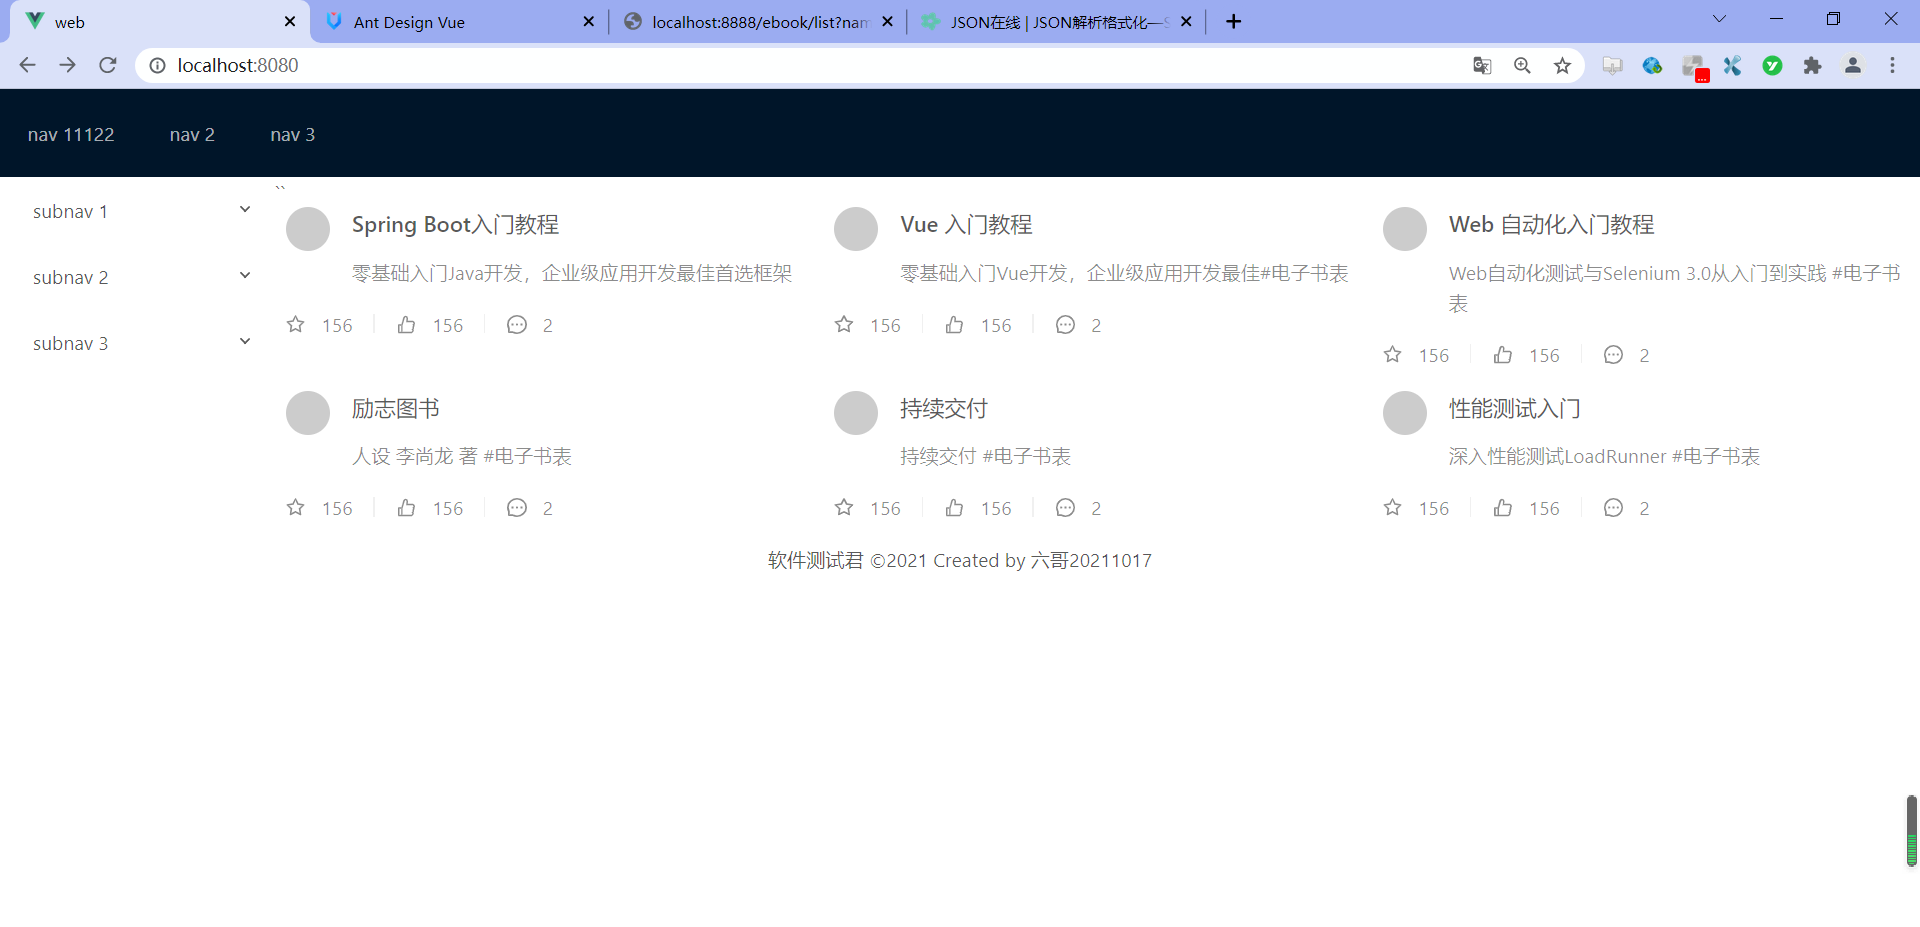
2.5、列表内容前图标样式修改一切看是很好,但感觉是图书封面有点小不好看,如下图: 
来接着改样式,只需在home里调整即可,示例代码如下: html<template> <a-layout> `<a-layout-sider width="200" style="background: #fff"> <a-menu mode="inline" v-model:selectedKeys="selectedKeys2" v-model:openKeys="openKeys" :style="{ height: '100%', borderRight: 0 }" > <a-sub-menu key="sub1"> <template #title> <span> <user-outlined /> subnav 1 </span> </template> <a-menu-item key="1">option1</a-menu-item> <a-menu-item key="2">option2</a-menu-item> <a-menu-item key="3">option3</a-menu-item> <a-menu-item key="4">option4</a-menu-item> </a-sub-menu> <a-sub-menu key="sub2"> <template #title> <span> <laptop-outlined /> subnav 2 </span> </template> <a-menu-item key="5">option5</a-menu-item> <a-menu-item key="6">option6</a-menu-item> <a-menu-item key="7">option7</a-menu-item> <a-menu-item key="8">option8</a-menu-item> </a-sub-menu> <a-sub-menu key="sub3"> <template #title> <span> <notification-outlined /> subnav 3 </span> </template> <a-menu-item key="9">option9</a-menu-item> <a-menu-item key="10">option10</a-menu-item> <a-menu-item key="11">option11</a-menu-item> <a-menu-item key="12">option12</a-menu-item> </a-sub-menu> </a-menu> </a-layout-sider>` <a-list item-layout="vertical" size="large" :grid="{ gutter: 16, column: 3 }" :data-source="ebooks1"> <template #renderItem="{ item }"> <a-list-item key="item.name"> <template #actions> <span v-for="{ type, text } in actions" :key="type"> <component v-bind:is="type" style="margin-right: 8px" /> {{ text }} </span> </template> <a-list-item-meta :description="item.description"> <template #title> <a :href="item.href" rel="external nofollow" rel="external nofollow" rel="external nofollow" rel="external nofollow" >{{ item.name }}</a> </template> <template #avatar><a-avatar :src="item.cover" /></template> </a-list-item-meta> </a-list-item> </template> </a-list> </a-layout></template><script lang="ts">import { defineComponent,onMounted,ref,reactive,toRef} from 'vue';import axios from 'axios';import { StarOutlined, LikeOutlined, MessageOutlined } from '@ant-design/icons-vue';const listData: Record<string, string>[] = [];export default defineComponent({ components: { StarOutlined, LikeOutlined, MessageOutlined, }, name: 'Home', setup(){ const pagination = { onChange: (page: number) => { console.log(page); }, pageSize: 3, }; const actions: Record<string, string>[] = [ { type: 'StarOutlined', text: '156' }, { type: 'LikeOutlined', text: '156' }, { type: 'MessageOutlined', text: '2' }, ]; console.log('set up'); //使用ref进行数据绑定 const ebooks=ref(); // 使用reactive进行数据绑定 const ebooks1=reactive({books:[]}) onMounted(()=>{ axios.get("http://localhost:8888/ebook/list?name=").then(response =>{ console.log("onMounted"); const data=response.data; ebooks.value=data.content; ebooks1.books=data.content; }) }) return{ pagination, actions, ebooks1: ebooks, ebooks2:toRef(ebooks1,"books") } }});</script><style scoped>.ant-layout-sider{ float: left;}.ant-avatar { width: 50px; height: 50px; line-height: 50px; border-radius: 8%; margin: 5px 0;}</style>再次重新编译,查看下过如下:
到此这篇关于Vue3 列表界面数据展示详情的文章就介绍到这了,更多相关Vue3 列表界面数据展示内容请搜索51zixue.net以前的文章或继续浏览下面的相关文章希望大家以后多多支持51zixue.net!
下载地址:
Vue3 组件的开发详情
Vue3之 Vue CLI多环境配置 |


