| 
一、项目集成官网链接:https://sweetalert2.github.io 
案例 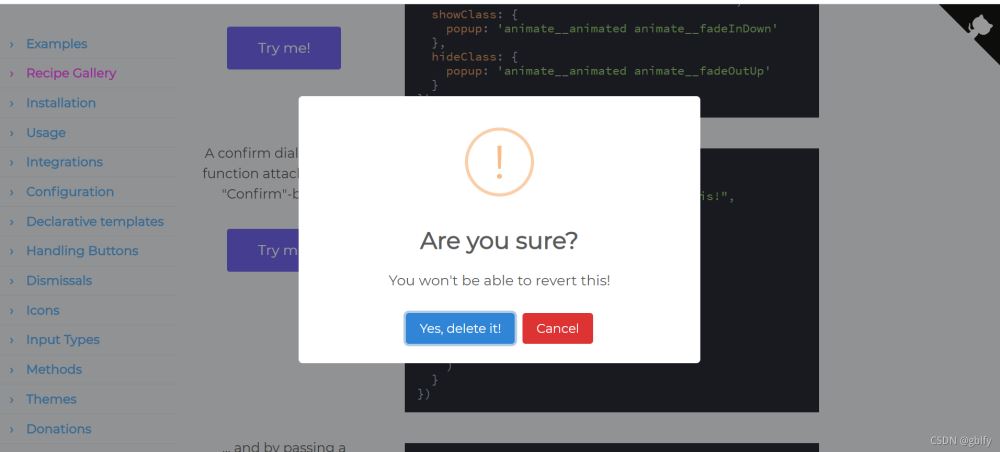
1. 引入方式 CDN引入方式:在index.html中全局引入 <script src="//cdn.jsdelivr.net/npm/sweetalert2@11"></script> 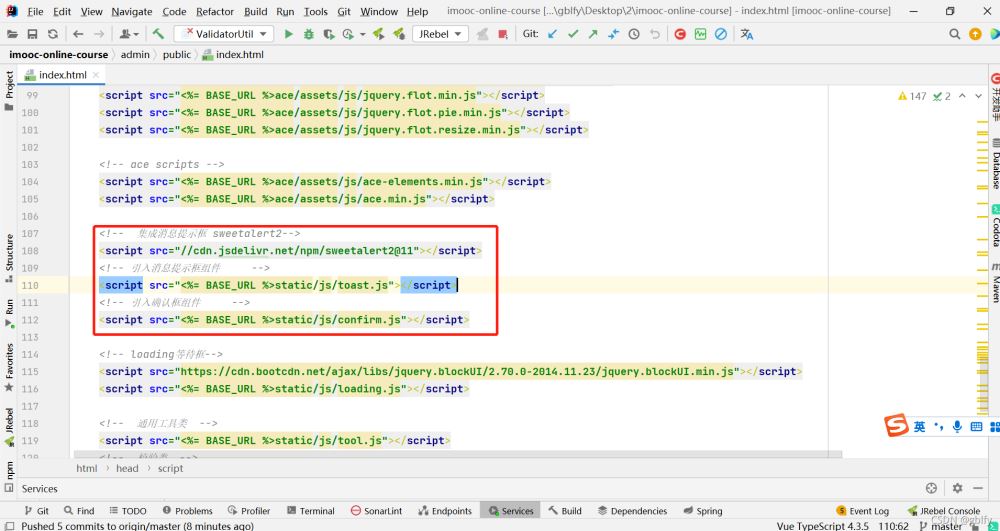
位置: 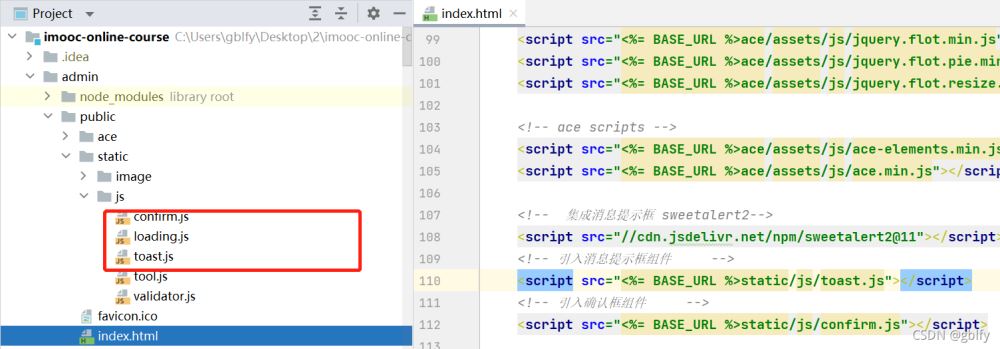
npm安装方式:
2. 确认框封装Confirm = { show: function (message, callback) { Swal.fire({ title: '确认 ?', text: message, icon: 'warning', showCancelButton: true, confirmButtonColor: '#3085d6', cancelButtonColor: '#d33', confirmButtonText: '是的, 已确认!' }).then((result) => { if (result.isConfirmed) { if (callback) { callback() } } }) }}
3. 提示框封装Toast = { success: function (message) { Swal.fire({ position: 'top-end', icon: 'success', title: message, showConfirmButton: false, timer: 3000 }) }, error: function (message) { Swal.fire({ position: 'top-end', icon: 'error', title: message, showConfirmButton: false, timer: 3000 }) }, warning: function (message) { Swal.fire({ position: 'top-end', icon: 'warning', title: message, showConfirmButton: false, timer: 3000 }) }};
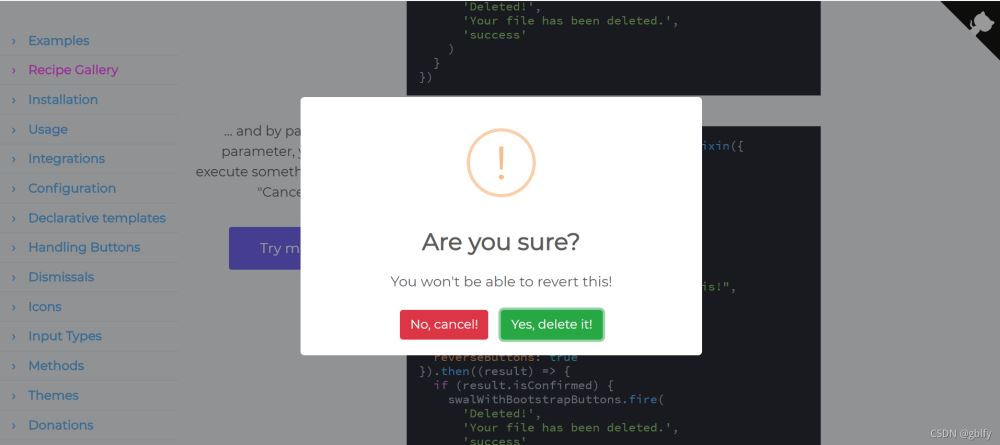
4. 确认框使用/** * 点击【删除】 */ del(id) { let _this = this Confirm.show("删除后不可恢复, 确认删除 !", function () { Loading.show() _this.$api.delete('http://127.0.0.1:9000/business/admin/chapter/delete/' + id).then((res) => { Loading.hide() console.log("删除大章列表结果:", res) let resp = res.data if (resp.success) { _this.list(1) Swal.fire( '删除成功!', '删除成功!', 'success' ) } }) })
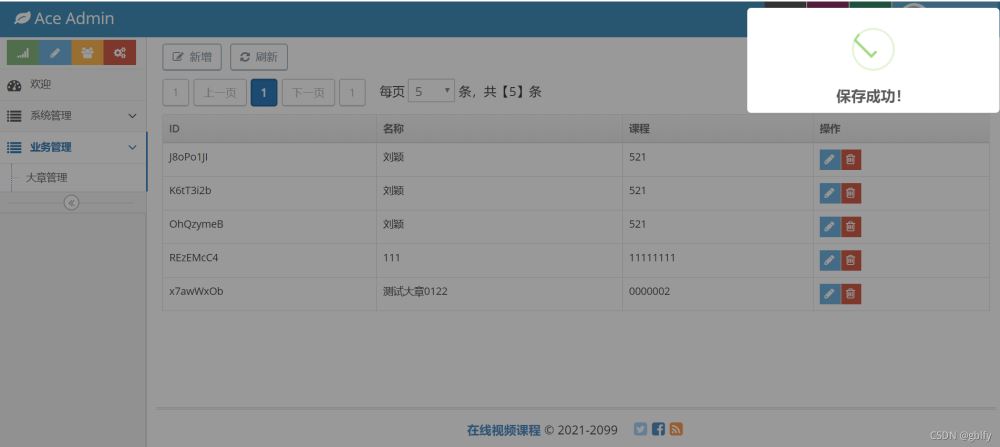
5. 消息提示框使用 /** * 点击【保存】 */ save() { let _this = this Loading.show() _this.$api.post('http://127.0.0.1:9000/business/admin/chapter/save', _this.chapter).then((res) => { Loading.hide() console.log("保存大章列表结果:", res) let resp = res.data if (resp.success) { $("#form-modal").modal("hide") _this.list(1) Toast.success("保存成功!") } else { Toast.warning(resp.message) } }) }
6.项目效果
到此这篇关于vue 集成 sweetalert2 提示组件的文章就介绍到这了,更多相关vue 集成 sweetalert2内容请搜索51zixue.net以前的文章或继续浏览下面的相关文章希望大家以后多多支持51zixue.net!
下载地址:
Vue绑定class和绑定内联样式的实现方法
JavaScript Dom对象的操作 |


