| 最近学习vue项目,遇见elementui导出数据为xlsx、excel表格,今天就介绍给大家,也给自己留个笔记,方便查询 我这里为了同学们好理解,把所有元素都写到一个页面。 1.第一步安装插件 npm install file-savernpm install xlsx 2.第二步在mian.js中设置全局 // vue中导出excel表格模板import FileSaver from 'file-saver'import XLSX from 'xlsx' Vue.prototype.$FileSaver = FileSaver; //设置全局Vue.prototype.$XLSX = XLSX; //设置全局 3.第三步使用 <template> <div class="daochu"> <el-button @click="o" type="success" round>导出</el-button> <el-table id="ou" :data="tableData" style="width: 100%" :default-sort="{ prop: 'date', order: 'descending' }" > <el-table-column prop="date" label="日期" sortable width="180"> </el-table-column> <el-table-column prop="name" label="姓名" sortable width="180"> </el-table-column> <el-table-column prop="address" label="地址" :formatter="formatter"> </el-table-column> </el-table> </div></template><script>export default { data() { return { tableData: [ { date: "2016-05-02", name: "王小虎", address: "上海市普陀区金沙江路 1518 弄", }, { date: "2016-05-04", name: "王小虎", address: "上海市普陀区金沙江路 1517 弄", } ], }; }, methods:{ o() { let tables = document.getElementById("ou"); let table_book = this.$XLSX.utils.table_to_book(tables); var table_write = this.$XLSX.write(table_book, { bookType: "xlsx", bookSST: true, type: "array", }); try { this.$FileSaver.saveAs( new Blob([table_write], { type: "application/octet-stream" }), "sheetjs.xlsx" ); } catch (e) { if (typeof console !== "undefined") console.log(e, table_write); } return table_write; }, }}</script>可以看到已经导出 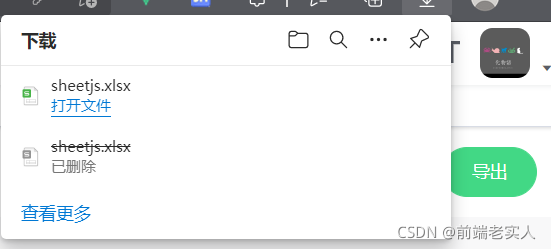
实际工作中导出按钮单独抽离出去做到可以复用才是比较合理的 到此这篇关于elementui导出数据为xlsx、excel表格的文章就介绍到这了,更多相关elementui导出数据为xlsx、excel表格内容请搜索wanshiok.com以前的文章或继续浏览下面的相关文章希望大家以后多多支持wanshiok.com!
Vue.js directive自定义指令详解
Vue.js之mixins混合组件详解 |
