| 本文实例为大家分享了js实现上传图片控件的具体代码,供大家参考,具体内容如下 一、修改原生 input 样式html 结构 <div class="card"> <input id="upload" type="file" accept=".jpg" /> <div class="view"> <!-- 上传成功后 --> <div id="imgContainer" class="img-container"> <img id="img" /> <!-- 鼠标移入展示 查看 与 删除 操作 --> <div class="img-mask"> <span id="showImg">查看</span> <span id="delImg">删除</span> </div> </div> <!-- 上传成功前 --> <span id="icon">+</span> </div></div> css 样式 .card { position: relative; width: 200px; height: 140px; padding: 5px; margin-right: 20px; border: 1px dashed #d9d9d9; border-radius: 6px; margin: 300px auto;}.card input { position: absolute; left: 0; top: 0; width: 100%; height: 100%; opacity: 0; cursor: pointer;}.card .view { width: 100%; height: 100%; display: flex; justify-content: center; align-items: center;}.card .view #icon { display: inline-block; font-size: 30px;}.card .view .img-container { position: absolute; left: 0; top: 0; width: 100%; height: 100%; display: none;}.img-container img { width: 100%; height: 100%;}.img-container .img-mask { position: absolute; left: 0; top: 0; width: 100%; height: 100%; opacity: 0; background: rgba(0, 0, 0, .3); transition: all .5s ease; display: flex; justify-content: center; align-items: center;}.img-container:hover .img-mask { opacity: 1;}.img-mask span { color: #fff; margin: 0 10px; cursor: pointer;}效果展示 
二、上传图片并展示监听 input 的 change 事件,图片上传成功后创建 URL <script> const upload = document.getElementById('upload'); const imgContainer = document.getElementById('imgContainer'); const img = document.getElementById('img'); const icon = document.getElementById('icon'); let imgUrl = ''; // 图片上传成功后创建 URL upload.onchange = function (value) { const fileList = value.target.files; if (fileList.length) { imgContainer.style.display = 'block'; icon.style.display = 'none'; imgUrl = window.URL.createObjectURL(fileList[0]); img.src = imgUrl; } }<script>上传成功后展示 
三、实现图片预览写一个 modal 框 <!-- 预览图片的 modal 框 --><div id="modal"> <span id="closeIcon">关闭</span> <div class="content"> <img id="modalImg"> </div></div> modal 样式 /* modal 样式 */#modal { position: fixed; top: 50%; left: 50%; transform: translate(-50%, -50%); width: 0; height: 0; box-shadow: 0 0 10px #d9d9d9; background: rgba(0, 0, 0, .3); /* transition: all .1s ease-in-out; */ overflow: hidden;}#modal .content { box-sizing: border-box; width: 100%; height: 100%; padding: 45px 20px 20px; display: flex; justify-content: center;}#modal #modalImg { height: 100%;}#modal #closeIcon { position: absolute; top: 10px; right: 10px; cursor: pointer;}然后获取元素, 监听点击事件 /* ...接以上代码 */const showImg = document.getElementById('showImg');const delImg = document.getElementById('delImg');const modal = document.getElementById('modal');const modalImg = document.getElementById('modalImg');const closeIcon = document.getElementById('closeIcon');// 点击预览图片showImg.onclick = function () { modal.style.width = '100%'; modal.style.height = '100%'; modalImg.src = imgUrl;}// 关闭 modal 框closeIcon.onclick = function () { modal.style.width = '0'; modal.style.height = '0'; modalImg.src = '';}// 删除上传的图片delImg.onclick = function () { upload.value = ''; imgUrl = ''; icon.style.display = 'block'; imgContainer.style.display = 'none';}预览效果图 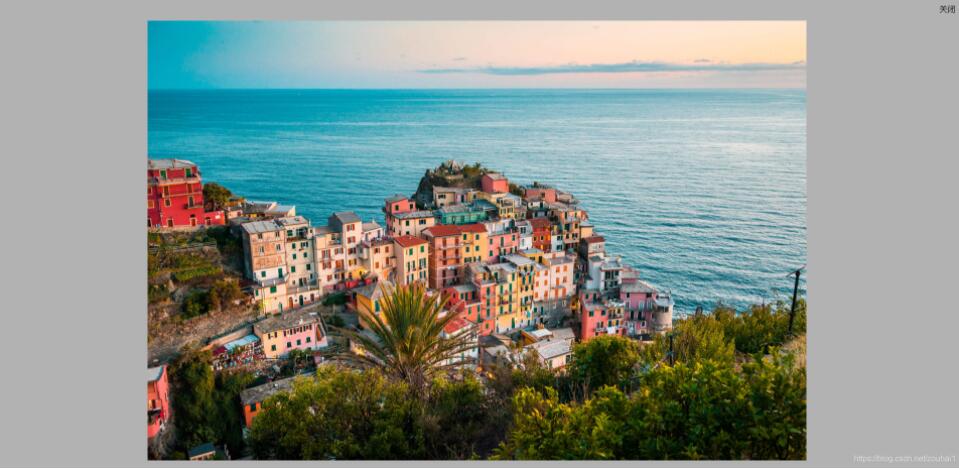
以上就是本文的全部内容,希望对大家的学习有所帮助,也希望大家多多支持wanshiok.com。
JavaScript实现全选或反选功能
JavaScript知识:构造函数也是函数 |


