React的生命周期两张图带你理解 React的生命周期 React的生命周期(旧)

class Life extends React.Component{ // 构造器 constructor(props){ console.log('Life构造器---constructor'); super(props) this.state={num:0} } // 计算+1功能 add=()=>{ const {num} = this.state this.setState({num:num+1}) } // 删除组件 death=()=>{ ReactDOM.unmountComponentAtNode(document.getElementById('text')) } force=()=>{ this.forceUpdate() } // 将要挂载 componentWillMount(){ console.log('Life将要挂载---componentWillMount'); } // 已经挂载 componentDidMount(){ console.log('Life已经挂载---componentDidMount'); } // 删除触发 componentWillUnmount(){ console.log('Life删除触发---componentWillUnmount'); } // 是否应该改变数据 shouldComponentUpdate(){ console.log('Life是否改变数据---shouldComponentUpdate'); return true } // 将要改变数据 componentWillUpdate(){ console.log('Life将要改变数据---componentWillUpdate'); } // 改变数据 componentDidUpdate(){ console.log('Life改变数据---componentDidUpdate'); } render(){ console.log('Life---render'); const {num} = this.state return( <div> <h1>计数器:{num}</h1> <button onClick={this.add}>点我+1</button> <button onClick={this.death}>删除</button> <button onClick={this.force}>不更改任何状态的数据,强制更新</button> </div> ) } } // 渲染页面 ReactDOM.render(<Life />, document.getElementById('text'))挂载步骤 
更新步骤 
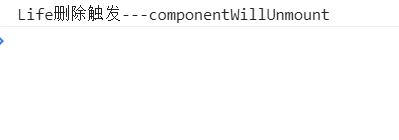
删除 
总结: 初始化阶段: 由ReactDOM.render()触发
React中使用axios发送请求的几种常用方法
使用auto.js实现自动化每日打卡功能 |

