这篇教程基于python + django + whoosh + jieba 分词器实现站内检索功能写得很实用,希望能帮到您。
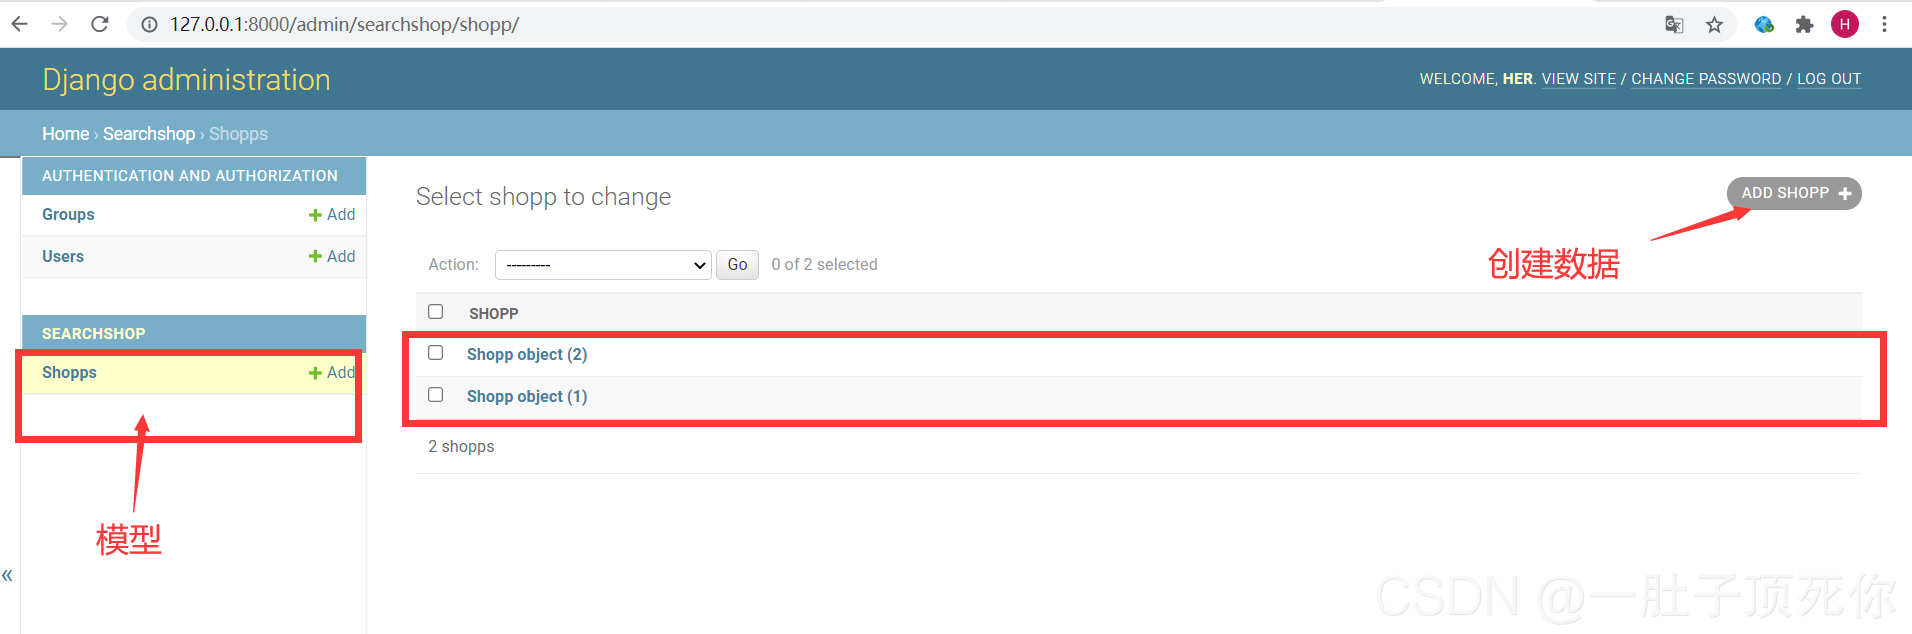
基于 python django源码 前期准备安装库: pip install django-haystackpip install whooshpip install jieba 如果pip 安装超时,可配置pip国内源下载,如下: pip install -i http://mirrors.aliyun.com/pypi/simple/ --trusted-host mirrors.aliyun.com <安装的库> pip install -i http://mirrors.aliyun.com/pypi/simple/ --trusted-host mirrors.aliyun.com django 如果安装 django-haystack 失败,先安装 setuptools_scm .在安装 django-haystack. pip install setuptools_scm 项目 创建项目demo: # django-admin startproject <项目名> django-admin startproject find 切入demo 终端操作,创建app: # python manage.py startapp <APP名> python manage.py startapp searchshop 在 settings.py 文件 中的 INSTALLED_APPS 配置 注入 刚才创建APP( 路径: find/find/settings.py): INSTALLED_APPS = [ ... 'searchshop', ...] 在创建的APP中添加模型 models.py 文件添加如下(路径: find/searchshop/models.py): class Shopp(models.Model): shop_name = models.TextField(max_length=200) shop_price = models.IntegerField(default=0) shop_dsc = models.CharField(max_length=200) 在app 中admin.py文件注册模型: admin.py 文件添加如下(路径: find/searchshop/admin.py): from .models import Shoppadmin.site.register(Shopp) 执行命令,让模型生效(修改模型时,都要执行一次,这样模型才同步!!!): python manage.py makemigrations python manage.py migrate 创建后台管理帐号访问后台可操作模型数据: python manage.py createsuperuser 运行: python manage.py runserver 访问: http:127.0.0.1:8080/admin 登录刚才设置帐号,密码即可进入:
搭建站内搜索配置 haystack 在 settings.py 文件 中的 INSTALLED_APPS 配置最底部 注入 haystack( 路径: find/find/settings.py): INSTALLED_APPS = [ ... 'haystack'] 在app内,添加 search_indexes.py (目录:find/searchshop/search_indexes.py): from haystack import indexesfrom .models import Shopp # 之前创建的模型# 修改此处,类名为模型类的名称+Index,比如模型类为GoodsInfo,则这里类名为GoodsInfoIndex(其实可以随便写)class ArticlePostIndex(indexes.SearchIndex, indexes.Indexable): # text为索引字段 # document = True,这代表haystack和搜索引擎将使用此字段的内容作为索引进行检索 # use_template=True 指定根据表中的那些字段建立索引文件的说明放在一个文件中 text = indexes.CharField(document=True, use_template=True) # 对那张表进行查询 def get_model(self): # 重载get_model方法,必须要有! # 返回这个model return Shopp # 建立索引的数据 def index_queryset(self, using=None): # 这个方法返回什么内容,最终就会对那些方法建立索引,这里是对所有字段建立索引 return self.get_model().objects.all() 生成检索索引 python manage.py rebuild_index 项目目录多出whoosh_index文件夹. 修改分词器 从 pyrhon 安装路径 ( /Lib/site-packages/haystack/backends/whoosh_backend.py) 复制一份到app中改名为 whoosh_cn_backend (find/searchshop/whoosh_cn_backend.py)
在顶部引用: from jieba.analyse import ChineseAnalyzer 找到 (查找 StemmingAnalyzer ) 位置: schema_fields[field_class.index_fieldname] = TEXT( stored=True, analyzer=StemmingAnalyzer(), field_boost=field_class.boost, sortable=True, ) 替换: schema_fields[field_class.index_fieldname] = TEXT(stored=True, analyzer=ChineseAnalyzer(), field_boost=field_class.boost) 在 INSTALLED_APPS(路径: find/find/settings.py) 配置后面 后面添加: HAYSTACK_CONNECTIONS = { 'default': { # 指定whoosh引擎 (之前创建的whoosh_cn_backend) 'ENGINE': 'searchshop.whoosh_cn_backend.WhooshEngine', # 'ENGINE': 'jsapp.whoosh_cn_backend.WhooshEngine', # whoosh_cn_backend是haystack的whoosh_backend.py改名的文件为了使用jieba分词 # 索引文件路径 'PATH': os.path.join(BASE_DIR, 'whoosh_index'), }} # 添加此项,当数据库改变时,会自动更新索引,非常方便HAYSTACK_SIGNAL_PROCESSOR = 'haystack.signals.RealtimeSignalProcessor'添加 templates 在APP中创建 templates文件夹. 添加内容检索内容 在templates文件夹下创建文件夹 search -> indexes -> searchshop( search + APP名);
路径( 目录: find/searchshop/templates/search/indexes/searchshop) 添加Shopp_text.txt(APP名_text.txt): (需要检索的字段名) {{object.shop_name}}{{object.shop_dsc}}{{object.shop_price}}添加页面模板 在templates文件夹下创建文件夹(searchshop) 下创建index.html: {% load highlight %}<!DOCTYPE html><html lang="en"><head> <meta charset="UTF-8"> <title>商品列表</title> <style> span.highlighted { color: red; } </style></head><body> <div class="search"> <form method="get" action="{% url 'shop:search' %}"> <input type="text" name="q" placeholder="a搜索商品"> <input type="submit" value="搜索"> </form> </div> {% if shop_list and query %} <ul> {% for question in shop_list %} <li> {% highlight question.object.shop_name with query %} 价格: {% highlight question.object.shop_price with query %} <span class="post-author"> <a> {% highlight question.object.shop_dsc with query %} </a></span> </li> {% endfor %} </ul> {% else %} <p>No polls are available.</p> {% endif %}</body></html>load highlight : 加载高亮.
query : 检索词
shop_list : 检索结果 视图层目录: find/searchshop/views.py from django.shortcuts import renderfrom django.http import HttpResponse#Create your views here.from .models import Shoppfrom haystack.forms import ModelSearchFormfrom haystack.query import EmptySearchQuerySetdef index(request): shop_list = Shopp.objects.all() context = { 'query': '', 'shop_list': shop_list } return render(request, 'searchshop/index.html', context)def search(request, load_all=True, form_class=ModelSearchForm, searchqueryset=None): if request.GET.get('q'): form = form_class(request.GET, searchqueryset=searchqueryset, load_all=load_all) if form.is_valid(): query = form.cleaned_data['q'] results = form.search() context = { 'query': query, 'shop_list': results } return render(request, 'searchshop/index.html', context) # results = form.search() return HttpResponse(request.GET.get('q')) return HttpResponse('查询')配置路由在 find/searchshop 创建 urls.py from . import viewsapp_name = 'shop' # 重点是这一行urlpatterns = [ path('', views.index, name='index'), path('search', views.search, name='search'), # path(r'search/$', views.search, name='search')]修改 urls.py(目录: find/find/urls.py) from django.urls import path, includeurlpatterns = [ path('shop', include('searchshop.urls')), path('admin/', admin.site.urls),]运行: python manage.py runserver 测试 http://127.0.0.1:8000/shop 

分词器所以'红米'查询不到… 
到此这篇关于基于python + django + whoosh + jieba 分词器实现站内检索的文章就介绍到这了,更多相关python django 分词器实现站内检索内容请搜索51zixue.net以前的文章或继续浏览下面的相关文章希望大家以后多多支持51zixue.net!
手把手带你了解Python数据分析--matplotlib
Python 给我一个链接西瓜视频随便下载爬虫 |


