这篇教程Python Django模板系统详解写得很实用,希望能帮到您。
设置模板路径在django项目下创建templats文件来存放html文件

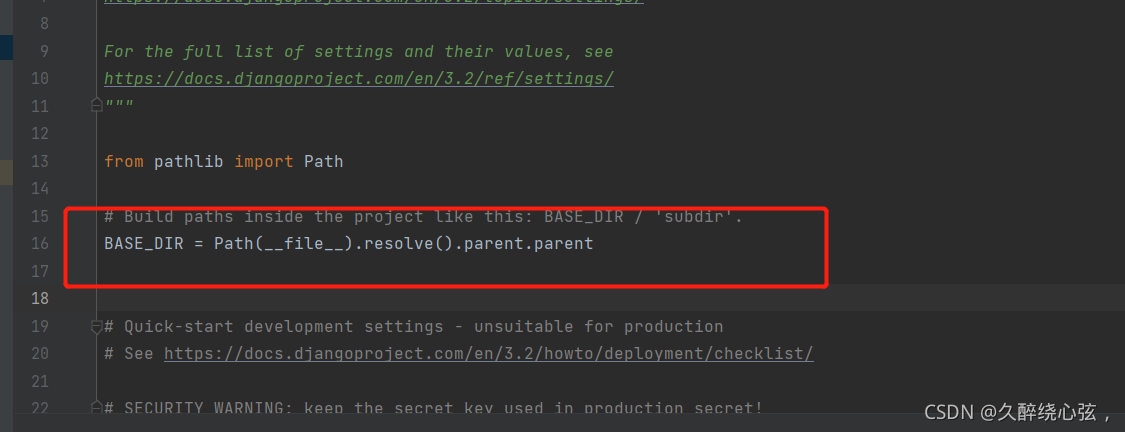
为了减少模板加载调用过程及模板本身的冗余代码,Django 提供了一种使用方便且功能强大的 API ,当使用模板加载API时,需要将模板路径告诉框架,在项目settings.py中设置模板路径,如图: settings.py中的BASE_DIR为项目路径。
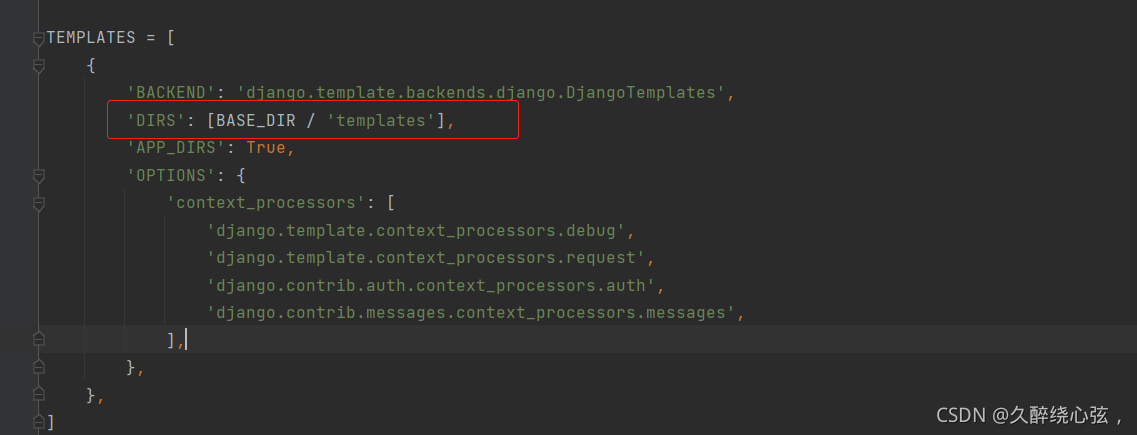
在TEMPLATES中的BIRS来设置模板路径
templates下编写index.html写入如下代码:
!DOCTYPE html><html lang="en"><head> <meta charset="UTF-8"> <title>首页</title></head><body> <h1>hello world!</h1></body></html> 视图文件view.py中编写如下代码,通过render渲染html文件: from django.shortcuts import render# 获取对应模板通过render渲染def index(request): return render(request, 'index.html') 结果如下:

模板变量Django模板中使用{{ }}来表示变量: {{ 变量名 }}:变量名由字母数字和下划线组成,其值可以是任何数据类型
举例如下:
当模板引擎遇到变量时,会计算该变量,并将其替换为结果 <!DOCTYPE html><html lang="en"><head> <meta charset="UTF-8"> <title>首页</title></head><body> <h3>{{ content }}</h3> <h3>{{ info }}</h3></body></html>view.py中render渲染时通过context以字典形式传递值:
from django.shortcuts import renderdef index(request): content = 'hello world' info = {'name': 'test', 'age': 18} return render(request, 'index.html', context={'content': content, 'info': info})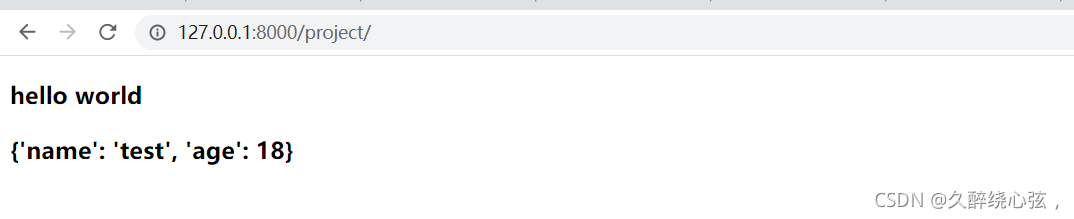
模板中支持以下语法: <!DOCTYPE html><html lang="en"><head> <meta charset="UTF-8"> <title>首页</title></head><body> <h3>{{ content }}</h3> <!-- 获取字典中key的值 --> <h3>{{ info.name }}</h3> <!-- 通过索引获取列表的值 --> <h3>{{li.1}}</h3> <!-- 调用不带参数的方法 --> <h3>{{ fun }}</h3> <!-- 获取对象属性 --> <h3>{{ obj.name }}</h3></body></html>view.py: from django.shortcuts import renderdef index(request): content = 'hello world' info = {'name': 'test', 'age': 18} li = [1, 2, 3] class Obj: def __init__(self, name): self.name = name M = Obj('对象属性:MING') def fun(): return '方法:fun' return render(request, 'index.html', context={'content':content,'info': info,'li': li,'fun': fun,'obj': M})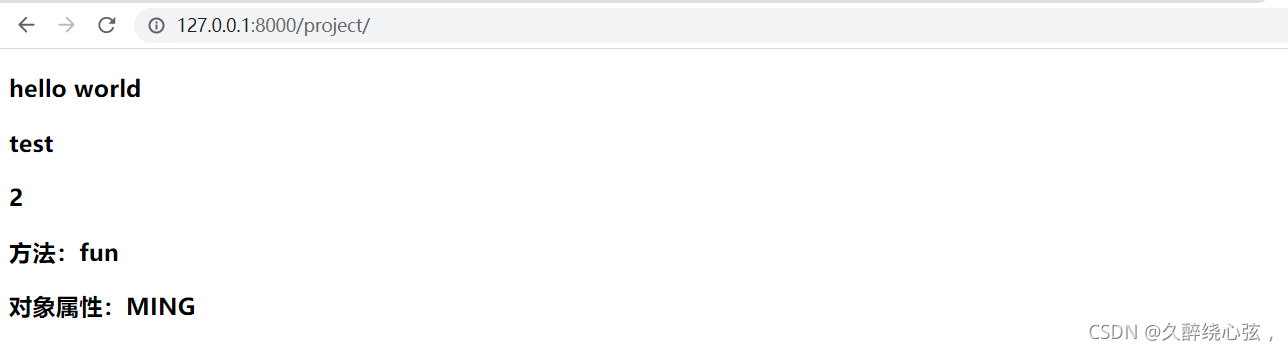
引用静态文件首先在项目根目录下创建存放静态文件的目录,并在settings中设置路径,如下:
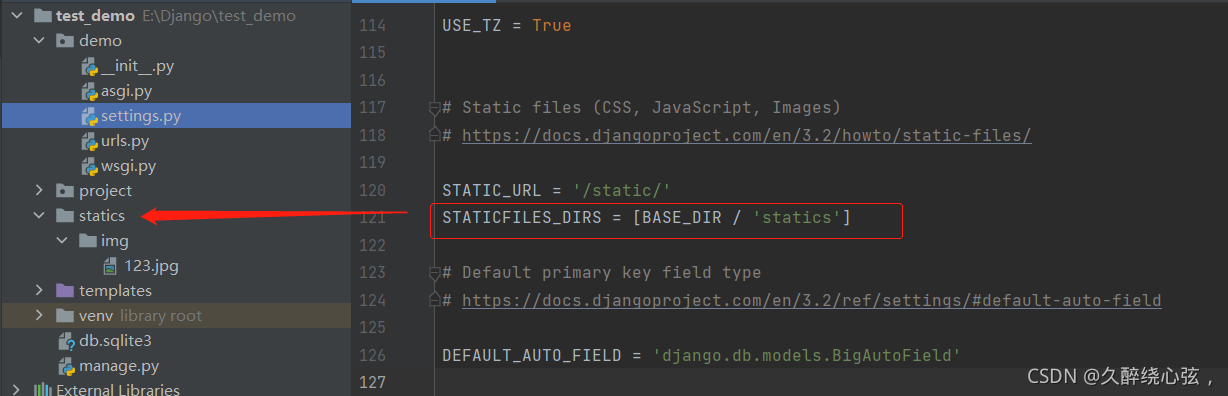
为静态文件引用前缀,当引用文件时代表的是文件根目录,如下:
static代表的是statics
<!DOCTYPE html><html lang="en"><head> <meta charset="UTF-8"> <title>首页</title></head><body> <!-- 图片 --> <img src="/static/img/123.jpg" alt=""></body></html> view.py: from django.shortcuts import renderdef index(request): return render(request, 'index.html') 
总结本篇文章就到这里了,希望能够给你带来帮助,也希望您能够多多关注51zixue.net的更多内容!
TensorFlow人工智能学习Keras高层接口应用示例
TensorFlow人工智能学习数据填充复制实现示例 |


