|
一、基础环境配置
1、关闭firewalld、关闭selinux ##关闭firewalldsystemctl stop firewalldsystemctl disabled firewalld##关闭selinuxsetenforce 0 && sed -i.bak 's/^SELINUX=.*/SELINUX=disabled/g' /etc/selinux/config 2、配置yum仓库
配置zabbix仓库 wget https://repo.zabbix.com/zabbix/5.0/rhel/7/x86_64/zabbix-release-5.0-1.el7.noarch.rpmyum install zabbix-release-5.0-1.el7.noarch.rpm##在/etc/yum.repos.d/中查看zabbix仓库的配置情况[root@localhost opt]# cat /etc/yum.repos.d/zabbix.repo [zabbix]name=Zabbix Official Repository - $basearchbaseurl=http://repo.zabbix.com/zabbix/5.0/rhel/7/$basearch/enabled=1gpgcheck=1gpgkey=file:///etc/pki/rpm-gpg/RPM-GPG-KEY-ZABBIX-A14FE591[zabbix-frontend]name=Zabbix Official Repository frontend - $basearchbaseurl=http://repo.zabbix.com/zabbix/5.0/rhel/7/$basearch/frontendenabled=1gpgcheck=1gpgkey=file:///etc/pki/rpm-gpg/RPM-GPG-KEY-ZABBIX-A14FE591[zabbix-debuginfo]name=Zabbix Official Repository debuginfo - $basearchbaseurl=http://repo.zabbix.com/zabbix/5.0/rhel/7/$basearch/debuginfo/enabled=0gpgkey=file:///etc/pki/rpm-gpg/RPM-GPG-KEY-ZABBIX-A14FE591gpgcheck=1[zabbix-non-supported]name=Zabbix Official Repository non-supported - $basearchbaseurl=http://repo.zabbix.com/non-supported/rhel/7/$basearch/enabled=1gpgkey=file:///etc/pki/rpm-gpg/RPM-GPG-KEY-ZABBIXgpgcheck=1 配置mysql仓库(zabbix监控后台需要用到mysql存储) ##使用清华大学的镜像仓库[root@localhost opt]# cat /etc/yum.repos.d/mysql.repo [mysql]name=mysqlbaseurl=https://mirrors.tuna.tsinghua.edu.cn/mysql/yum/mysql-5.7-community-el7-x86_64/gpgcheck=0enabled=1 配置centos extras仓库(后续的安装需要用到此仓库的软件包) [root@localhost opt]# cat /etc/yum.repos.d/centos-extras.repo [centos-extras]name=centos-extrasbaseurl=https://mirrors.tuna.tsinghua.edu.cn/centos/7.9.2009/extras/x86_64/enabled=1gpgcheck=0
二、安装数据库yum install mysql-community-server 启动mysql服务 systemctl start mysqlsystemctl enable mysql 在服务器初始启动时,会发生以下情况: 服务器初始化。 SSL 证书和密钥文件在数据目录中生成。 validate_password 已安装并启用。 ‘root'@'localhost创建了 一个超级用户帐户。超级用户的密码已设置并存储在错误日志文件中。要显示它,请使用以下命令: [root@localhost opt]# grep 'temporary password' /var/log/mysqld.log2021-08-16T08:00:40.185610Z 1 [Note] A temporary password is generated for root@localhost: r8EaYzX_Xper 通过使用生成的临时密码登录并为超级用户帐户设置自定义密码,尽快更改 root 密码: [root@localhost opt]# mysql -uroot -pEnter password: Welcome to the MySQL monitor. Commands end with ; or /g.Your MySQL connection id is 702Server version: 5.7.35 MySQL Community Server (GPL)Copyright (c) 2000, 2021, Oracle and/or its affiliates.Oracle is a registered trademark of Oracle Corporation and/or itsaffiliates. Other names may be trademarks of their respectiveowners.Type 'help;' or '/h' for help. Type '/c' to clear the current input statement.mysql> ALTER USER 'root'@'localhost' IDENTIFIED BY 'xxxxxxx'; 注意:
validate_password 默认安装。执行的默认密码策略validate_password要求密码至少包含1个大写字母、1个小写字母、1个数字和1个特殊字符,并且密码总长度至少为8个字符。 修改一下mysql的配置文件,提高其性能 [root@centos7 ~]# vim /etc/my.cnf[mysqld] //在[mysqld]下面添加下面两行skip_name_resolve =ONinnodb_file_per_table=ON
三、安装zabbix相关组件
1、安装zabbix-server
安装zabbix-server和zabbix-agent yum install zabbix-server-mysql zabbix-agent 安装zabbix-get命令行工具(用于后期在客户端部署angent是测试监控项使用) 2、安装frontend
启用Red Hat Software Collections(方便安装依赖包) ##这个软件包在centos-extras仓库中,所以之前配置了centos-extras仓库yum install centos-release-scl 编辑配置文件 /etc/yum.repos.d/zabbix.repo and enable zabbix-frontend repository. [zabbix-frontend]...enabled=1... 安装Zabbix frontend packages yum install zabbix-web-mysql-scl zabbix-nginx-conf-scl 安装frontend时报错
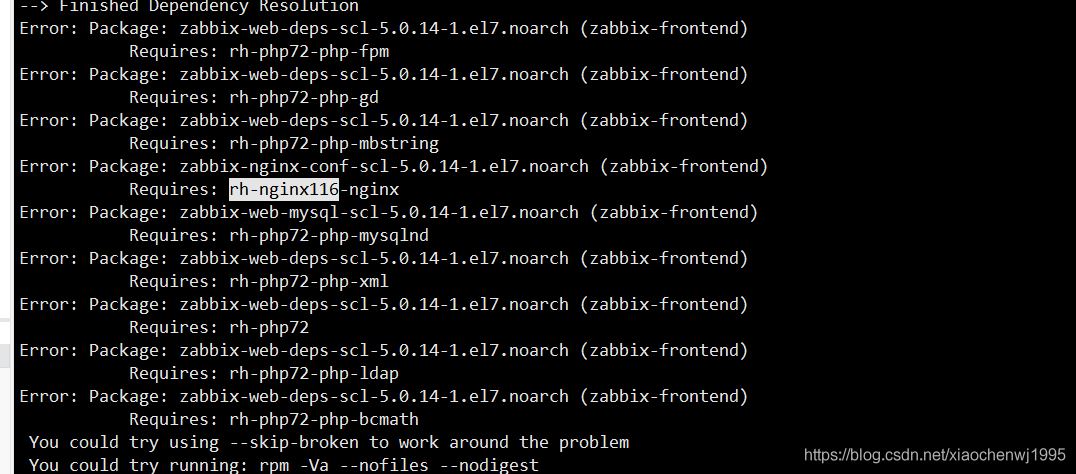
提示需要rh-php72-php-fpm,rh-nginx116-nginx等软件包。
解决方法:
因为之前没有安装centos-release-scl,所以导致出现上述问题,配置好centos-extras仓库后安装即可 3.创建初始数据库 # mysql -uroot -pxxxxxmysql> create database zabbix character set utf8 collate utf8_bin;mysql> create user zabbix@localhost identified by 'xxxxxxx';mysql> grant all privileges on zabbix.* to zabbix@localhost;mysql> quit; 导入初始架构和数据,系统将提示您输入新创建的密码。 # zcat /usr/share/doc/zabbix-server-mysql*/create.sql.gz | mysql -uzabbix -p zabbix 4.为Zabbix server配置数据库
编辑配置文件 /etc/zabbix/zabbix_server.conf 5.为Zabbix前端配置PHP
编辑配置文件 /etc/opt/rh/rh-nginx116/nginx/conf.d/zabbix.conf ##取消这两行注释listen 80;server_name example.com;##同时把提供默认的web服务的配置注释掉vim /etc/opt/rh/rh-nginx116/nginx/nginx.conf...server { #listen 80 default_server; #listen [::]:80 default_server; server_name _;...##然后重启服务编辑配置文件 /etc/opt/rh/rh-php72/php-fpm.d/zabbix.conf, 在listen.acl_users指令这一行添加nginx用户(在安装rh-nginx116-nginx时系统会自动创建) listen.acl_users = apache,nginx##然后配置时区php_value[date.timezone] = Asia/Shanghai 6.启动zabbix server和agent进程,并为它们设置开机自启。 systemctl restart zabbix-server zabbix-agent rh-nginx116-nginx rh-php72-php-fpmsystemctl enable zabbix-server zabbix-agent rh-nginx116-nginx rh-php72-php-fpm
四、配置Zabbix前端
在浏览器中 打开 Zabbix 前端URL: 对于 Apache:http://<server_ip_or_name>/zabbix
对于 Nginx:http://<server_ip_or_name> 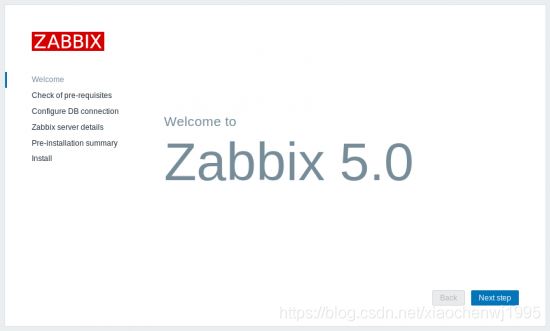
检查先决条件
确保满足所有软件先决条件。 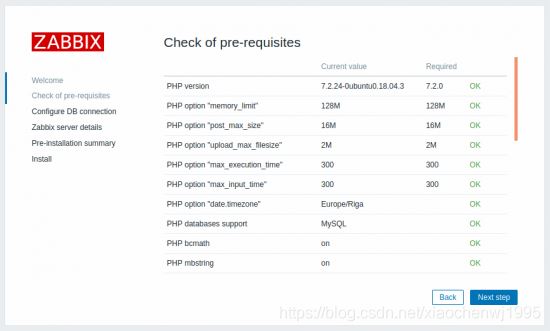
注意:如果需要更改Apache用户或用户组,则必须验证对会话文件夹的权限。否则 Zabbix 安装程序可能无法继续。 配置数据库连接
输入连接到数据库的详细信息。Zabbix 数据库必须已经创建 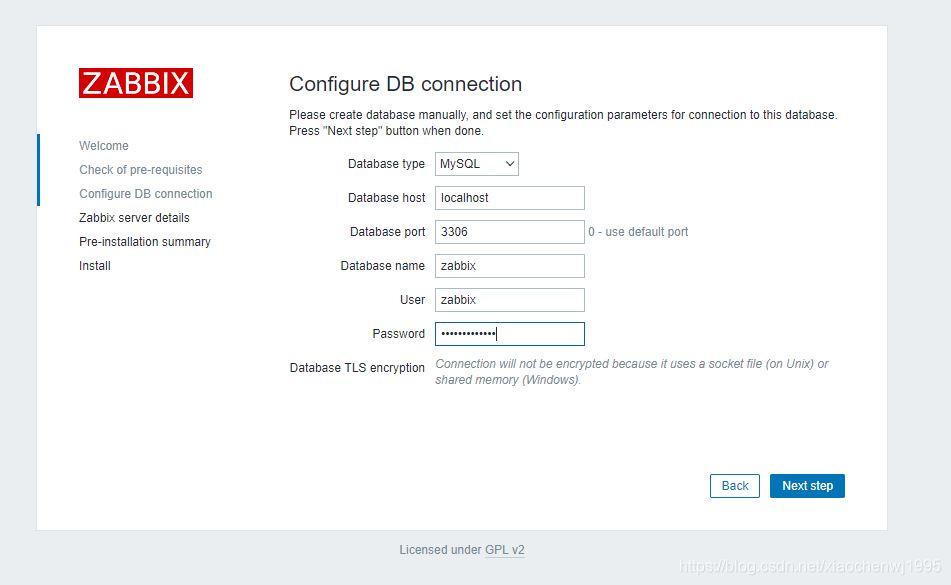
Zabbix 服务器详细信息
输入 Zabbix 服务器详细信息。输入 Zabbix 服务器的名称是可选的 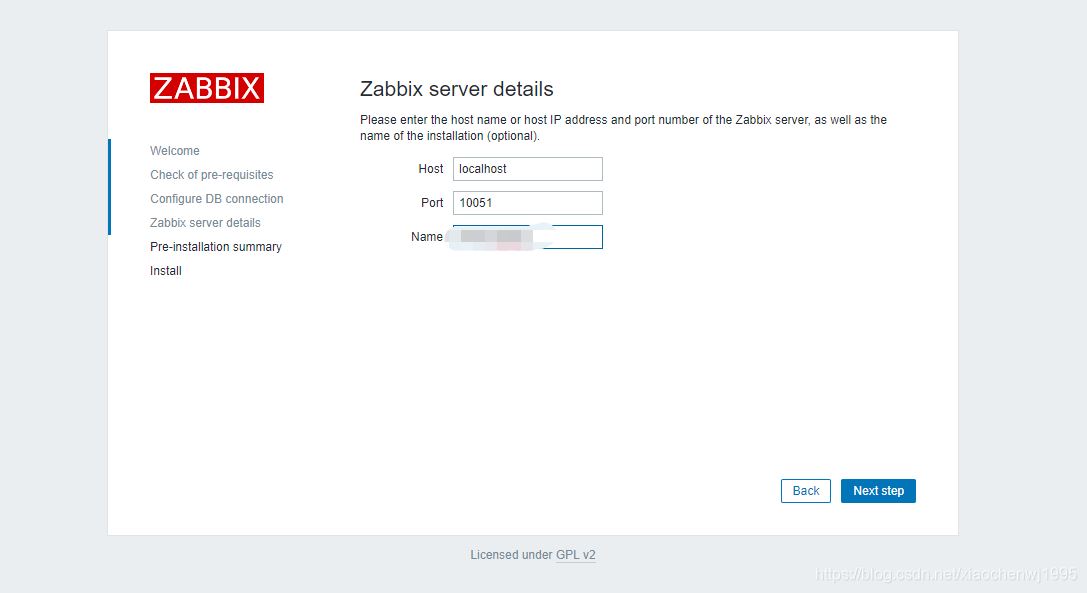
查看设置摘要。 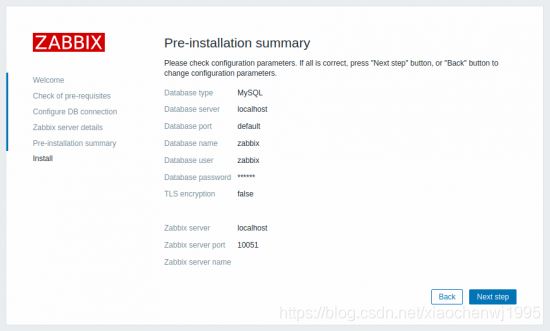
安装完成 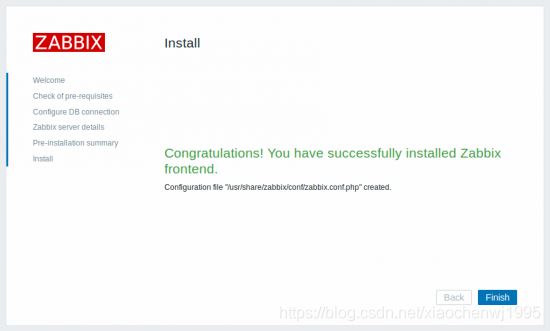
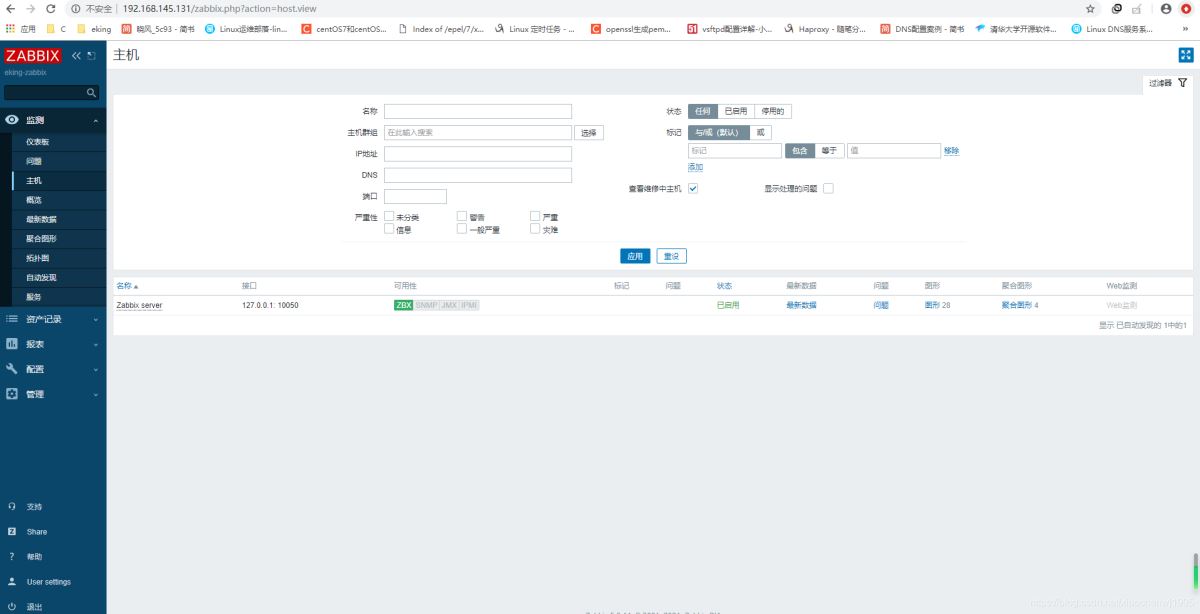
登录
Zabbix 前端已准备就绪!默认用户名为Admin,密码为zabbix。 
下载地址:
docker容器的几种存储详解
浅谈Docker如何自定义host文件 |


