这篇教程Photoshop巧除抠图后遗留发丝间的杂色教程写得很实用,希望能帮到您。
本教程主要使用photoshop巧除抠图后遗留发丝间的杂色,抠图的教程很多,但是我们在扣人物的发丝的时候,在发丝之间的杂色很难去除,本教程就为大家来解决这个问题,
最终效果图 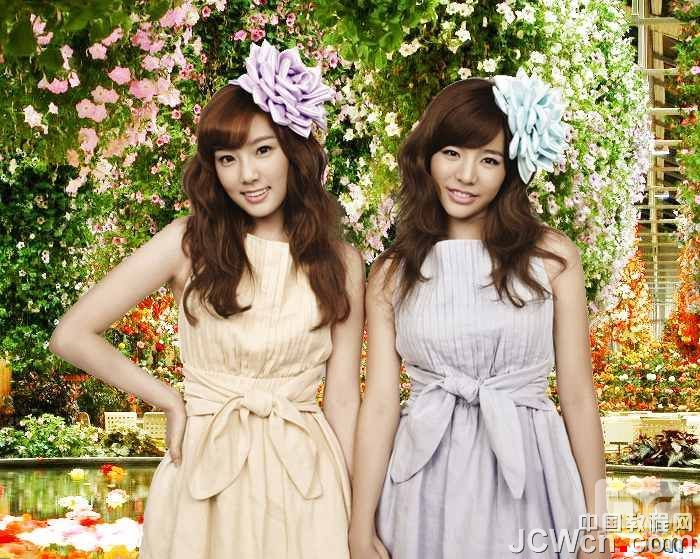
1. 打开素材,发现这一张图不难抠,用魔棒就能基本解决问题 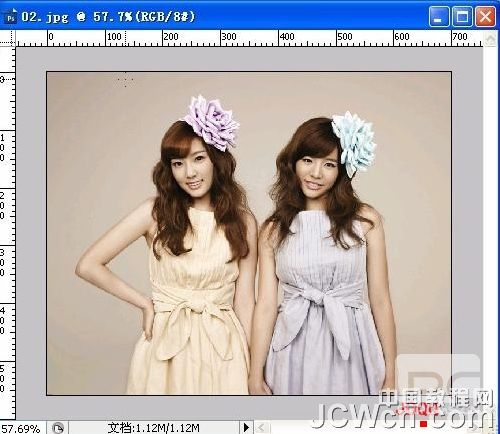
2.用魔棒,容差4—10选取,别遗忘箭头所指处。 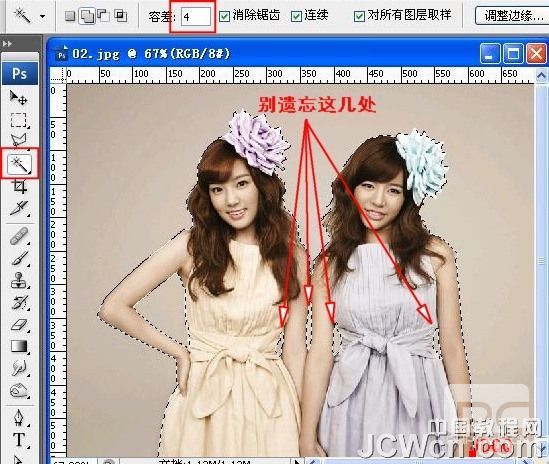
3.选择---反选,Ctrl+J 复制得到图层1,图层1下方新建图层2,填充蓝色作为检验层。图中可以看出,效果还不错。 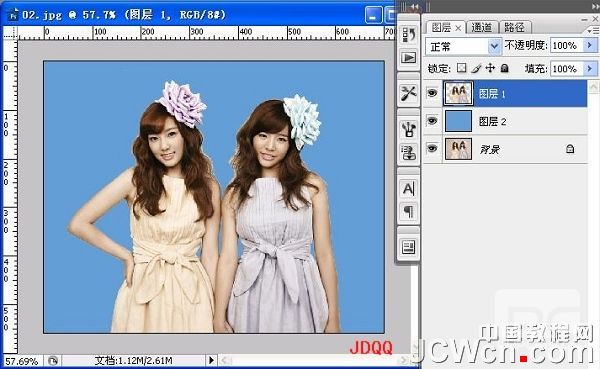
4.放大图像,用橡皮擦清除残余杂色。 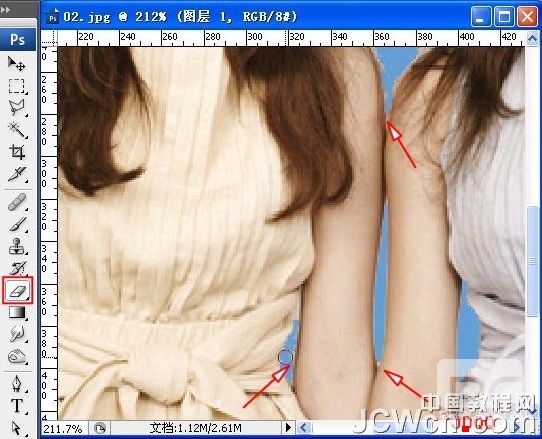
5.现在来清除发丝间的杂色,用橡皮擦太麻烦了。 用图层---修边—去边(3像素),杂色依旧。 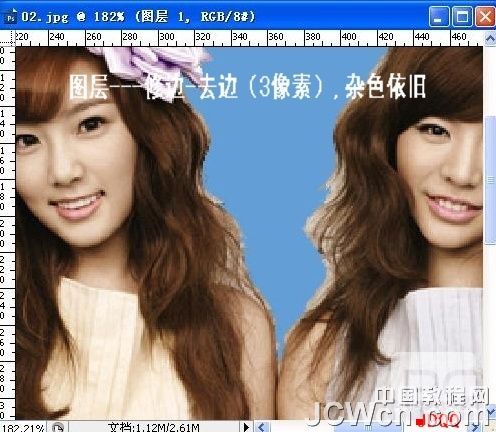
6. 用移去黑色杂边,多出了白边。 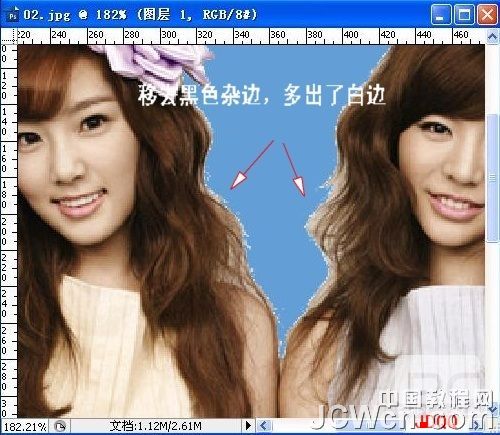
Photoshop设计溅出水花效果的罐子广告特效
Photoshop CS5高效替换美女图片背景抠图教程
|