这篇教程Photoshop设计大气的新春艺术字教程写得很实用,希望能帮到您。
这里的立体字是用手工打造的,过程相对要复杂很多。首先需要给表面文字增加质感,然后再慢慢渲染立体面的质感。看上去有点复杂,制作起来还是不难的。接下来就跟着教程一起来学习吧。
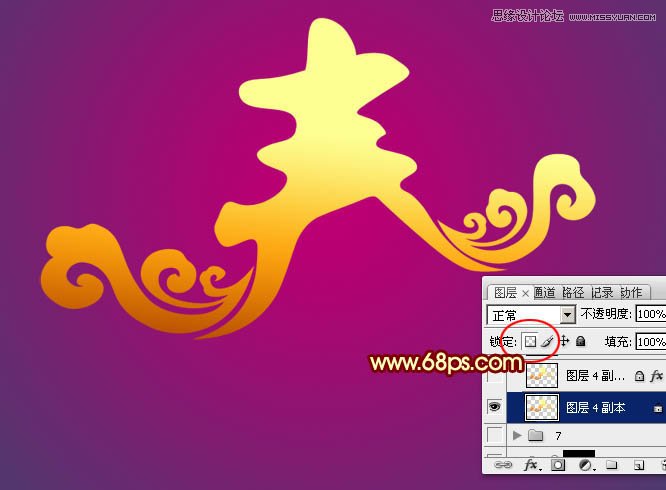
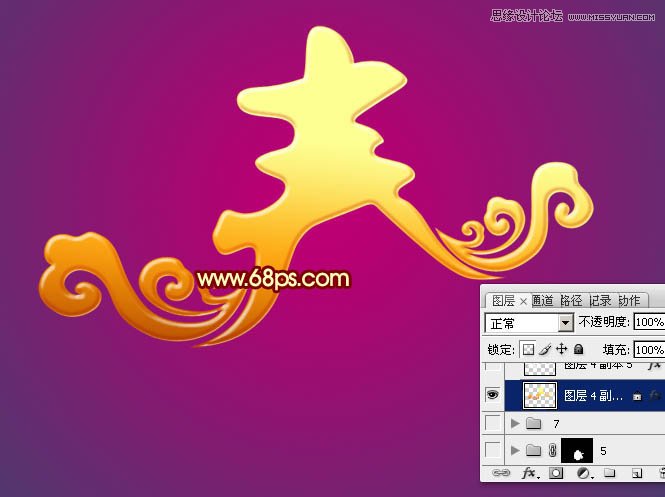
先看看效果图 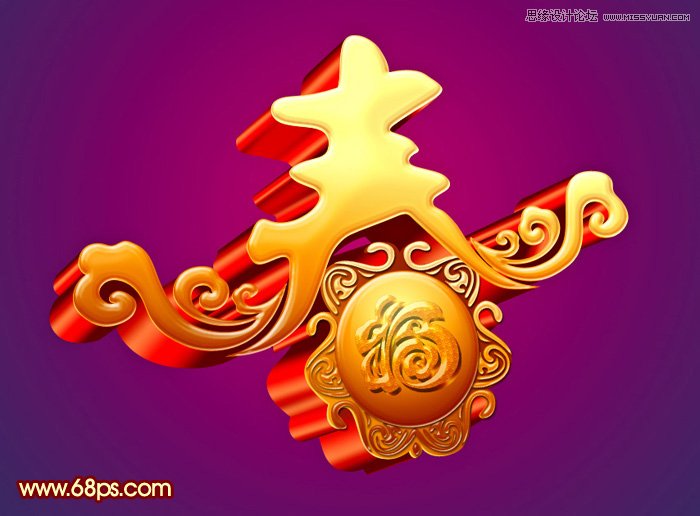
1、首先我们点这里下载教程中的文字素材。解压后用PS打开,文字表面及立体面都有现成的图层。先来制作文字表面的效果,如下图。 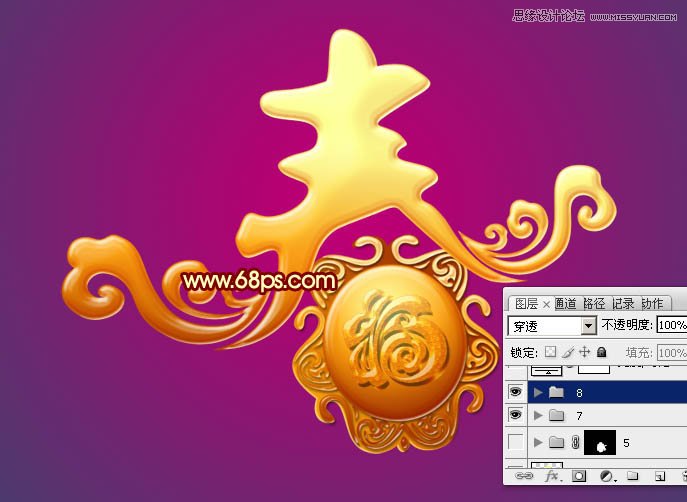
2、用钢笔工具选区文字的上半部分,并复制到新的图层,如下图。 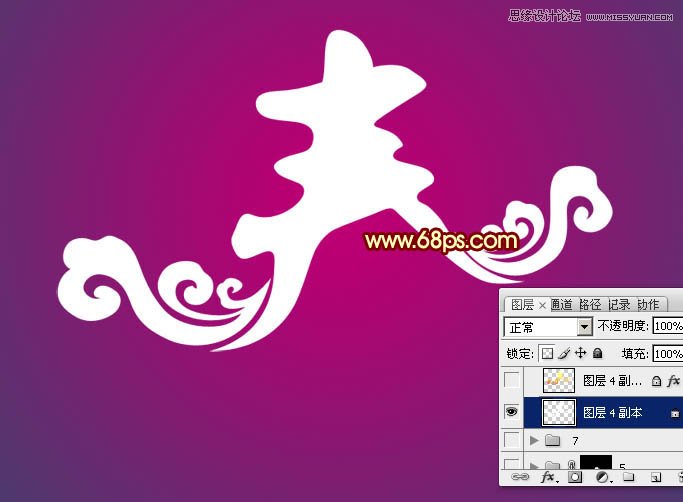
3、锁定像素区域后选择渐变工具,颜色设置如图3,由上至下拉出土4所示的线性渐变。 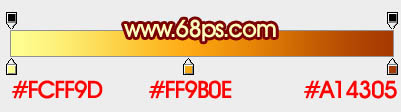
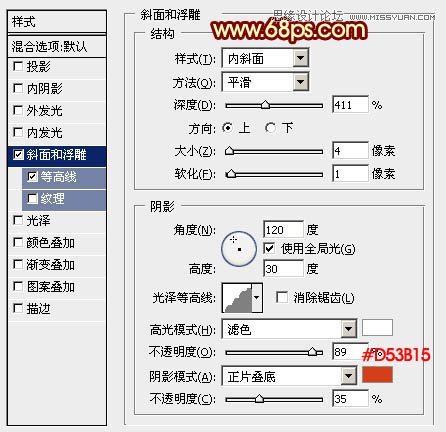
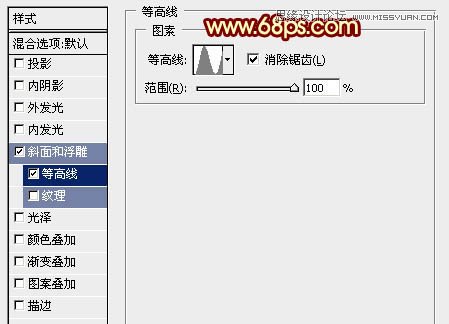
4、双击图5所示的空白区域调出图层样式,设置斜面和浮雕及等高线,参数及效果如下图。 
Photoshop调出绚丽阳光色的森林婚纱照片
Photoshop制作唯美绿色晶莹立体效果字体教程 |