这篇教程Photoshop绘制梦幻炫彩效果的艺术字教程写得很实用,希望能帮到您。
效果图中的文字效果并不复杂,用简单的样式就可以做出来。不过装饰部分制作就要复杂很多,其中包括背景部分的光点,文字上面的小光束等,需要慢慢渲染。
最终效果 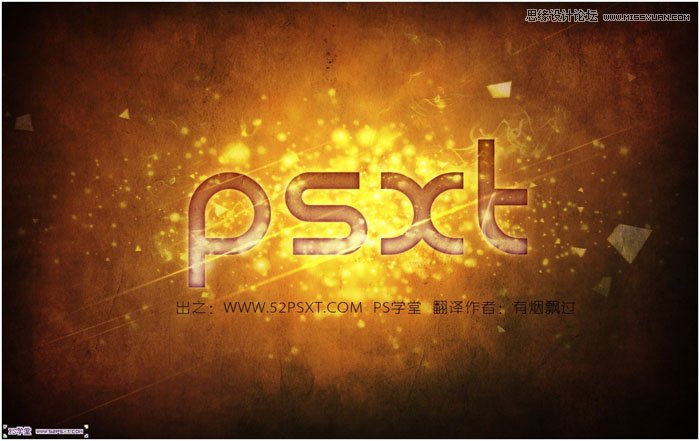
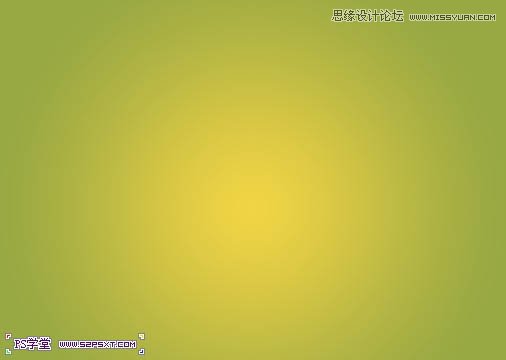
1、新建1280*1024px大小的文档,我们将背景图层添加图层样式--渐变,颜色从#f2d445到#98a843。 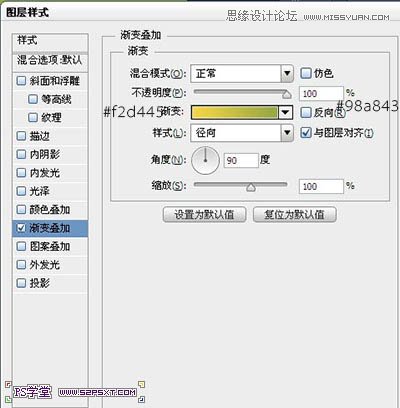
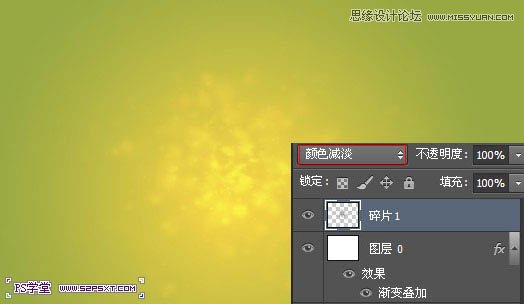
2、打开碎片素材1,拉入画布中,摆放好位子,改图层模式为颜色减淡。 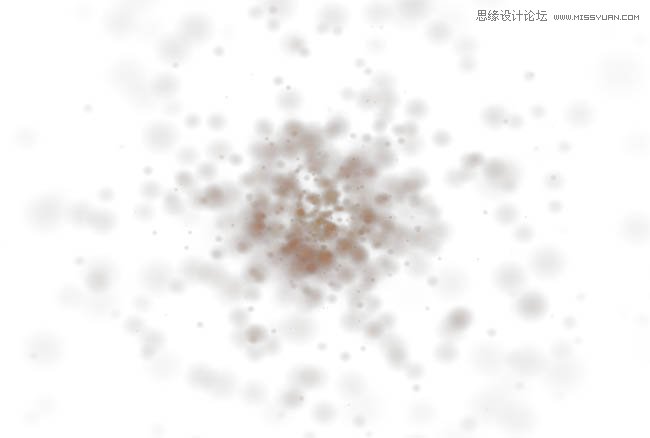
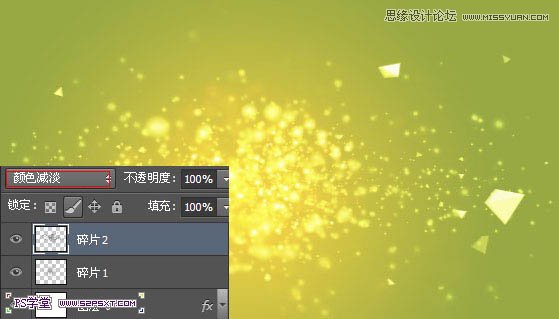
3、打开碎片素材2,拉入画布中,摆放好位子,改图层模式为颜色减淡。 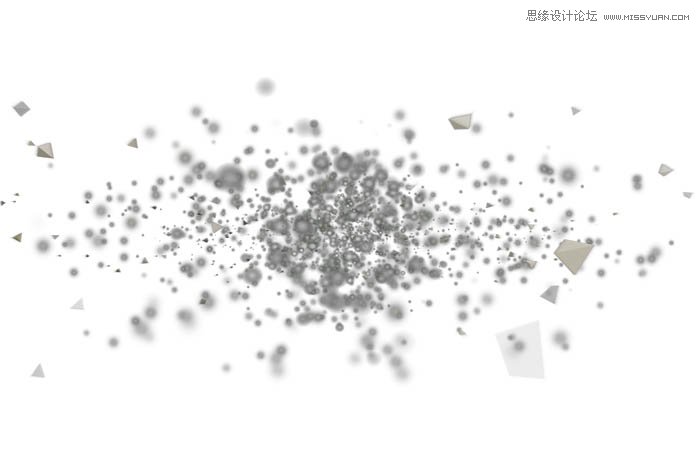
4、我们打上文字。 
Photoshop调出阿宝色肤色效果街上美女人物
Photoshop制作可爱的糖果文字教程 |