这篇教程Photoshop合成宇宙科幻美女机器人创意教程写得很实用,希望能帮到您。
本教程主要教思缘的朋友如何使用photoshop设计炫彩光线背景的美女机器人,教程为国外翻译的教程,制作过程并不难,主要在于你的想象力和创意, 先看一下最终效果: 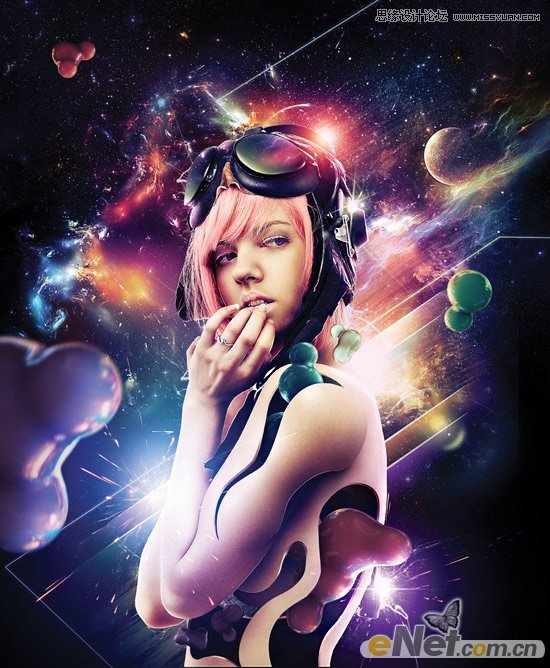
1.新建一个文件,大小设置为4200px x 5100px像素,分辨率为300,填充黑色。在网上搜索将星云素材并拖入新建的文件中。 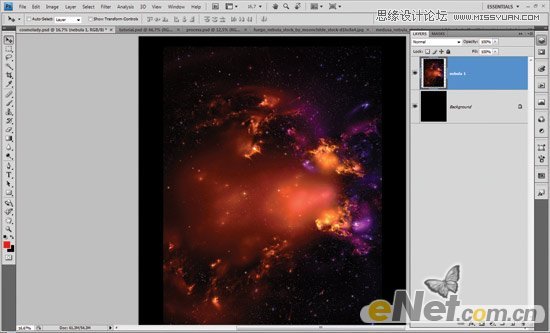
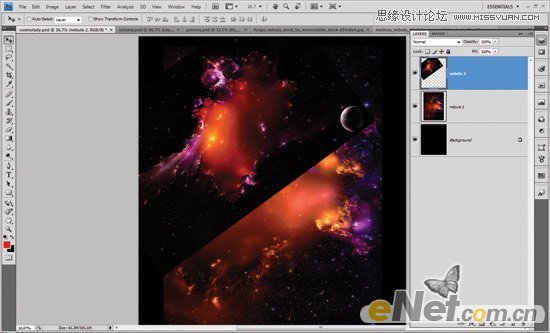
2.使用“色阶”CTRL+ L,设置参数9 – 1.00 – 255,设置混合模式为“正片叠底”。 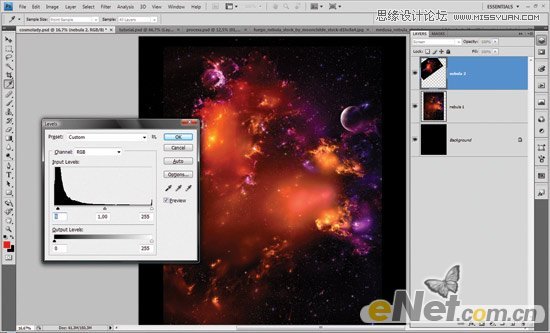
3.为了使背景融为一体,给星云图层添加图层蒙板,打开画笔面板,选择“散布”将数量设置为1,数量抖动设置为1%. 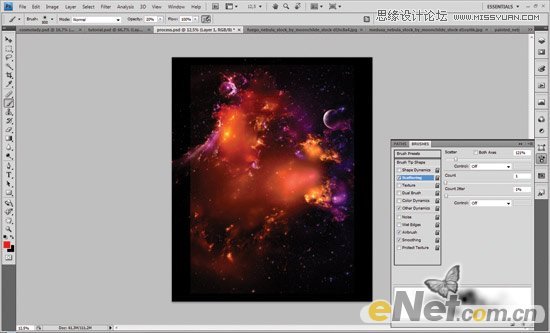
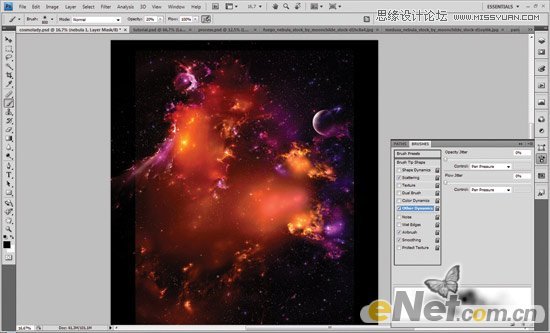
4.点击图层蒙板,设置画笔不透明度为20,在星云图片的边缘涂抹,将其黑色部分融为一体。 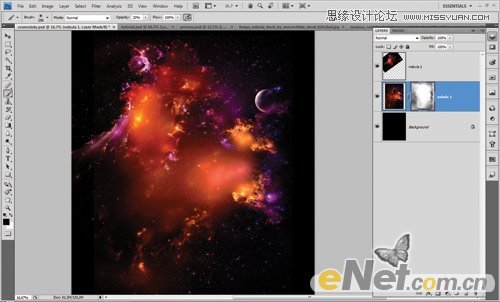
Photoshop制作火焰燃烧效果的球体设计教程
Photoshop调出梦幻色柔美色调外景女孩照片 |