这篇教程Photoshop设计时尚大气的马年海报写得很实用,希望能帮到您。
这一次的准备工作还是做得比较足的,如立体花、文字、彩带,灯笼等都是单独设计好的,也有单独的教程。后期的话把这些素材融合起来,再搭配一些背景及装饰即可。
最终效果 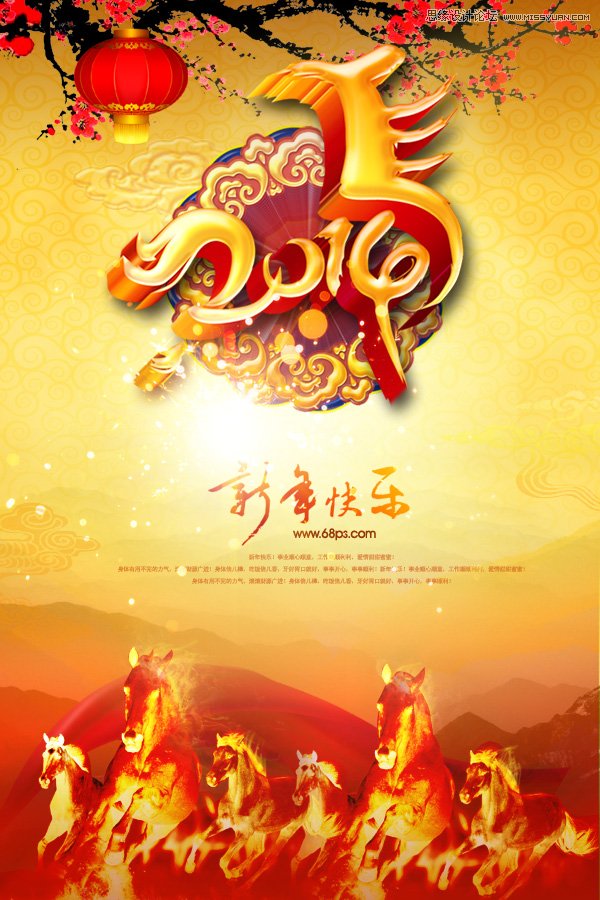
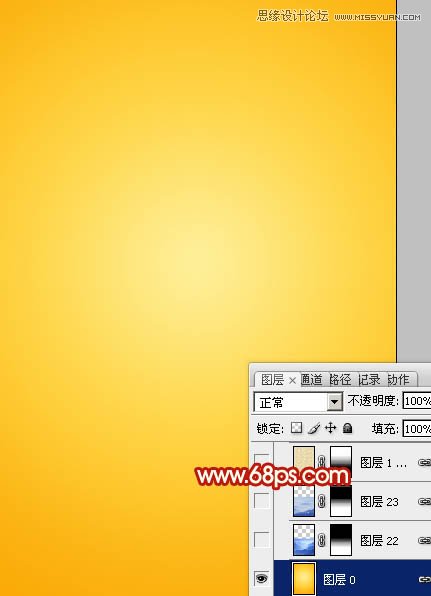
1、新建一个宽600 * 高900像素,分辨率为72的文档。选择渐变工具,颜色设置如图1,然后由中心向边角拉出黄色至橙黄色线性渐变。如图2。 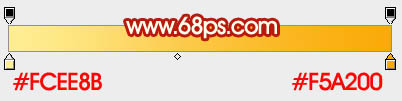
2、打开下图所示的群山素材,拖进来,混合模式改为“明度”,添加图层蒙版,用透明度较低的黑色画笔把顶部过渡擦出来,效果如图3。 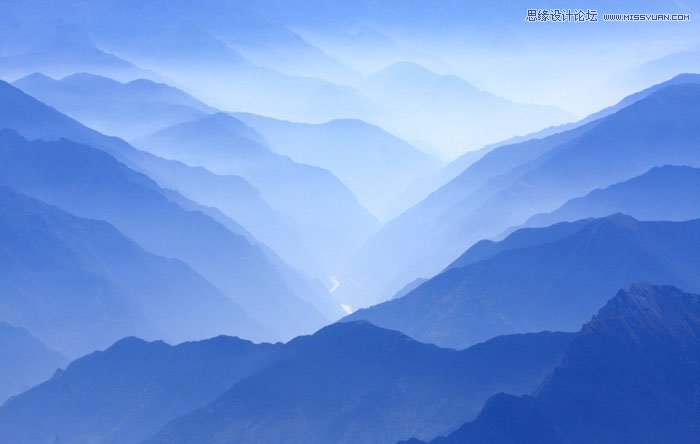
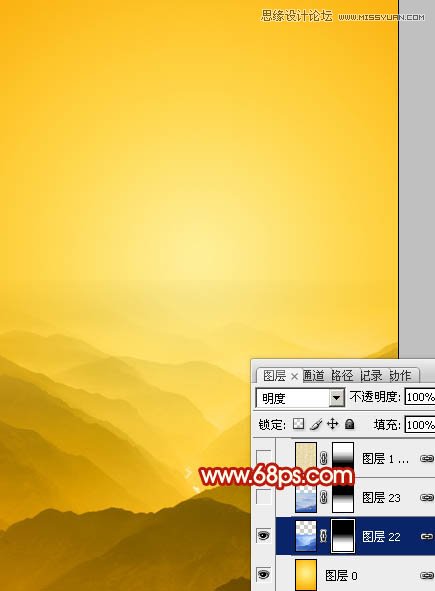
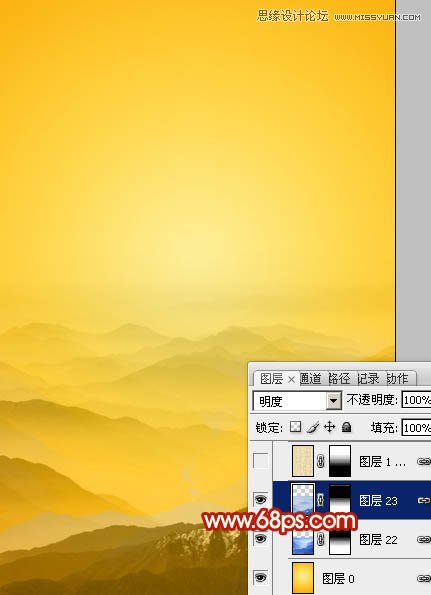
3、再打开一张群山素材,拖进来,放到底部位置,混合模式同样改为“明度”,添加图层蒙版,用黑色画笔把顶部过渡擦出来。这一步增加群山的层次感。 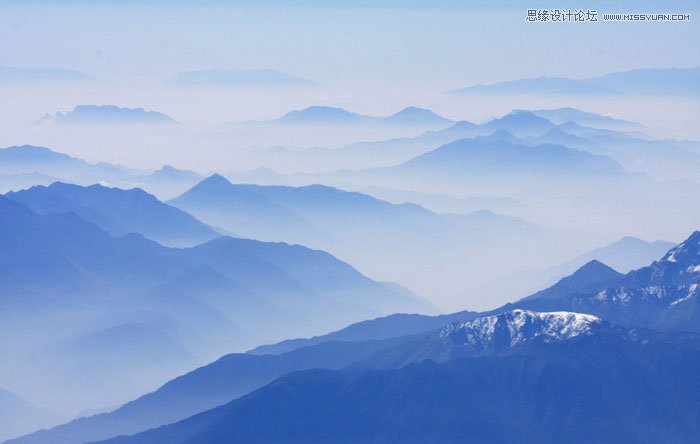
Photoshop设计梦幻大气的金色花纹教程
Photoshop制作透明大气的导航按钮 |