这篇教程Photoshop制作手绘霓虹字特效教程写得很实用,希望能帮到您。
手工制作霓虹字虽然繁琐一点,不过细节方法要好很多。过程:先用画笔写出想要的文字,再以文字为参考,在上面绘制一些光束,然后渲染颜色和高光,再局部增加一些发光样式即可。不同的文字可用不同的颜色。 最终效果 
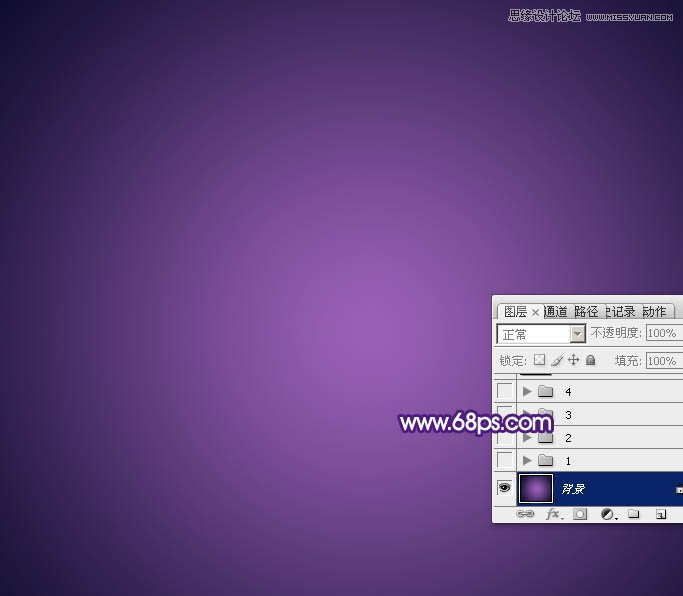
1、新建一个800 * 650像素,分辨率为72的文档。选择渐变工具,颜色设置如图1,然后由中心向边角拉出紫色至黑色的径向渐变作为背景。 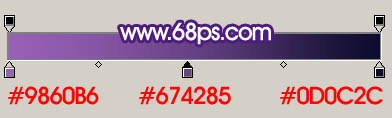
2、先来制作第一个文字,需要完成的效果如下图。 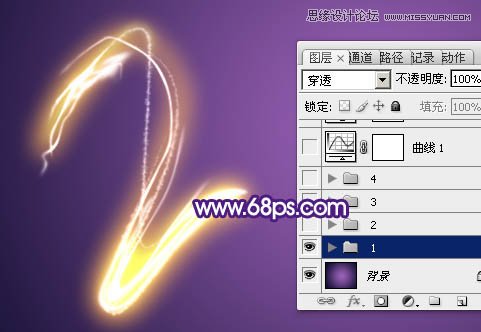
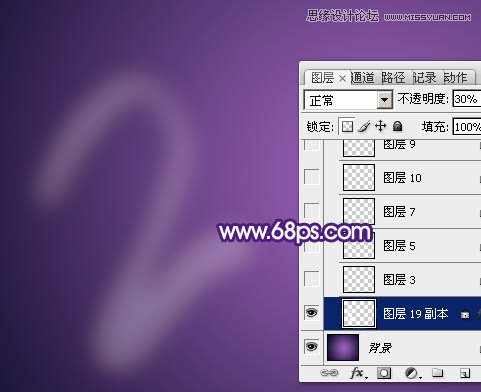
3、新建一个组,在组里新建一个图层,用柔边的白色画笔画出数字“2”,如图4,然后把不透明度改为:30%。这一步做出一个参考层,画线条的时候就以画出的文字为参照。 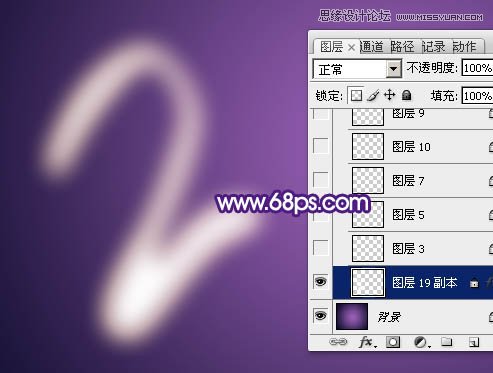
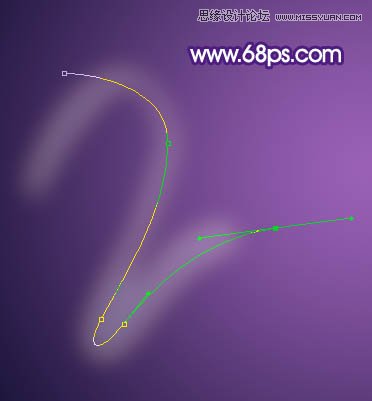
4、新建一个图层,选择工具工具,属性栏设置如图6,然后在参照文字上面勾一条路径如图7,8。 

Photoshop制作古典裂痕效果的立体字教程
Photoshop使用画笔工具制作绚丽艺术字 |