这篇教程Photoshop制作裂痕效果的古典立体字教程写得很实用,希望能帮到您。
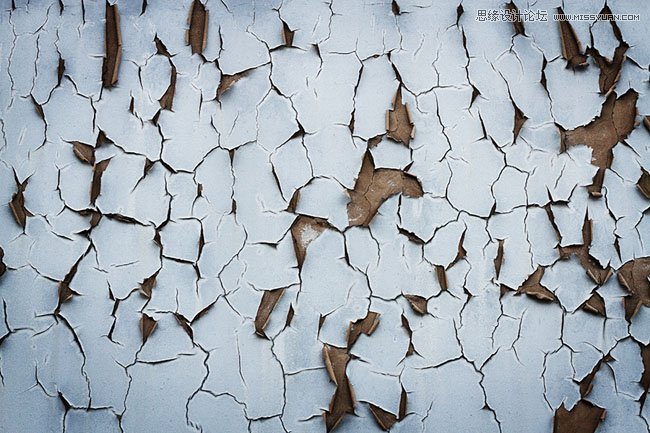
裂纹字制作思路非常简单:选好相应的纹理背景,然后用图层样式给文字增加浮雕及初步的纹理效果,再用裂纹素材叠加到文字上面,并调好颜色即可。 先看看教程需要的素材:立体艺术字PS教程素材 最终效果 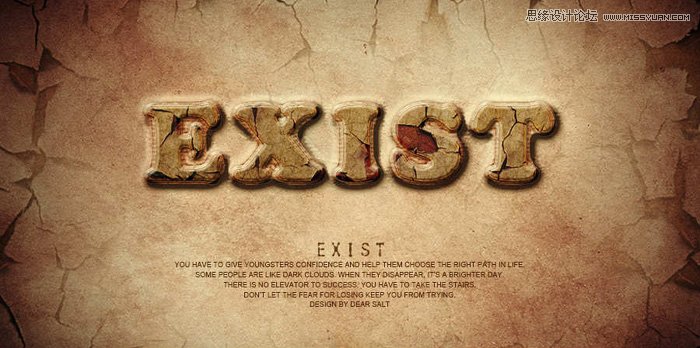
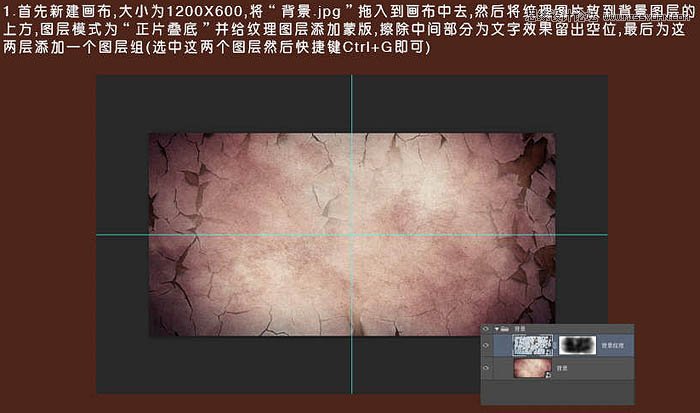
1、首先新建画布,大小:1200 * 600,将背景素材拖入到画布中去,然后将纹理图片放到背景图层的上方,图层模式为“正片叠底”,并给纹理图层添加蒙版,擦除中间部分为文字效果留出空位,再为这两层添加一个图层组(选中这两个图层,然后快捷键Ctrl + G 即可)。 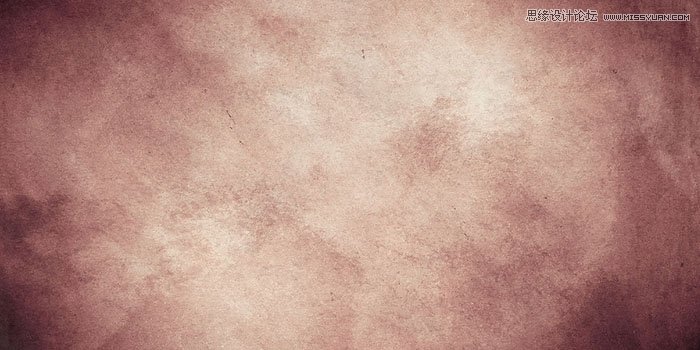
2、接下来我们做文字效果,首先在画布中输入你想要的文字,比例教程使用的是“EXIST”,字体为“Cooper Black”,复制两层文字图层,分别命名为“exist_1”,“exist_2”,别忘了要养成分组的习惯。 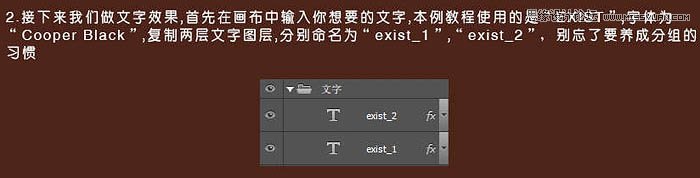
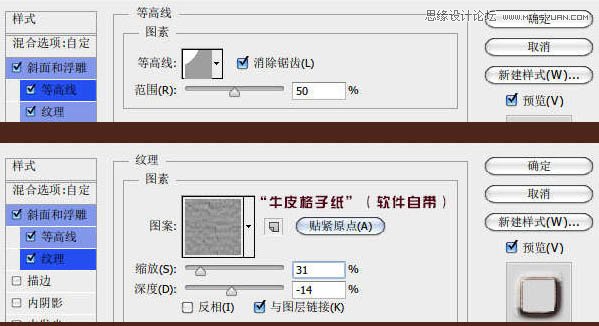
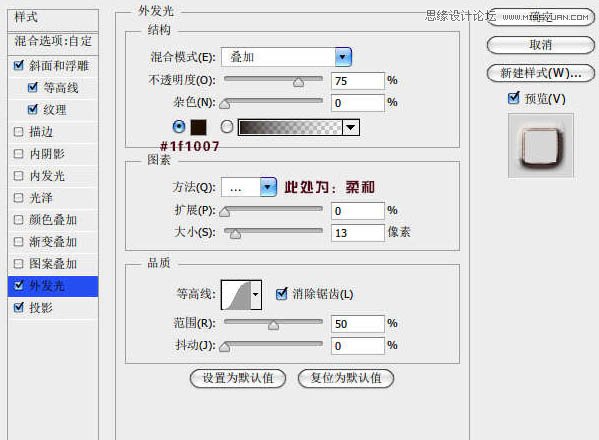
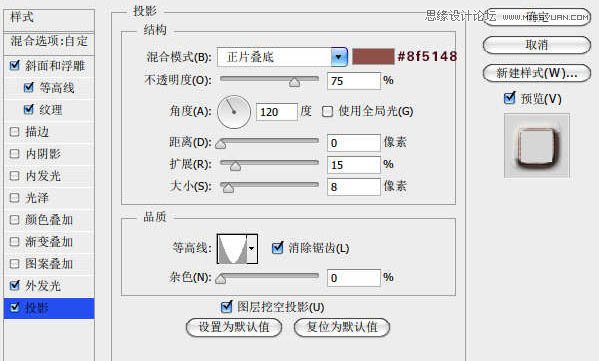
3、对这两个文字图层分别设置不同的图层样式,首先我们来对“exist_1”图层进行设置。 
Photoshop设计蓝色绚丽的舞者海报教程
Photoshop制作美女天使坠落凡间效果合成教程 |