这篇教程ps艺术字教程:制作春季草丛中的艺术字教程写得很实用,希望能帮到您。
本教程主要使用photoshop制作绿色草丛中的立体字教程,教程制作出来的文字效果挺漂亮的,制作的难度也不大。推荐过来和思缘的朋友们一起分享学习了,喜欢的朋友下面继续吧。 我们先来看看最终的效果图吧: 
简单两张素材 
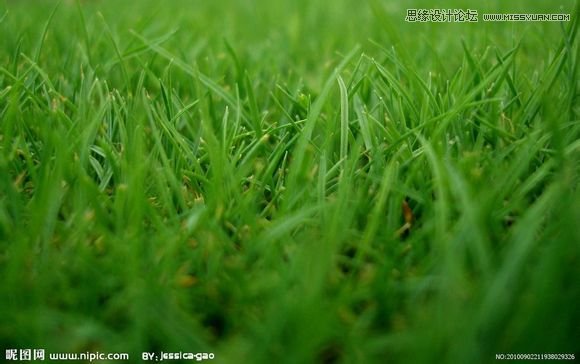
第一步 打开草丛素材,去掉水印,我直接用的污点修复画笔, 这个水印比较简单,不难去 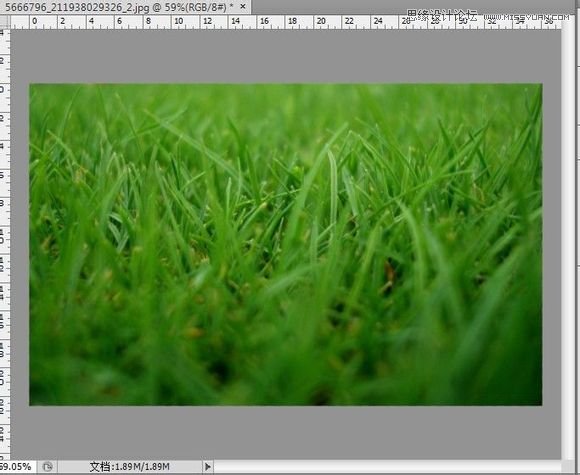
第二步将草丛前面模糊的草抠出来,不用扣得太仔细,因为是模糊的,抠出个大体范围就好。如图 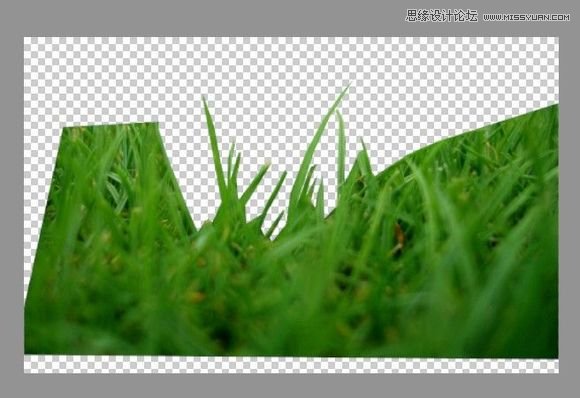
第三步 打开文字工具 建议用比较粗的字体打上字,将字的拖到两个图层中间 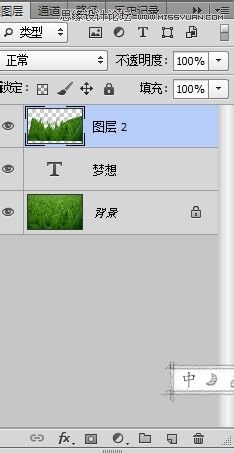
将文字图层栅格化 ,复制2份 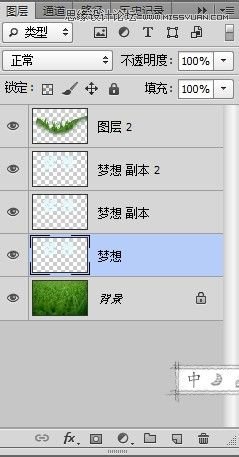
用Photoshop通道抠较复杂背景照片教程详解
PS入门教程:PS图层样式中的混合模式参数解析 |