引言 近期公司vue前端项目需求:实现弹窗的拖拽,四边拉伸及对角线拉伸,以及弹窗边界处理。本人使用vue的自定义指令编写了drag.js文件分享给大家一起学习,以下代码是本人提取出来的示意demo,仅供参考。这是本人前端小白的第一篇技术分享,如有错误的地方,请大家批评指正! 页面布局<template> <div class="parameter" v-dialogDrag > <div class="title">标题 <div class="close"> <img src="../assets/close.png" alt="" > </div> </div> <div class="content">内容区</div> </div></template> <style lang="less">.parameter { height: 569px; width: 960px; position: absolute; left: 50%; top: 50%; margin-left: calc(-960px / 2); margin-top: calc(-569px / 2); z-index: 999; background: #fff; box-sizing: border-box; box-shadow: 0px 12px 32px 0px rgba(0, 0, 0, 0.08); border-radius: 2px; .title { display: flex; font-size: 16px; height: 48px; line-height: 48px; background: #f5f5f5; box-sizing: border-box; box-shadow: inset 0px -1px 0px rgba(0, 0, 0, 0.12); border-radius: 2px 2px 0px 0px; padding: 0 20px; z-index: 99; font-size: 16px; font-weight: 500; color: rgba(0, 0, 0, 0.85); .close { img { width: 10px; } margin-left: auto; // 右对齐 } } .content { display: flex; justify-content: center; align-items: center; height: calc(100% - 48px); box-sizing: border-box; background: #fff; overflow: auto; }}</style> 页面布局实际效果如下: 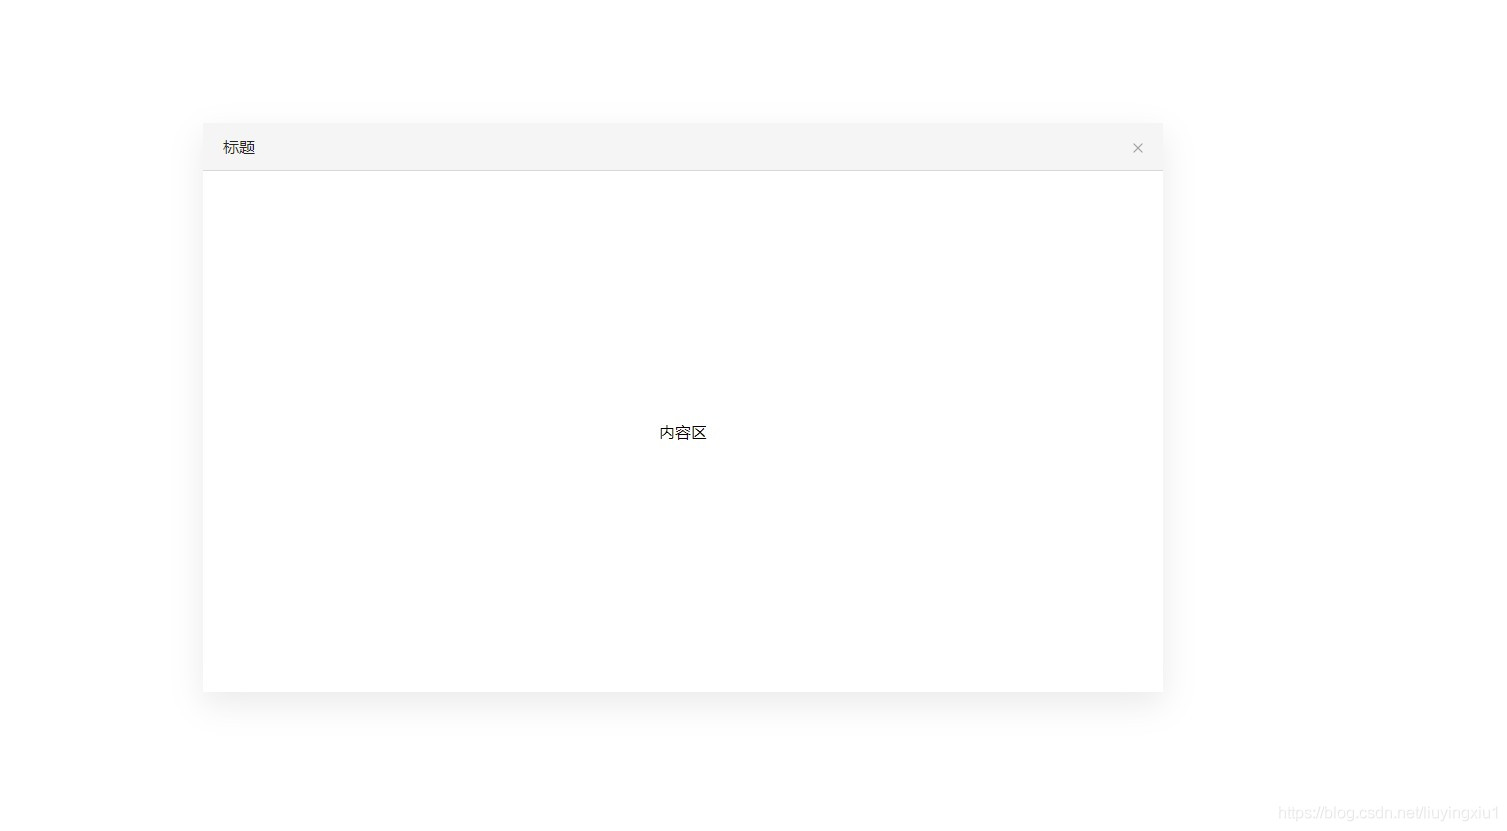
drag.js文件 可以在main.js全局引入drag.js文件,也可以单独在弹窗组件内部组件引入,看是否还有其他使用场景。 项目目录截图 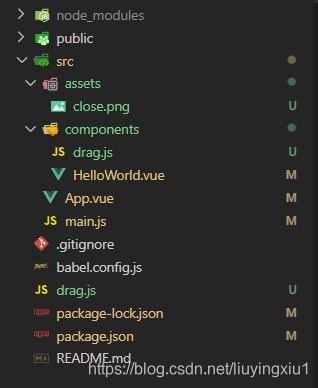
main.js全局引入drag.js import Vue from 'vue'import ElementUI from 'element-ui';import 'element-ui/lib/theme-chalk/index.css';import App from './App.vue'import '../drag.js'Vue.config.productionTip = falseVue.use(ElementUI);new Vue({ render: h => h(App),}).$mount('#app')弹窗拖拽实现及边界限制import Vue from 'vue'// v-dialogDrag: 弹窗拖拽+水平方向伸缩+对角线拉伸Vue.directive('dialogDrag', { bind(el) { // dialogHeaderEl为标题栏,绑定mousedown事件进行拖拽 const dialogHeaderEl = el.querySelector('.title') // dragDom为指令绑定dom元素,定义变量便于区分 const dragDom = el // 获取css所有属性兼容性写法 ie dom元素.currentStyle 火狐谷歌 window.getComputedStyle(dom元素, null); const sty = dragDom.currentStyle || window.getComputedStyle(dragDom, null) // 定义鼠标按下事件 const moveDown = e => { // e.clientX,Y:鼠标相对于浏览器可视窗口的X,Y坐标 // offsetTop,offsetLeft:当前元素相对于其offsetParent元素的顶部,左边的距离,这里title无定位偏移,故为0 const disX = e.clientX - dialogHeaderEl.offsetLeft // 元素相对位置 const disY = e.clientY - dialogHeaderEl.offsetTop // 元素相对位置 const screenWidth = document.documentElement.clientWidth || document.body.clientWidth // 页面可视区宽度,兼容写法 const screenHeight = document.documentElement.clientHeight || document.body.clientHeight // 页面可视区高度,兼容写法 const dragDomWidth = dragDom.offsetWidth // 对话框宽度 const dragDomheight = dragDom.offsetHeight // 对话框高度 const minDragDomLeft = dragDom.offsetLeft // 对话框边界最小left值 const maxDragDomLeft = screenWidth - dragDom.offsetLeft - dragDomWidth // 对话框边界最大left值 const minDragDomTop = dragDom.offsetTop // 对话框边界最小Top值 const maxDragDomTop = screenHeight - dragDom.offsetTop - dragDomheight // 对话框边界最大Top值 // 获取到的值带px 正则匹配替换 let styL = sty.left // 为兼容ie if (styL === 'auto') styL = '0px' let styT = sty.top // 注意在ie中 第一次获取到的值为组件自带50% 移动之后赋值为px if (sty.left.includes('%')) { styL = +document.body.clientWidth * (+styL.replace(/%/g, '') / 100) styT = +document.body.clientHeight * (+styT.replace(/%/g, '') / 100) } else { styL = +styL.replace(//px/g, '') styT = +styT.replace(//px/g, '') } document.onmousemove = function (e) { // 通过事件委托,计算移动的距离 let left = e.clientX - disX let top = e.clientY - disY // 边界处理 if (-(left) > minDragDomLeft) { left = -(minDragDomLeft) } else if (left > maxDragDomLeft) { left = maxDragDomLeft } if (-(top) > minDragDomTop) { top = -(minDragDomTop) } else if (top > maxDragDomTop) { top = maxDragDomTop } // 移动当前元素 dragDom.style.left = `${left + styL}px` dragDom.style.top = `${top + styT}px` // 鼠标抬起停止弹窗移动 document.onmouseup = function () { document.onmousemove = null document.onmouseup = null } } dialogHeaderEl.onmousedown = moveDown }})鼠标指针悬停样式 弹窗并没有设置cursor:move悬停样式,因为参考的是浏览器拖拽实际效果,如果想设置move,需要增加边界判断条件。 判断鼠标悬浮指针类型中x > left + width - 5,其中5为自己设置的可拉伸区域,因为需求中弹窗不可设置边框和padding,所以无实际可拖拽元素,故手动设置5px(可根据需求自行更改)。 鼠标指针悬停更多样式请参考MDN // 定义鼠标悬停样式 const CURSORTYPE = { top: 'n-resize', bottom: 's-resize', left: 'w-resize', right: 'e-resize', // right_top写法是便于后面代码数据处理 right_top: 'ne-resize', left_top: 'nw-resize', left_bottom: 'sw-resize', right_bottom: 'se-resize', default: 'default', }; // 判断鼠标悬浮指针类型 const checkType = obj => { const { x, y, left, top, width, height } = obj let type if (x > left + width - 5 && el.scrollTop + y <= top + height - 5 && top + 5 <= y) { type = 'right' } else if (left + 5 > x && el.scrollTop + y <= top + height - 5 && top + 5 <= y) { type = 'left' } else if (el.scrollTop + y > top + height - 5 && x <= left + width - 5 && left + 5 <= x) { type = 'bottom' } else if (top + 5 > y && x <= left + width - 5 && left + 5 <= x) { type = 'top' } else if (x > left + width - 5 && el.scrollTop + y > top + height - 5) { type = 'right_bottom' } else if (left + 5 > x && el.scrollTop + y > top + height - 5) { type = 'left_bottom' } else if (top + 5 > y && x > left + width - 5) { type = 'right_top' } else if (top + 5 > y && left + 5 > x) { type = 'left_top' } return type || 'default' }四边拉伸及对角线拉伸 在做对角线拉伸过程中思路出现一点偏差,我发现浏览器窗口对角线拉伸可以X轴方向拉伸,Y方向拉伸,斜边拉伸,故分三种情况判断,可是这样做出来实际弹窗效果只能拉伸一点点,不满足拉伸需求。经过思考后发现,实际对角线拉伸为X,Y轴叠加和,参考矢量叠加。 因为对角线拉伸为X轴和Y轴的叠加,故考虑将四边拉伸封装函数,对角线拉伸直接调用相应的X,Y轴,减少代码量。传递数据的时候因为对角线拉伸需要传递两个值,而四边拉伸只需要传递一个值,所以需要对数据进行包装。例如:右侧拉伸传递数据['right', null],而右下角传递数据['right', 'bottom'] // 判断边界条件 const boundaryLimit = obj => { const { left, top, width, height, diffX, diffY, screenHeight, screenWidth, arr } = obj if (arr[0] == 'right' || arr[1] == 'right') { if (width + diffX > screenWidth - left) { dragDom.style.width = screenWidth - left + 'px' } else { dragDom.style.width = width + diffX + 'px' } } if (arr[0] == 'left' || arr[1] == 'left') { if (width - diffX > width + left) { dragDom.style.width = width + left + 'px' dragDom.style.left = - parseInt(sty.marginLeft) + 'px' } else { dragDom.style.width = width - diffX + 'px' // left实际 = left + marginLeft 计算时需要将marginLeft减掉 dragDom.style.left = left + diffX - parseInt(sty.marginLeft) + 'px' } } if (arr[0] == 'top' || arr[1] == 'top') { if (height - diffY > height + top) { dragDom.style.height = height + top + 'px' dragDom.style.top = - parseInt(sty.marginTop) + 'px' } else { dragDom.style.height = height - diffY + 'px' // top实际 = top + marginTop 计算时需要将marginTop减掉 dragDom.style.top = top + diffY - parseInt(sty.marginTop) + 'px' } } if (arr[0] == 'bottom' || arr[1] == 'bottom') { if (height + diffY > screenHeight - top) { dragDom.style.height = screenHeight - top } else { dragDom.style.height = height + diffY + 'px' } } } dragDom.onmousedown = e => { const x = e.clientX const y = e.clientY const width = dragDom.clientWidth const height = dragDom.clientHeight const left = dragDom.offsetLeft const top = dragDom.offsetTop const screenWidth = document.documentElement.clientWidth || document.body.clientWidth const screenHeight = document.documentElement.clientHeight || document.body.clientHeight // dragDom.style.userSelect = 'none' let type = checkType({ x, y, left, top, width, height }) // 判断是否为弹窗头部 if (x > left && x < left + width && y > top + 5 && y < top + dialogHeaderEl.clientHeight) { // dialogHeaderEl.onmousedown = moveDown } else { document.onmousemove = function (e) { // 移动时禁用默认事件 e.preventDefault() let endX = e.clientX let endY = e.clientY let diffX = endX - x let diffY = endY - y let arr // 将type转换为数组格式,简化代码判断调用即可 if (type.indexOf('_') == -1) { arr = [type, ''] } else { arr = type.split('_') } boundaryLimit({ left, top, width, height, diffX, diffY, screenHeight, screenWidth, arr }) } // 拉伸结束 document.onmouseup = function () { document.onmousemove = null document.onmouseup = null } } } 拉伸干涉 因为弹窗设置了overflow: auto,故拉伸过程势必会产生右侧,底部滚动条,在实际拉伸的时候滚动条会和拉伸区域干涉。解决方案为:在弹窗右侧和底部外部增加空div条,实际拉伸区域为空div即可解决。(空div条宽高为5px,与之前设置的拉伸区域一致) 
<template> <div class="parameter" v-dialogDrag > <div class="title">标题 <div class="close"> <img src="../assets/close.png" alt="" > </div> </div> <div class="content">内容区</div> <div class="rightBlank">123</div> <div class="bottomBlank">456</div> </div></template> 更改后页面效果为 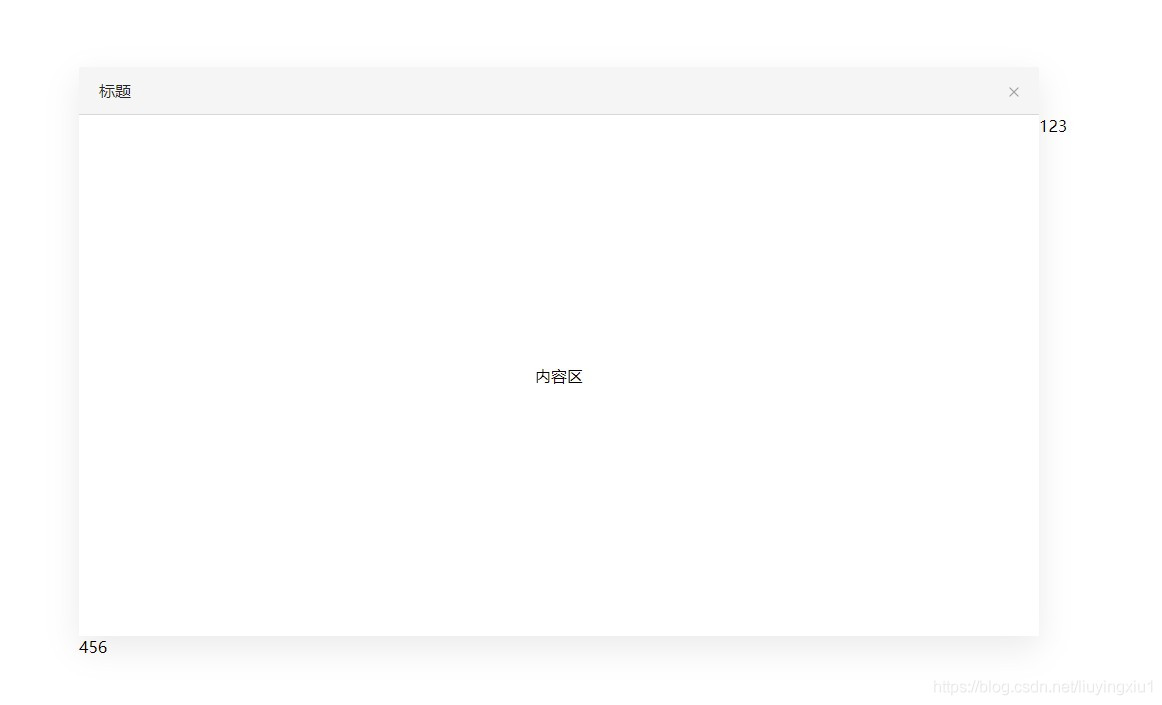
附项目仓库地址 到此这篇关于Vue自定义指令实现弹窗拖拽,四边拉伸及对角线拉伸的文章就介绍到这了,更多相关vue自定义指令弹窗拖拽内容请搜索wanshiok.com以前的文章或继续浏览下面的相关文章希望大家以后多多支持wanshiok.com!
Vue鼠标滚轮滚动切换路由效果的实现方法
Node.js 中的 fs 模块与Path模块方法详解 |


