这篇教程VSCode设置Python语言自动格式化的详细方案写得很实用,希望能帮到您。
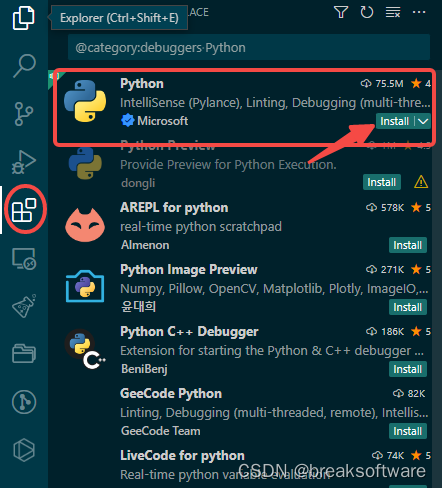
安装Python扩展在VSCode的扩展(Externsions)中使用下面命令检索Python扩展 @category:debuggers Python
打开一个Python文件,可以在VSCode的右下角看到运行环境。 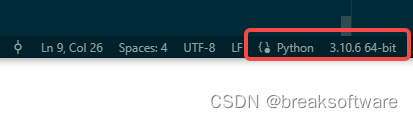
安装PEP8python3.10 -m pip install -U autopep8
安装Flake8python3.10 -m pip install -U flake8 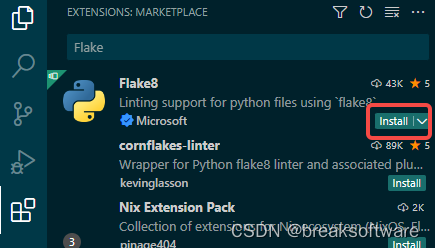
安装完需要重启VSCode
修改配置通过扩展中Python的设置按钮打开扩展的配置页面 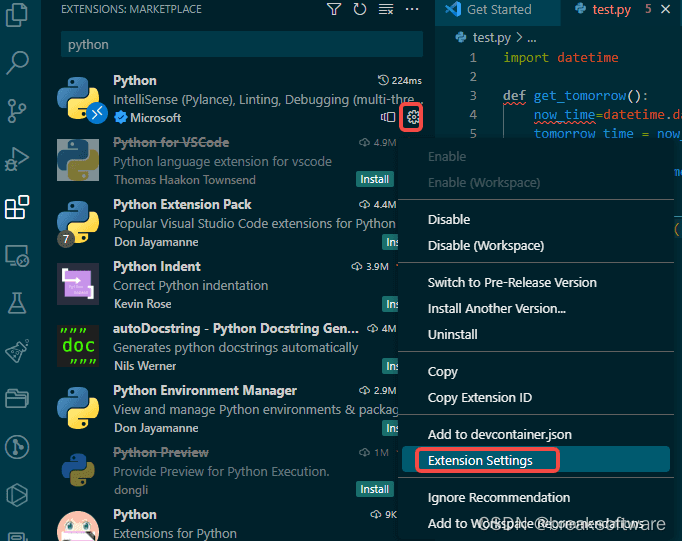
开启Flake8在检索框输入flake8Enabled,注意加一个空格。 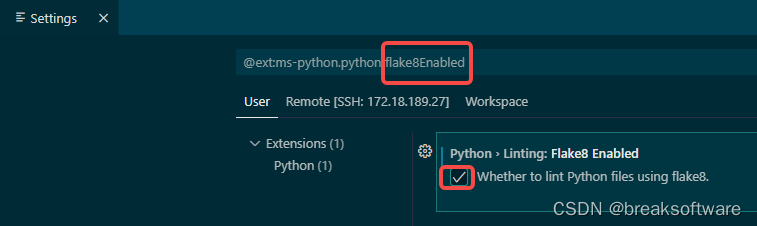
勾选以开启flake8。 关于Lint的相关配置如下 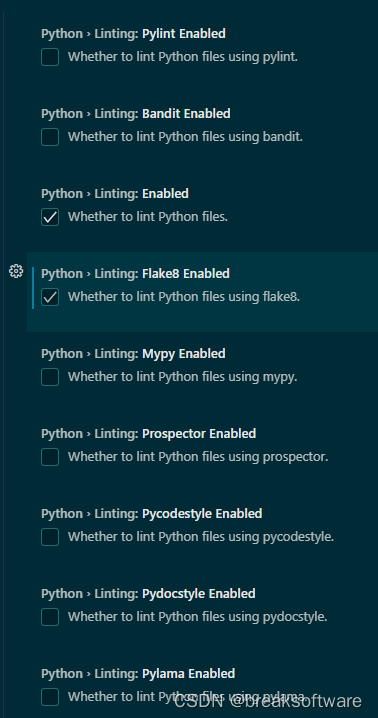
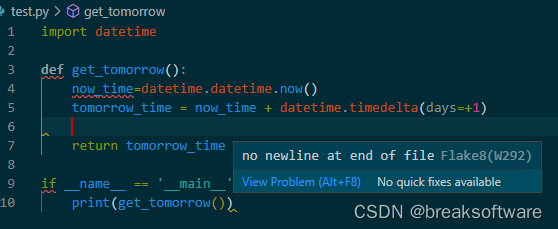
效果import datetime def get_tomorrow(): now_time=datetime.datetime.now() tomorrow_time = now_time + datetime.timedelta(days=+1) return tomorrow_time if __name__ == '__main__': print(get_tomorrow()) 我们输入一段代码,可以看到已经有很多提示了。 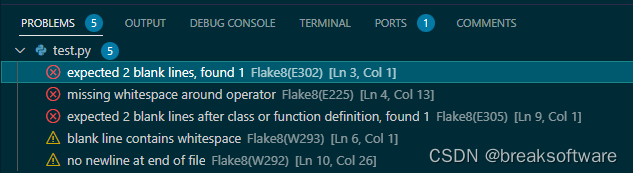
格式化代码
批量处理历史代码安装Format Files扩展 
在需要处理的目录下,右击 

这样历史代码就被格式化了 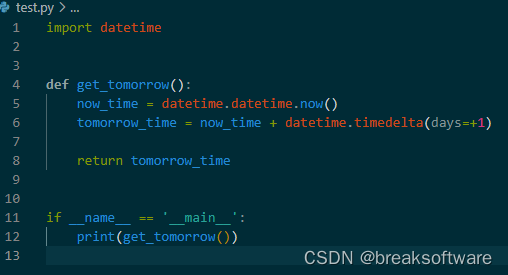
保存时自动格式化修改VSCode的配置 
勾选Format On Save 
这样我们在保存代码时,自动会进行格式化操作。
定制策略假如我们希望某种问题不提示,则可以定制Flake8的配置。 比如下图就是忽略了E501错误。 
其他各种配置可以见Full Listing of Options and Their Descriptions — flake8 6.0.0 documentation
总结到此这篇关于VSCode设置Python语言自动格式化的文章就介绍到这了,更多相关VSCode设置Python自动格式化内容请搜索wanshiok.com以前的文章或继续浏览下面的相关文章希望大家以后多多支持wanshiok.com!
Anaconda第三方库下载慢的解决方法
用python进行线性/非线性拟合的三种方法 |


