这篇教程CelebA数据集详细介绍及其属性提取源代码写得很实用,希望能帮到您。
CelebA数据集详细介绍及其属性提取源代码
从事人工智能/深度学习/计算机视觉/tensorflow/pytorch/caffe等
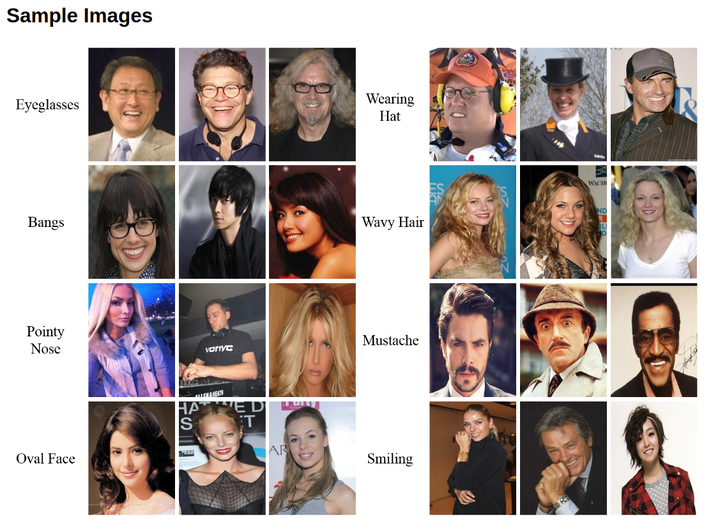
CelebA是CelebFaces Attribute的缩写,意即名人人脸属性数据集,其包含10,177个名人身份的202,599张人脸图片,每张图片都做好了特征标记,包含人脸bbox标注框、5个人脸特征点坐标以及40个属性标记,CelebA由香港中文大学开放提供,广泛用于人脸相关的计算机视觉训练任务,可用于人脸属性标识训练、人脸检测训练以及landmark标记等,官方网址:Large-scale CelebFaces Attributes (CelebA) Dataset
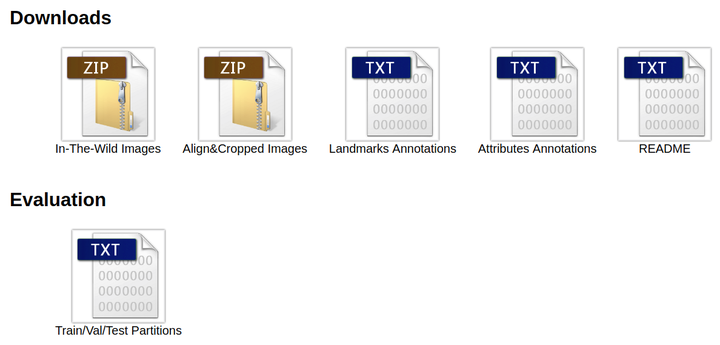
官方为我们提供了如下几个下载链接:
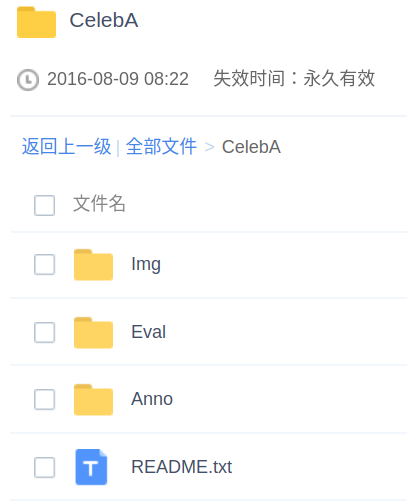
点击任何一个链接都会进入如下dropbox目录:
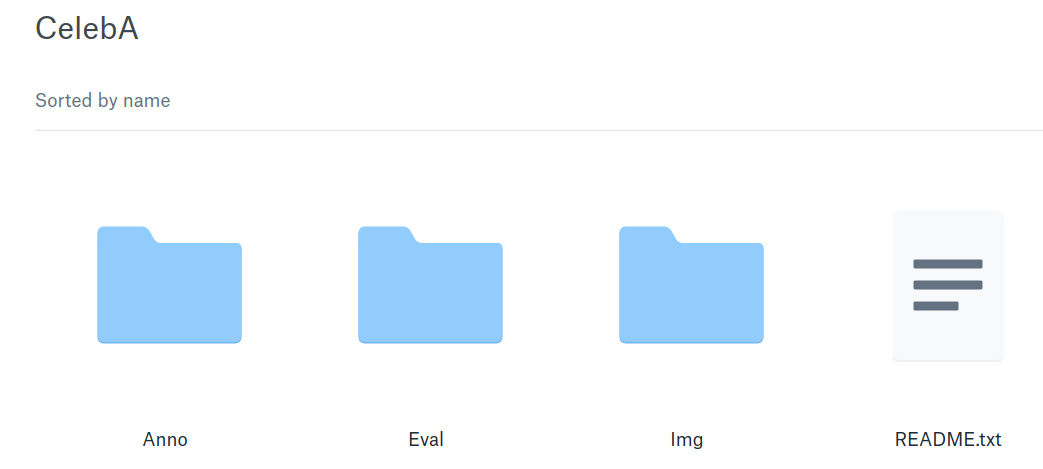 Anno是bbox、landmark及attribute注释文件,Eval是training、validation及testing数据集的划分注释,Img则是存放相应的人脸图像,README.txt是CelebA介绍文件;
通过阅读README.txt了解到每一部分代表的含义:
- In-The-Wild Images (Img/img_celeba.7z)
202,599张原始“野生”人脸图像,从网络爬取未有做任何裁剪缩放操作的人脸图像;
- Align&Cropped Images (Img/img_align_celeba.zip & Img/img_align_celeba_png.7z)
202,599张经过人脸对齐和裁剪了的图像,视情况下载对应不同质量的图像即可,一般选择jpg格式才1G多的img_align_celeba.zip文件;
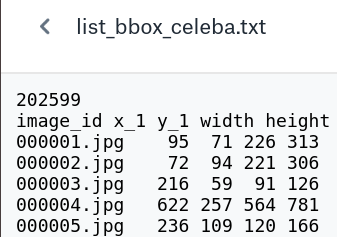
- Bounding Box Annotations (Anno/list_bbox_celeba.txt)
bounding box标签,即人脸标注框坐标注释文件,包含每一张图片对应的bbox起点坐标及其宽高,如下:
- Landmarks Annotations (Anno/list_landmarks_celeba.txt & Anno/list_landmarks_align_celeba.txt)
5个特征点landmark坐标注释文件,list_landmarks_align_celeba.txt则是对应人脸对齐后 的landmark坐标;

- Attributes Annotations (Anno/list_attr_celeba.txt)
40个属性标签文件,第一行为图像张数,第二行为属性名,有该属性则标记为1,否则标记为-1;

- Identity Annotations (available upon request)
10,177个名人身份标识,图片的序号即是该图片对应的标签;
- Evaluation Partitions (Eval/list_eval_partition.txt)
用于划分为training,validation及testing等数据集的标签文件,标签0对应training,标签1对应validation,标签2对应testing;
默认的官方下载链接是放到外网的Dropbox上的,为了方便我们,官方还贴心的提供了百度网盘下载链接https://pan.baidu.com/s/1eSNpdRG#list/path=%2F,文件形式一模一样。
CelebA拥有的40个属性分别是什么呢?以下是我个人对这四十个属性意义的理解:
- 5_o_Clock_Shadow:刚长出的双颊胡须
- Arched_Eyebrows:柳叶眉
- Attractive:吸引人的
- Bags_Under_Eyes:眼袋
- Bald:秃头
- Bangs:刘海
- Big_Lips:大嘴唇
- Big_Nose:大鼻子
- Black_Hair:黑发
- Blond_Hair:金发
- Blurry:模糊的
- Brown_Hair:棕发
- Bushy_Eyebrows:浓眉
- Chubby:圆胖的
- Double_Chin:双下巴
- Eyeglasses:眼镜
- Goatee:山羊胡子
- Gray_Hair:灰发或白发
- Heavy_Makeup:浓妆
- High_Cheekbones:高颧骨
- Male:男性
- Mouth_Slightly_Open:微微张开嘴巴
- Mustache:胡子,髭
- Narrow_Eyes:细长的眼睛
- No_Beard:无胡子
- Oval_Face:椭圆形的脸
- Pale_Skin:苍白的皮肤
- Pointy_Nose:尖鼻子
- Receding_Hairline:发际线后移
- Rosy_Cheeks:红润的双颊
- Sideburns:连鬓胡子
- Smiling:微笑
- Straight_Hair:直发
- Wavy_Hair:卷发
- Wearing_Earrings:戴着耳环
- Wearing_Hat:戴着帽子
- Wearing_Lipstick:涂了唇膏
- Wearing_Necklace:戴着项链
- Wearing_Necktie:戴着领带
- Young:年轻人
以下是我写的单独划分某个属性数据集的脚本,可参考进行划分CelebA数据集:
# -*- coding: utf-8 -*-
#!/usr/bin/env python3

'''
Divide face accordance CelebA Attr type.
'''

from __future__ import absolute_import
from __future__ import division
from __future__ import print_function

import shutil
import os

output_path = "/home/andy/datasets/CelebA/"
image_path = "/home/andy/datasets/CelebA/img_align_celeba_160x160"
CelebA_Attr_file = "/home/andy/datasets/CelebA/list_attr_celeba.txt"
Attr_type = 16 # Eyeglasses

def main():
    '''Divide face accordance CelebA Attr eyeglasses label.'''
    trainA_dir = os.path.join(output_path, "trainA")
    trainB_dir = os.path.join(output_path, "trainB")
    if not os.path.isdir(trainA_dir):
        os.makedirs(trainA_dir)
    if not os.path.isdir(trainB_dir):
        os.makedirs(trainB_dir)

    not_found_txt = open(os.path.join(output_path, "not_found_img.txt"), "w")

    count_A = 0
    count_B = 0
    count_N = 0

    with open(CelebA_Attr_file, "r") as Attr_file:
        Attr_info = Attr_file.readlines()
        Attr_info = Attr_info[2:]
        index = 0
        for line in Attr_info:
            index += 1
            info = line.split()
            filename = info[0]
            filepath_old = os.path.join(image_path, filename)
            if os.path.isfile(filepath_old):
                if int(info[Attr_type]) == 1:
                    filepath_new = os.path.join(trainA_dir, filename)
                    shutil.copyfile(filepath_old, filepath_new)
                    count_A += 1
                else:
                    filepath_new = os.path.join(trainB_dir, filename)
                    shutil.copyfile(filepath_old, filepath_new)
                    count_B += 1
                print("%d: success for copy %s -> %s" % (index, info[Attr_type], filepath_new))
            else:
                print("%d: not found %s\n" % (index, filepath_old))
                not_found_txt.write(line)
                count_N += 1

    not_found_txt.close()

    print("TrainA have %d images!" % count_A)
    print("TrainB have %d images!" % count_B)
    print("Not found %d images!" % count_N)

if __name__ == "__main__":
    main()
该脚本可以自动根据属性Attr_type自行划分CelebA数据集,分别划分到trainA和trainB文件夹,trainA表示有该属性的数据,trainB表示无该属性的数据,同时其也可以在完成划分时自动报告trainA、trainB以及无该图像的数量。使用时,需要根据实际情况,调整output_path、image_path、CelebA_Attr_file及Attr_type,注意Attr_type即是你所要得到的属性划分数据集标记,其值范围为1到40,其含义如上文所述!
Pytorch快速下载预训练模型并修改保存路径
[GAN学习系列3]采用深度学习和 TensorFlow 实现图片修复(下) |

