这篇教程使用Photoshop选区和调整边缘给人像抠图写得很实用,希望能帮到您。
CS3及以后的版本都有调整边缘这个选项,不过这个功能是专门针对选区的,只要有选区产生,在属性面板的这个功能就可以使用。 过程:首先需要用选区工具把主体或背景选取出来,可以用套索,快速选择等工具。然后在属性栏中的调整边缘选项中设置相关的参数,优化主体边缘。这样我们就可以得到边缘较为自然的主体。 原图 
最终效果 
1、在photoshop cs6中打开素材图复制两层,把下面一层隐藏。 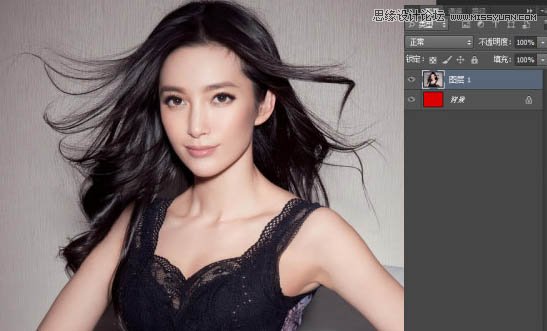
2、用快速选择工具选出要扣出的部分,包括细节部分!然后点击调整边缘按扭。 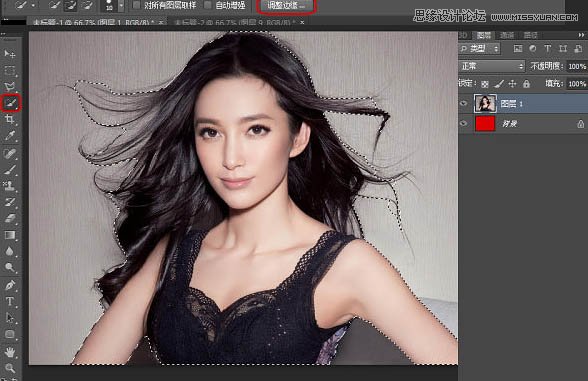
3、参数设置如下图。 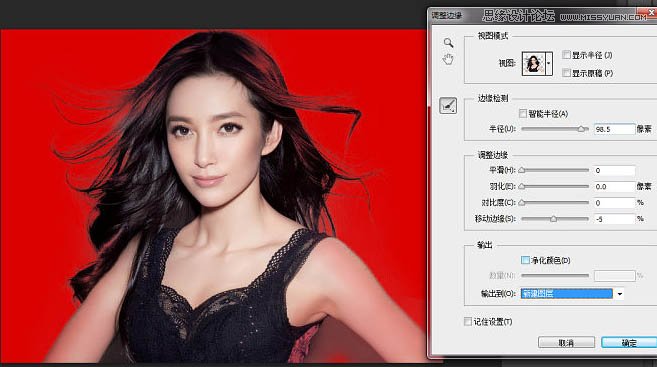
4、确定后效果,删除多余部分。 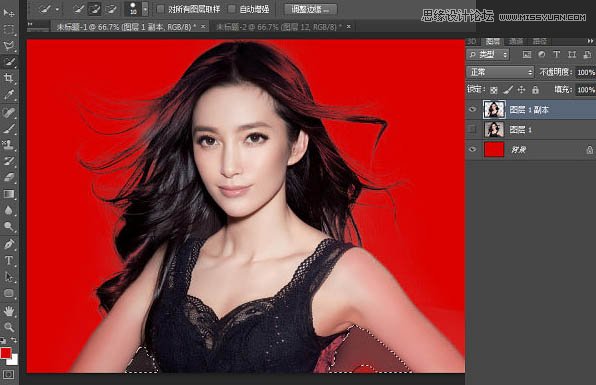
使用Photoshop通道抠出透明纱布抠图教程
Photoshop多种完美给美女人像抠图方法 |