这篇教程ps抠图教程:使用通道结合图层模式抠狗尾巴草写得很实用,希望能帮到您。
带有很多细小细节的图会增加抠图的难度,下面这张狗尾巴草就是这类,我们可以用多种方法来抠取这个毛茸茸的小家伙。 今天我们着重介绍用photoshop通道结合图层模式抠图的方法。 
以下是用Photoshop“抽出”抠的效果: 
以下是通道结合图层模式的效果: 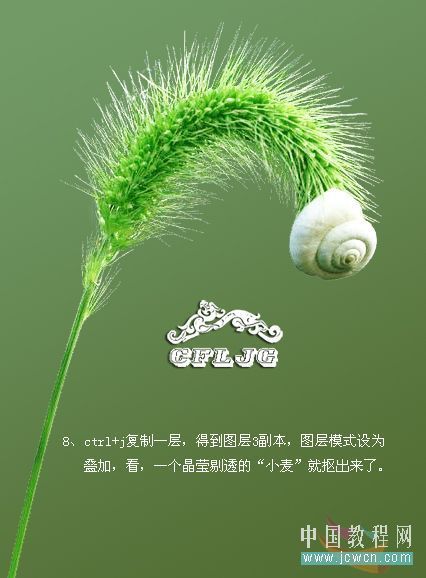
1、Photoshop中打开原图,创建图层2,填充绿色的渐变。其它颜色也可,但是为配合效果而选择绿色。 2、关掉这图层2的小眼睛,点击背景层,进入通道。 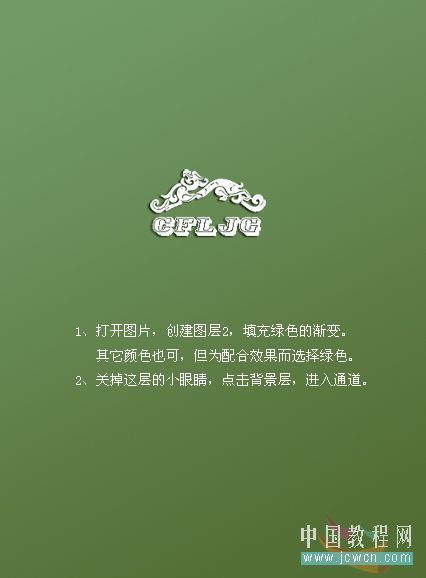
3、选择绿通道复制,得到绿副本(因绿通道的层次最好) 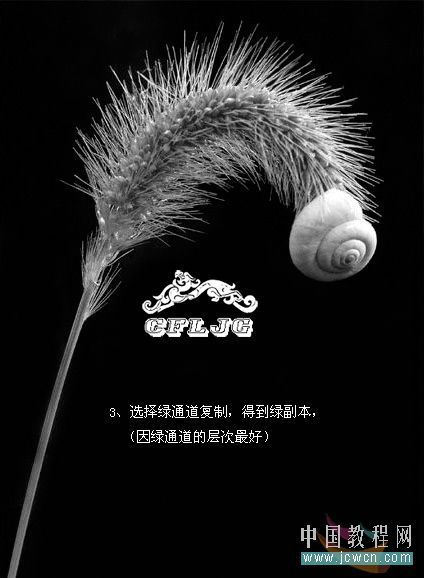
ps抠图教程:使用Photoshop抽出滤镜扣图实例教程
ps人物调色:调出高质感黄色调婚纱样片教程 |