这篇教程Photoshop简单将儿童人像转手绘处理写得很实用,希望能帮到您。
Mina这次给大家来个照片转手绘教程,全程都是用photoshop完成的,然后这是我第一次做照片转手绘教程,有很多不足之处,请大家见谅。 主要工具:钢笔工具,涂抹工具,画笔工具,颜色加深、减淡工具等 操作者的要求: 1. 操作者要有一定的PS基础,像怎么新建图层类似的基础问题恕不回答。 2. 要有一定的操作耐心,楼主画完一张图都需要用2~3个小时。 话不多说啦,开始教程了。 效果图: 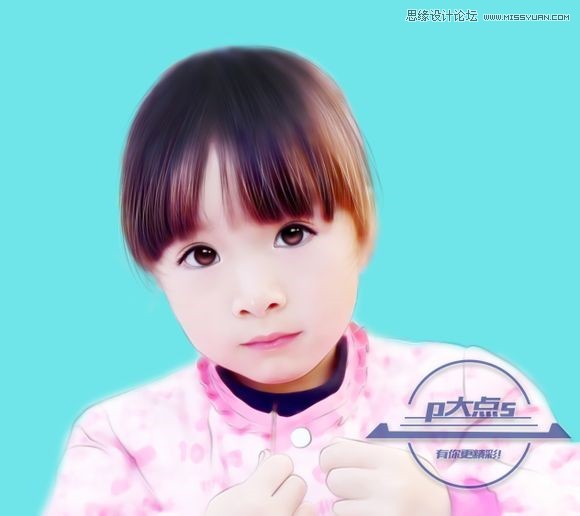
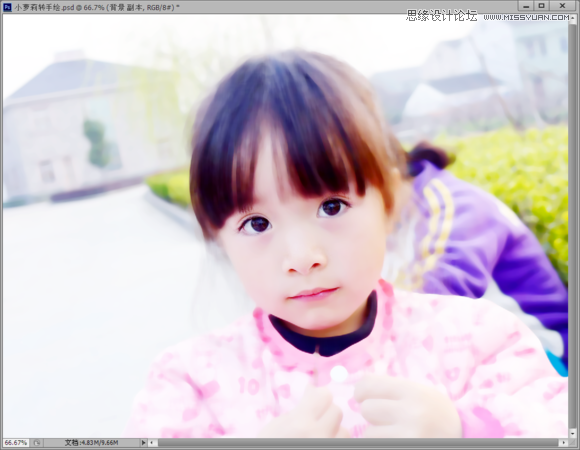
原图: 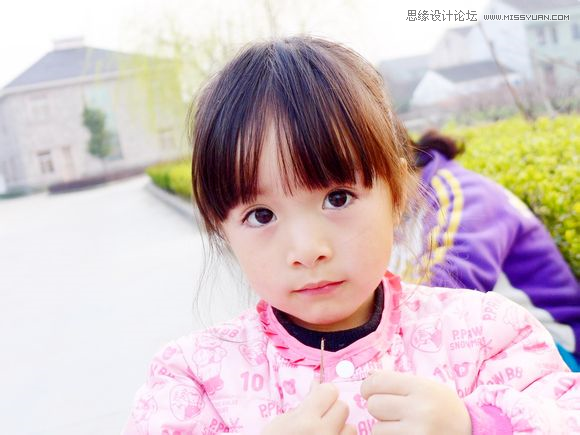
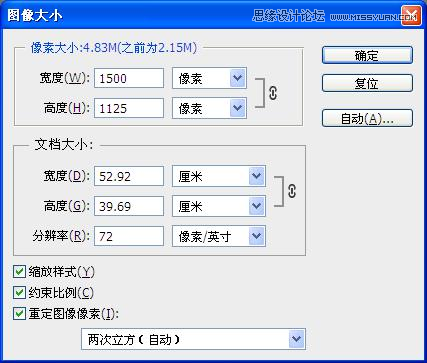
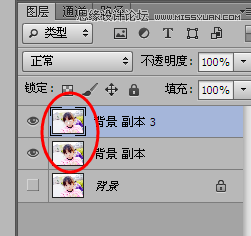
步骤1,打开图片,选择 图像>图像大小,将图片像素改大参数如图,然后复制两个原图副本图层 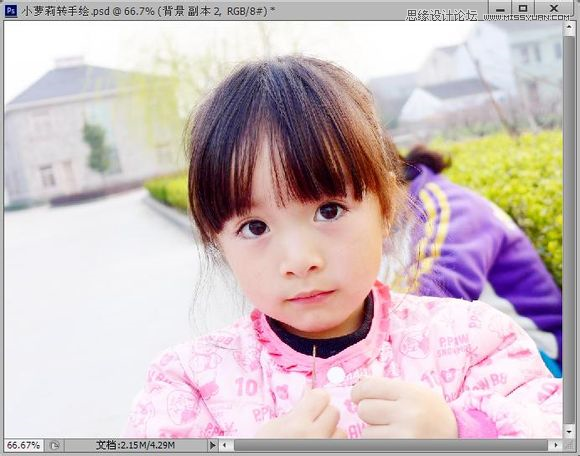
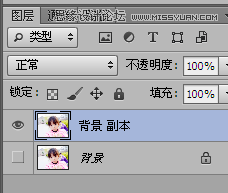
步骤2,选择最上面的图层,选择滤镜>杂色>中间值,调5~8个值左右,然后用橡皮擦工具,擦除五官,然后向下合并图层 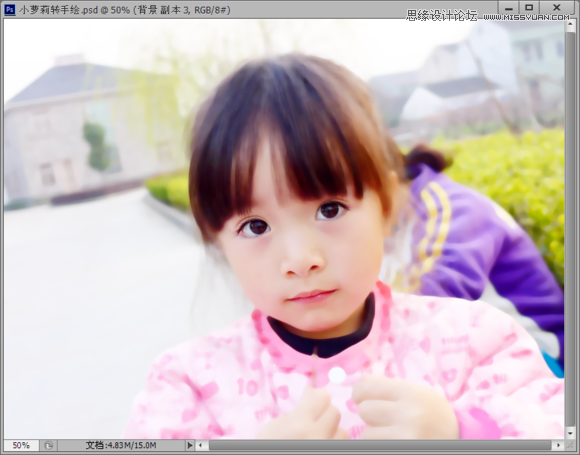
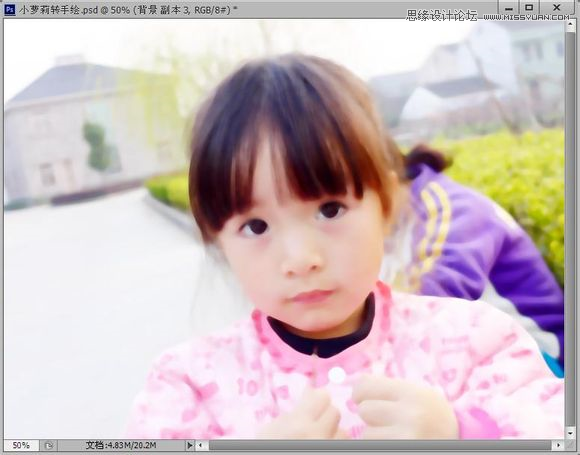
步骤3,按住,Ctrl + M调整曲线,再选择图像>调整>色彩平衡,个人喜好偏冷色的,如果有喜欢粉嫩点的,可以调整红色多点,直到自己满意为止 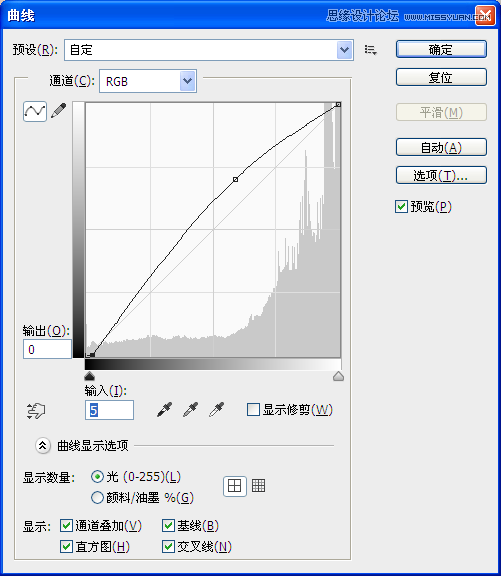

Photoshop调出唯美暖色调的外景女孩照片
Photoshop调出秋季暖色调的公园写真照片 |