这篇教程Photoshop调出唯美暖色调的外景女孩照片写得很实用,希望能帮到您。
素材图片主色比较暗,调色的时候把背景颜色转为黄褐色,然后在暗部增加一点红褐色,高光部分增加淡青色即可。最终效果 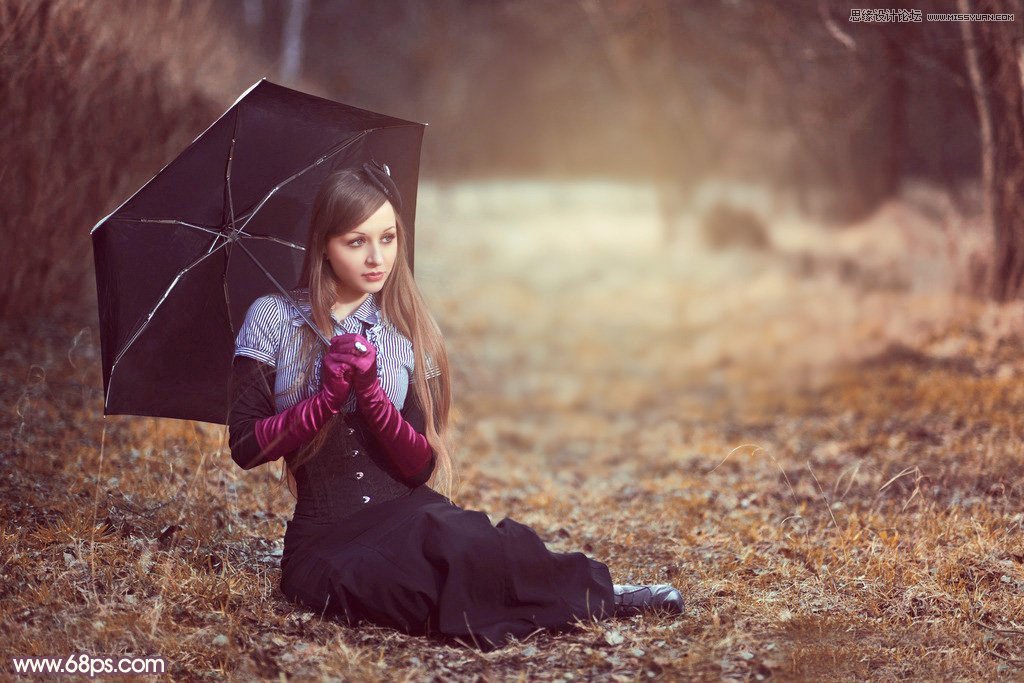
原图 
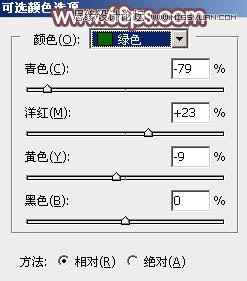
1、打开素材图片,创建可选颜色调整图层,对黄,绿进行调整,参数设置如图1,2,效果如图3。这一步把图片中的黄绿色转为橙黄色。 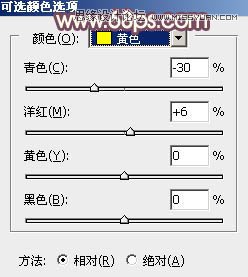
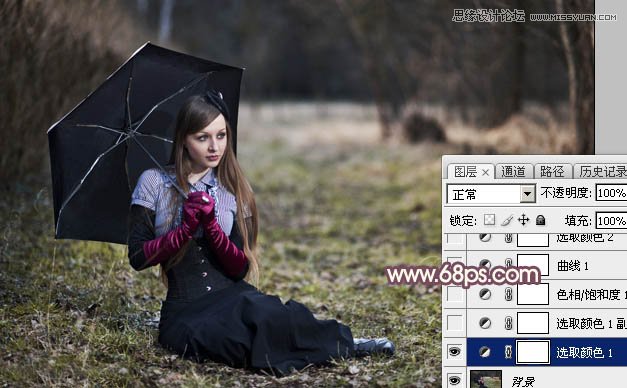
2、按Ctrl + J 把当前可选颜色调整图层复制一层,效果如下图。 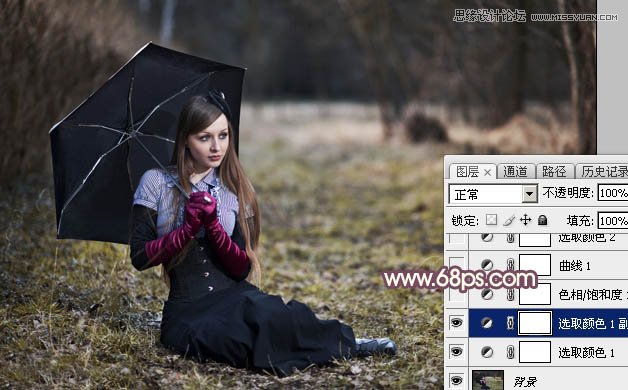
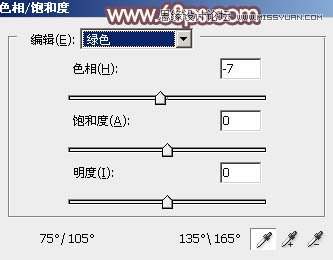
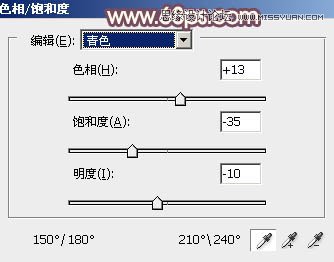
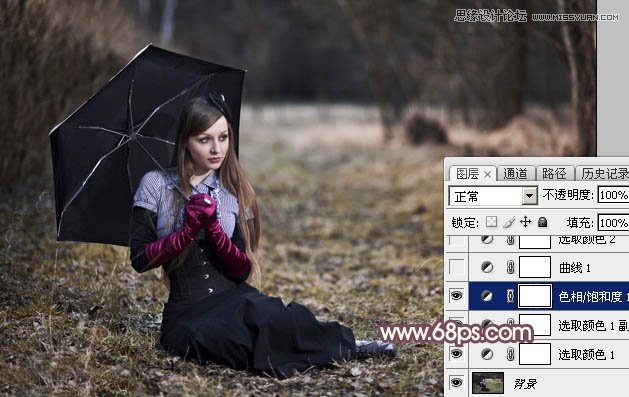
3、创建色相/饱和度调整图层,对黄、绿,青进行调整,参数设置如图5 - 7,效果如图8。这一步把背景部分的颜色转为黄褐色。 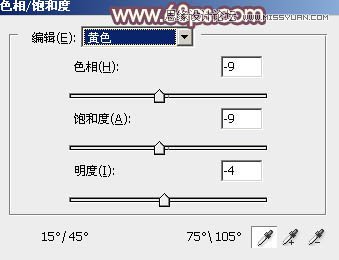
Photoshop打造时尚韩式风格效果室内婚片
Photoshop简单将儿童人像转手绘处理 |